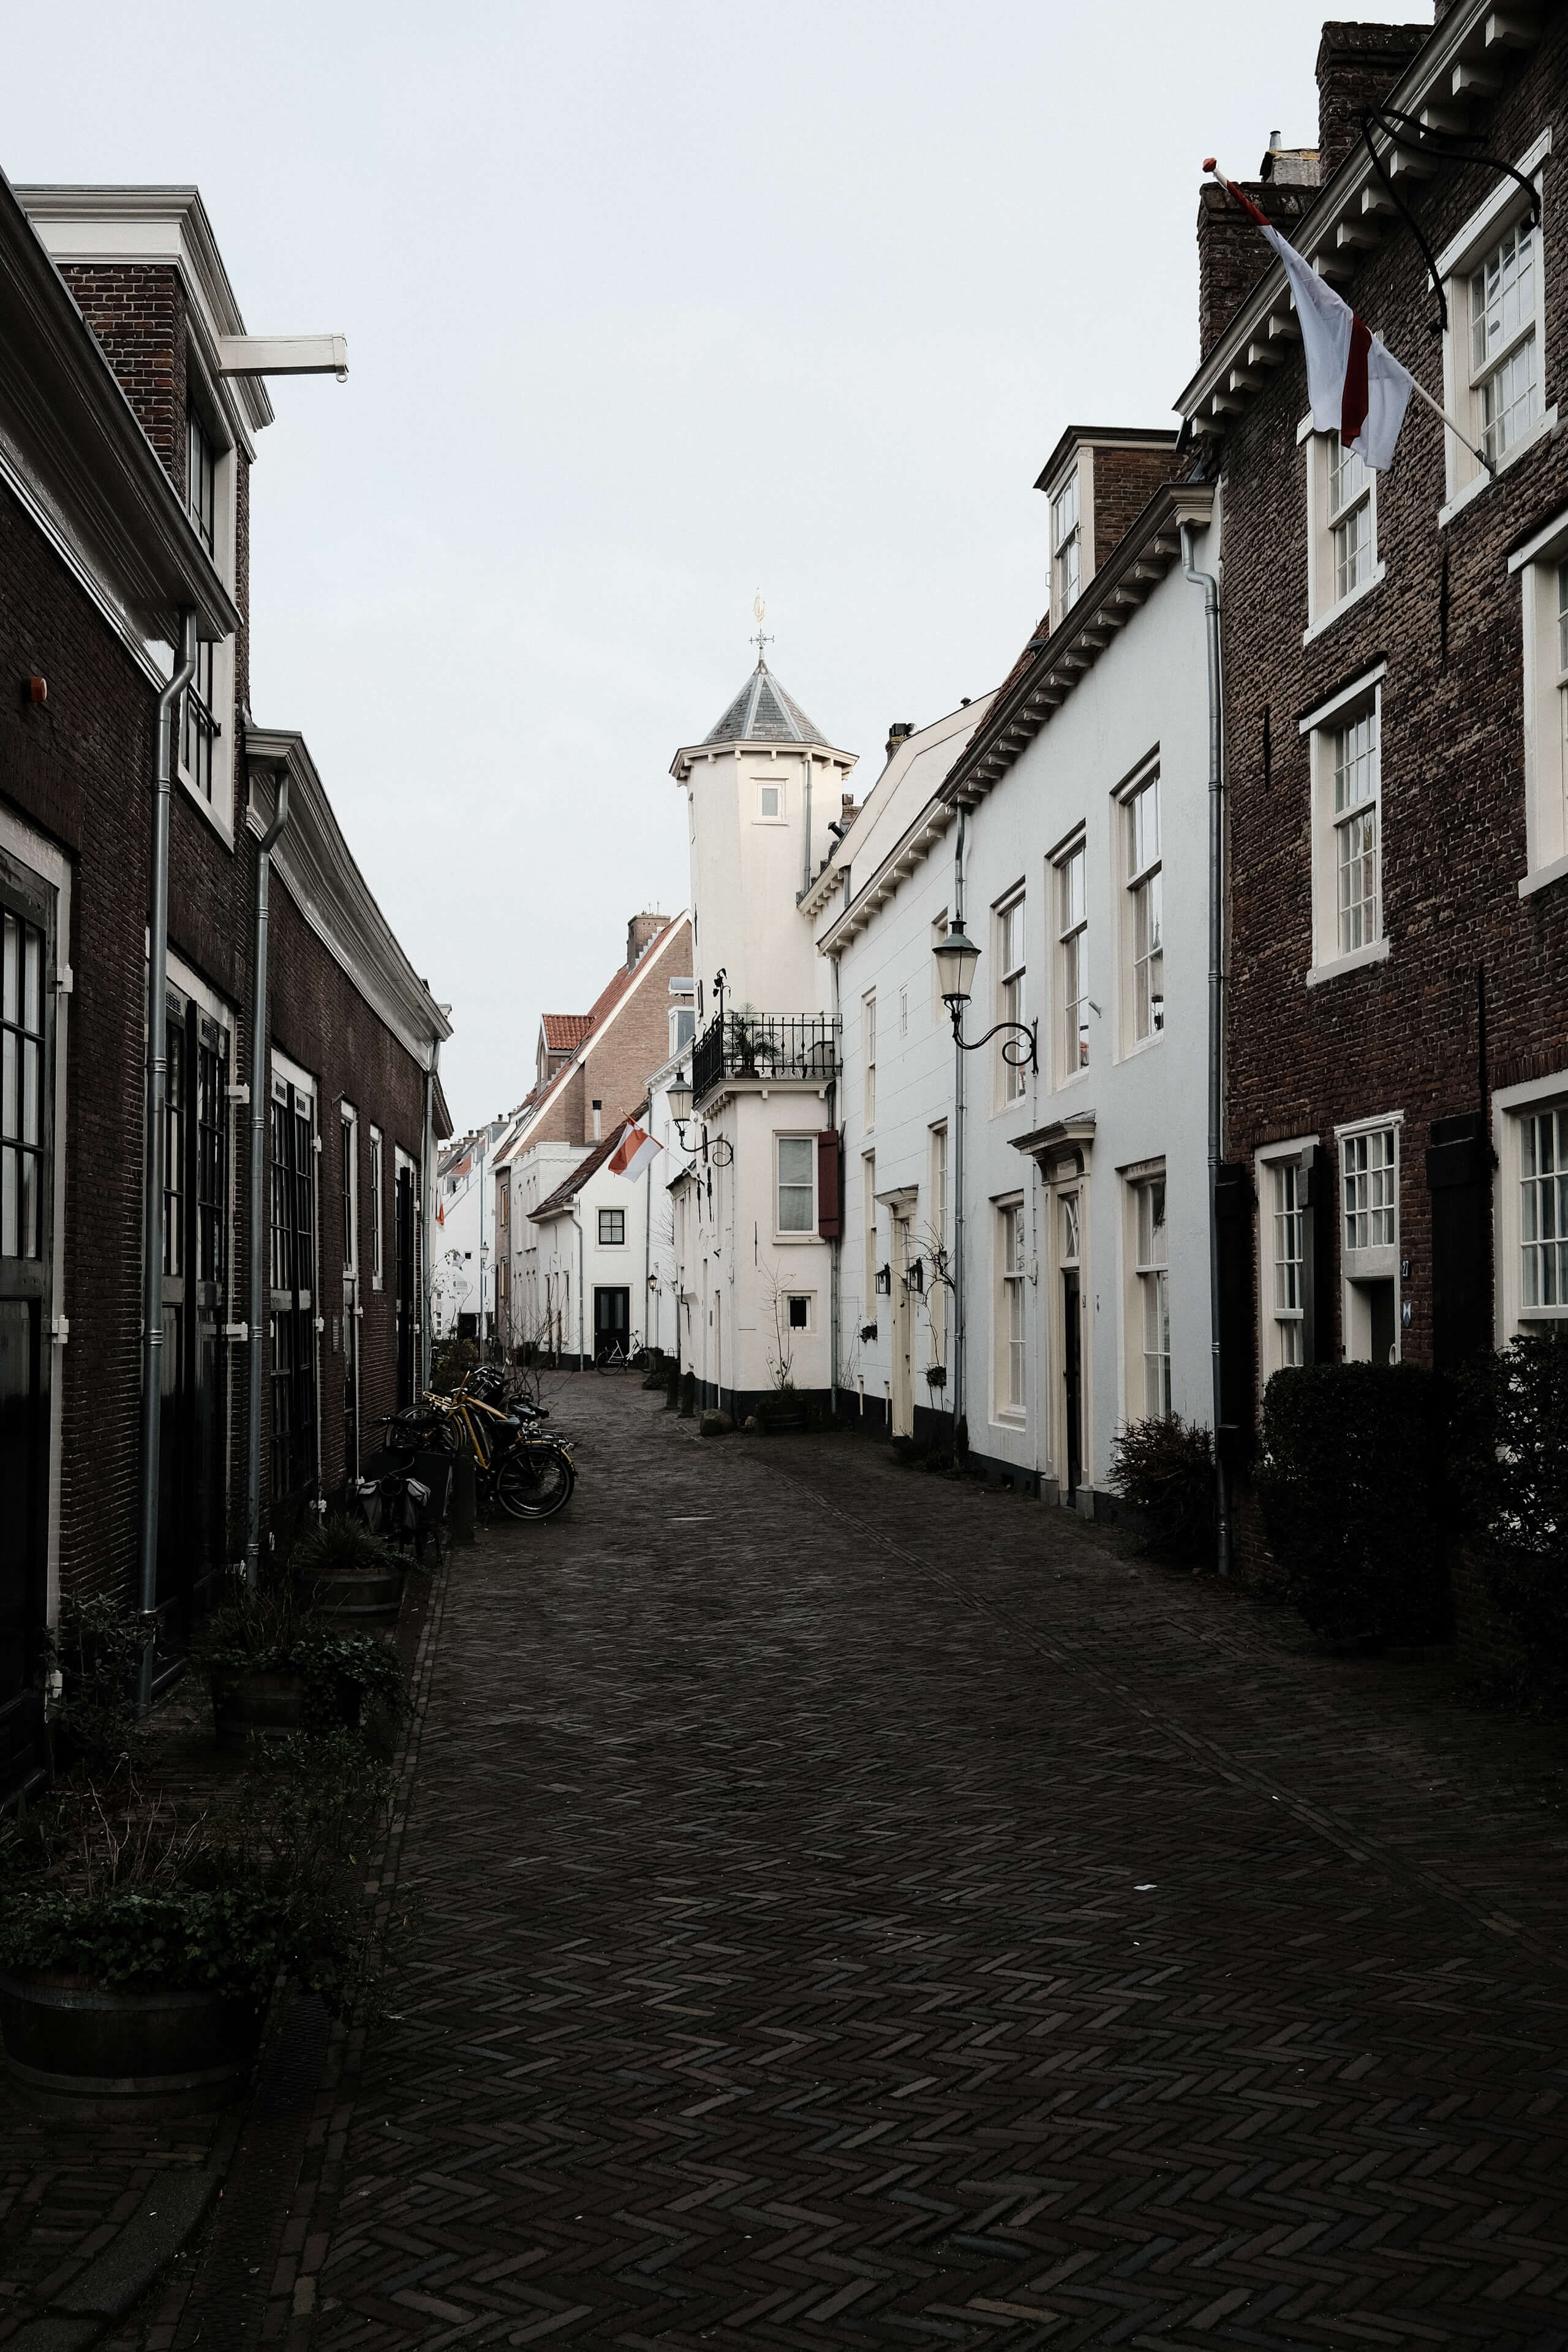
My six favorite Fujifilm film simulation recipes


If going viral on TikTok is any indication, the Fujifilm X100V is one of the most popular cameras Fuji has ever made. Part of that, of course, is its analog-esque looks and how easy it is to operate. The camera brings something new to an audience used to pointing and shooting with their phones. Its biggest appeal by far though, is the photos you can get straight out of the camera. The Fujifilm X100V, and most other Fuji cameras for that matter, have a look baked into the images that resonate with a lot of people right now. It's a look often described as 'a film-like experience on a digital camera'. While I think that's selling the camera and Fuji's film simulations a little short, the sentiment is clear: the 'Fujifilm look' is not going away soon.
The popularity of creating the perfect straight-out-of-camera jpeg is for a big part the responsibility of Ritchie from Fuji X Weekly. He has been making film simulation recipes for years and, in the process, managed to find a big crowd of like-minded folks. I came across Fuji X Weekly a couple of years ago, got inspired, and have been tinkering with the available jpeg settings ever since. To those new to this world of 'professional jpegs', I welcome you! I too rather spend my days out in the real world than inside some editing software. That's why I have taken the time to develop a look for my Fujifilm photos that increasingly allowed me to cut back the need for editing significantly over the last few years.
The result is a collection of film simulation recipes that have been living on both my Fujifilm X100V and X-Pro3 for the better part of a year now. Not every look works in every situation, but the combination of my six film simulation recipes allows me to shoot whatever I want, whenever I want. My film simulation recipe pack consists three distinct looks, each with a neutral and a higher intensity version. The neutral version will look good in most situations and is what I default to. The higher intensity versions can look amazing but really need the right circumstances for them to shine. I will share my six film simulation recipes, four color and two black and white, below.
An overview of my Fujifilm film simulations
The goal is simple: I want to spend as less time as possible editing my photos. To achieve that, I have created a straight-out-of-camera look for my images that will satisfy that need as much as possible. Let's start with the black and white recipes.
AC: Black and white for everyday
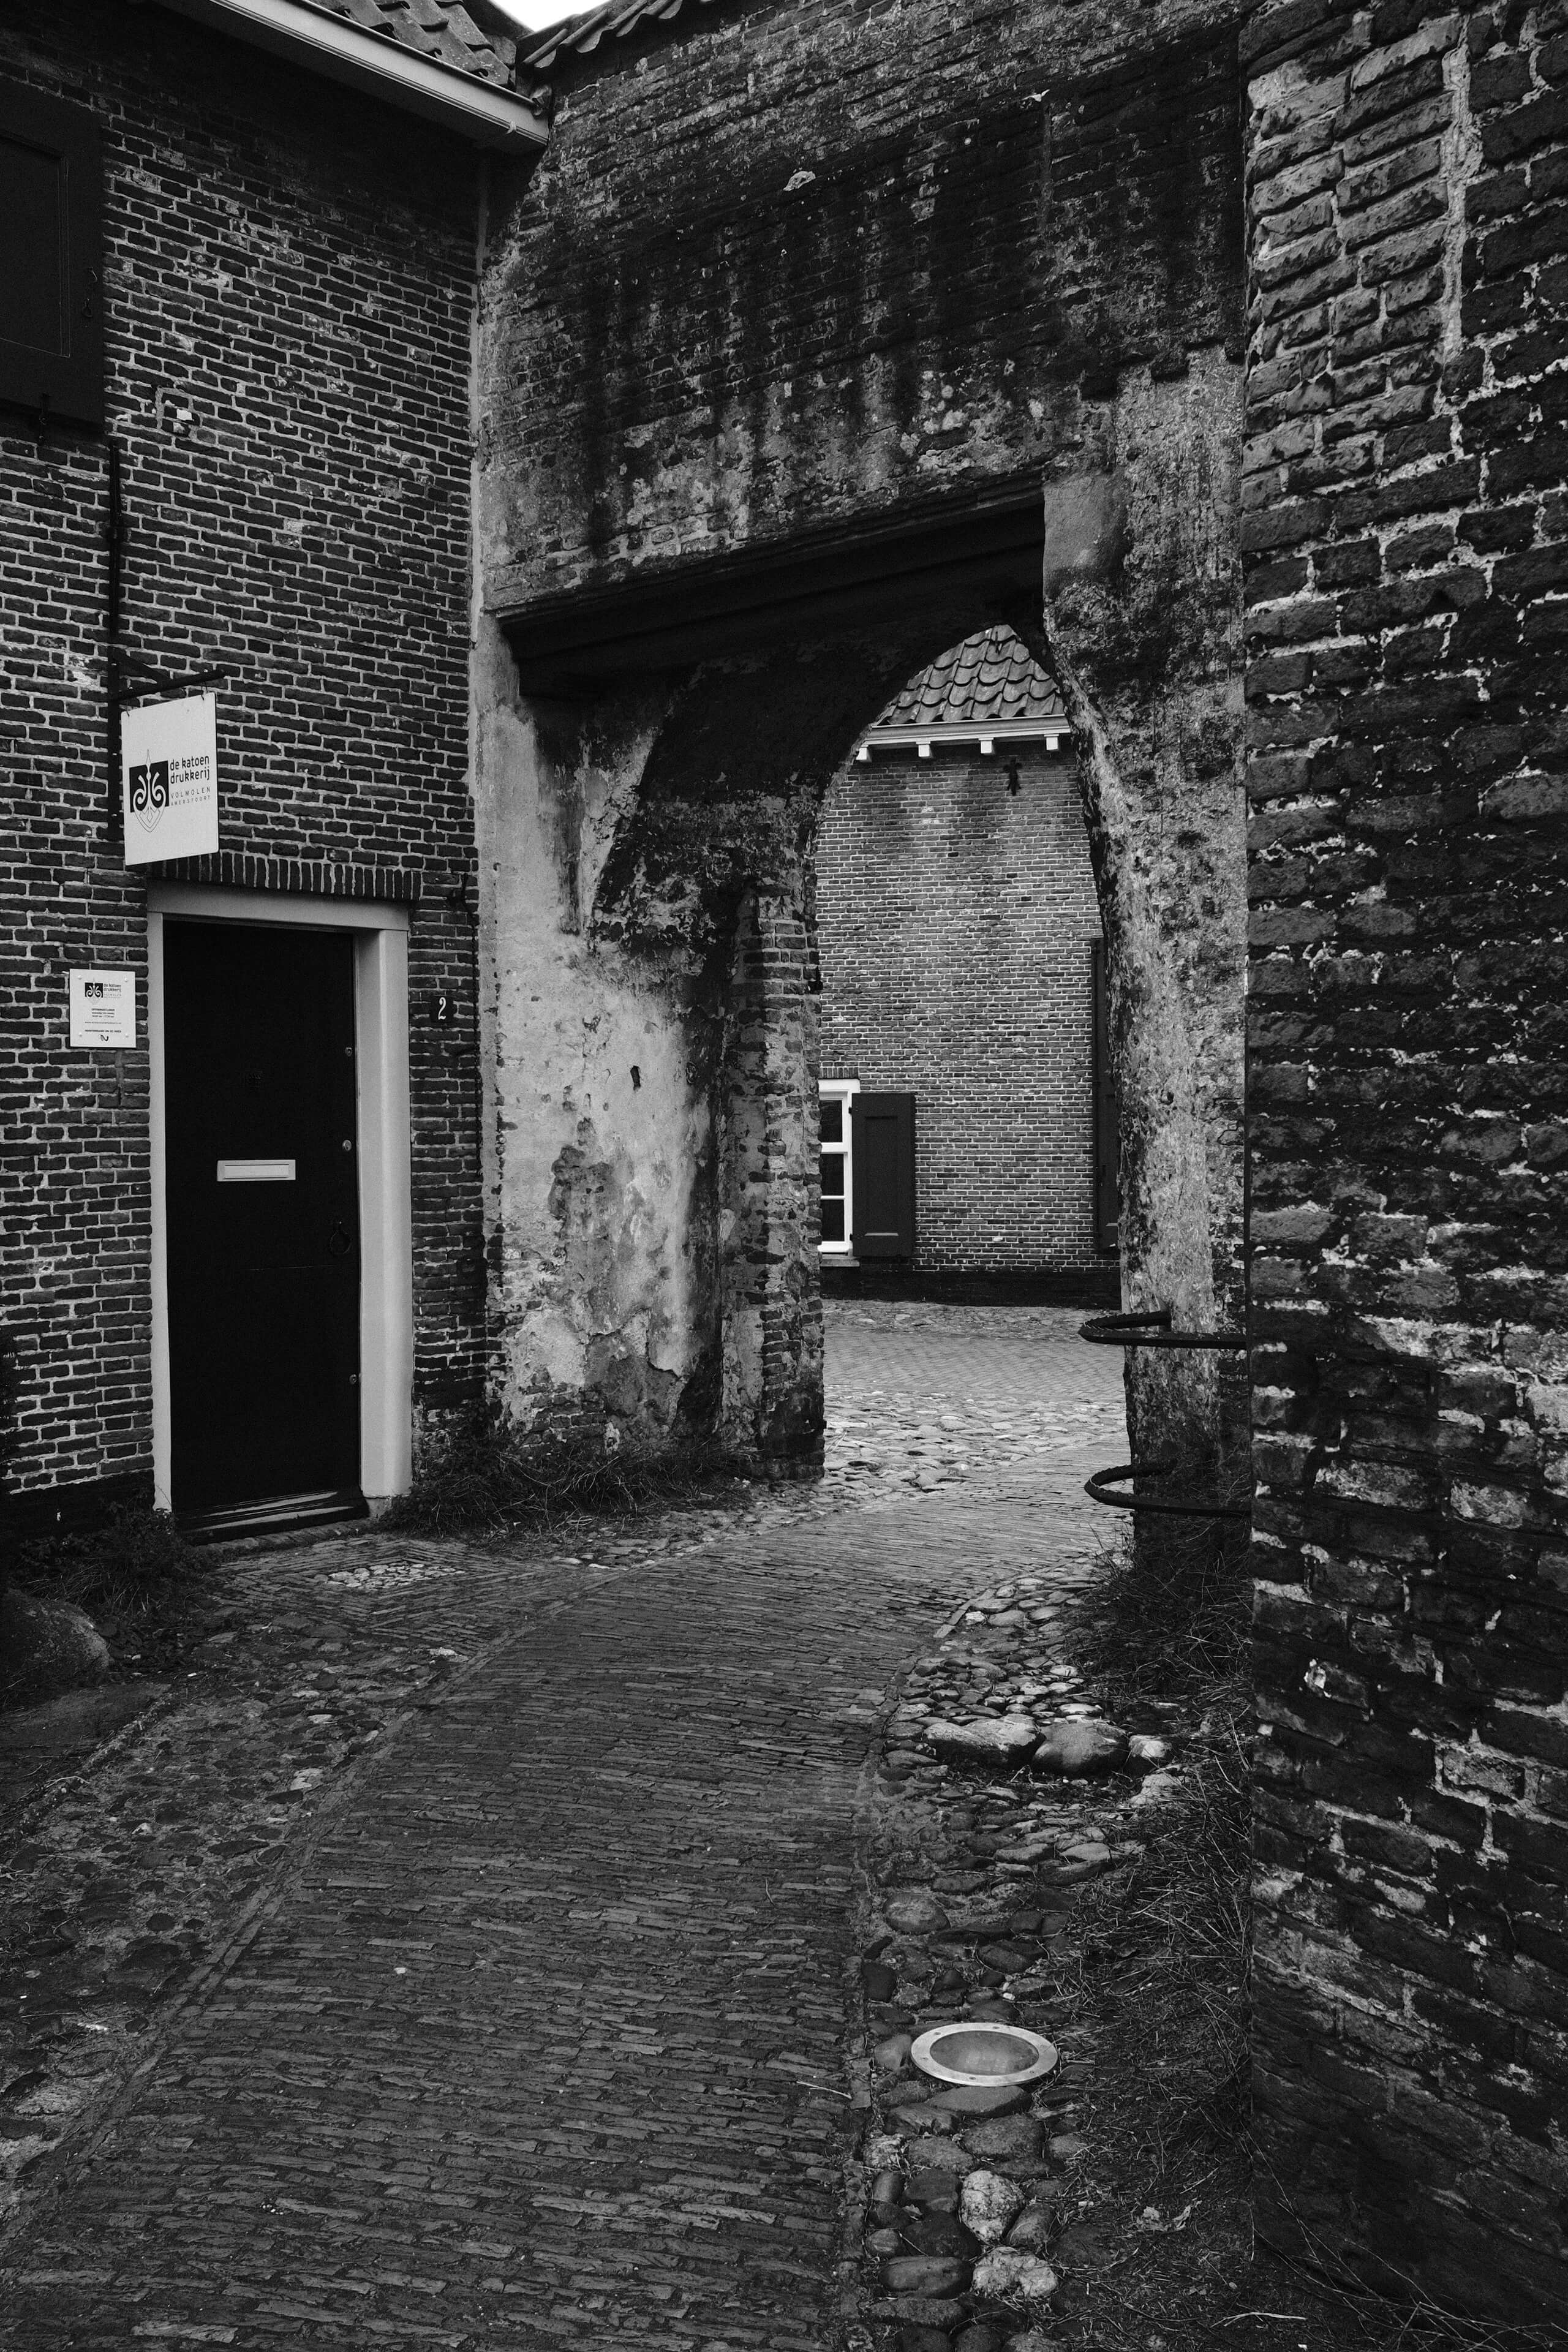
I like my black and white images punchy, contrasty, and grainy. That's why I chose to build this recipe on the Acros film simulation, because it has a native grain profile built in, with very nice shadows and solid contrast. I personally use the standard version of Acros, but you can use the color-filtered ones as well, if you enjoy that look. I also don't touch the monochromatic color setting because neutral grays are more of my jam. Finally, I'm not afraid to crank the ISO all the way up with my black and white images. The grain with this Acros simulation can look very good, even at higher sensitivities.
Works well for
- Everyday black and white photos
- Portraiture
- Street photography
Does not work well for
- Flat light that lacks character on its own
- Images that rely on texture
My AC film simulation recipe
Dynamic Range: DR400
Highlight: +3
Shadow: +3
Noise Reduction: -4
Sharpening: +3
Clarity: 0
Grain Effect: Weak, Small
Color Chrome Effect: Strong
Color Chrome Effect Blue: Off
White Balance: Auto, 0 Red & 0 Blue
ISO: Manual, 640 and up
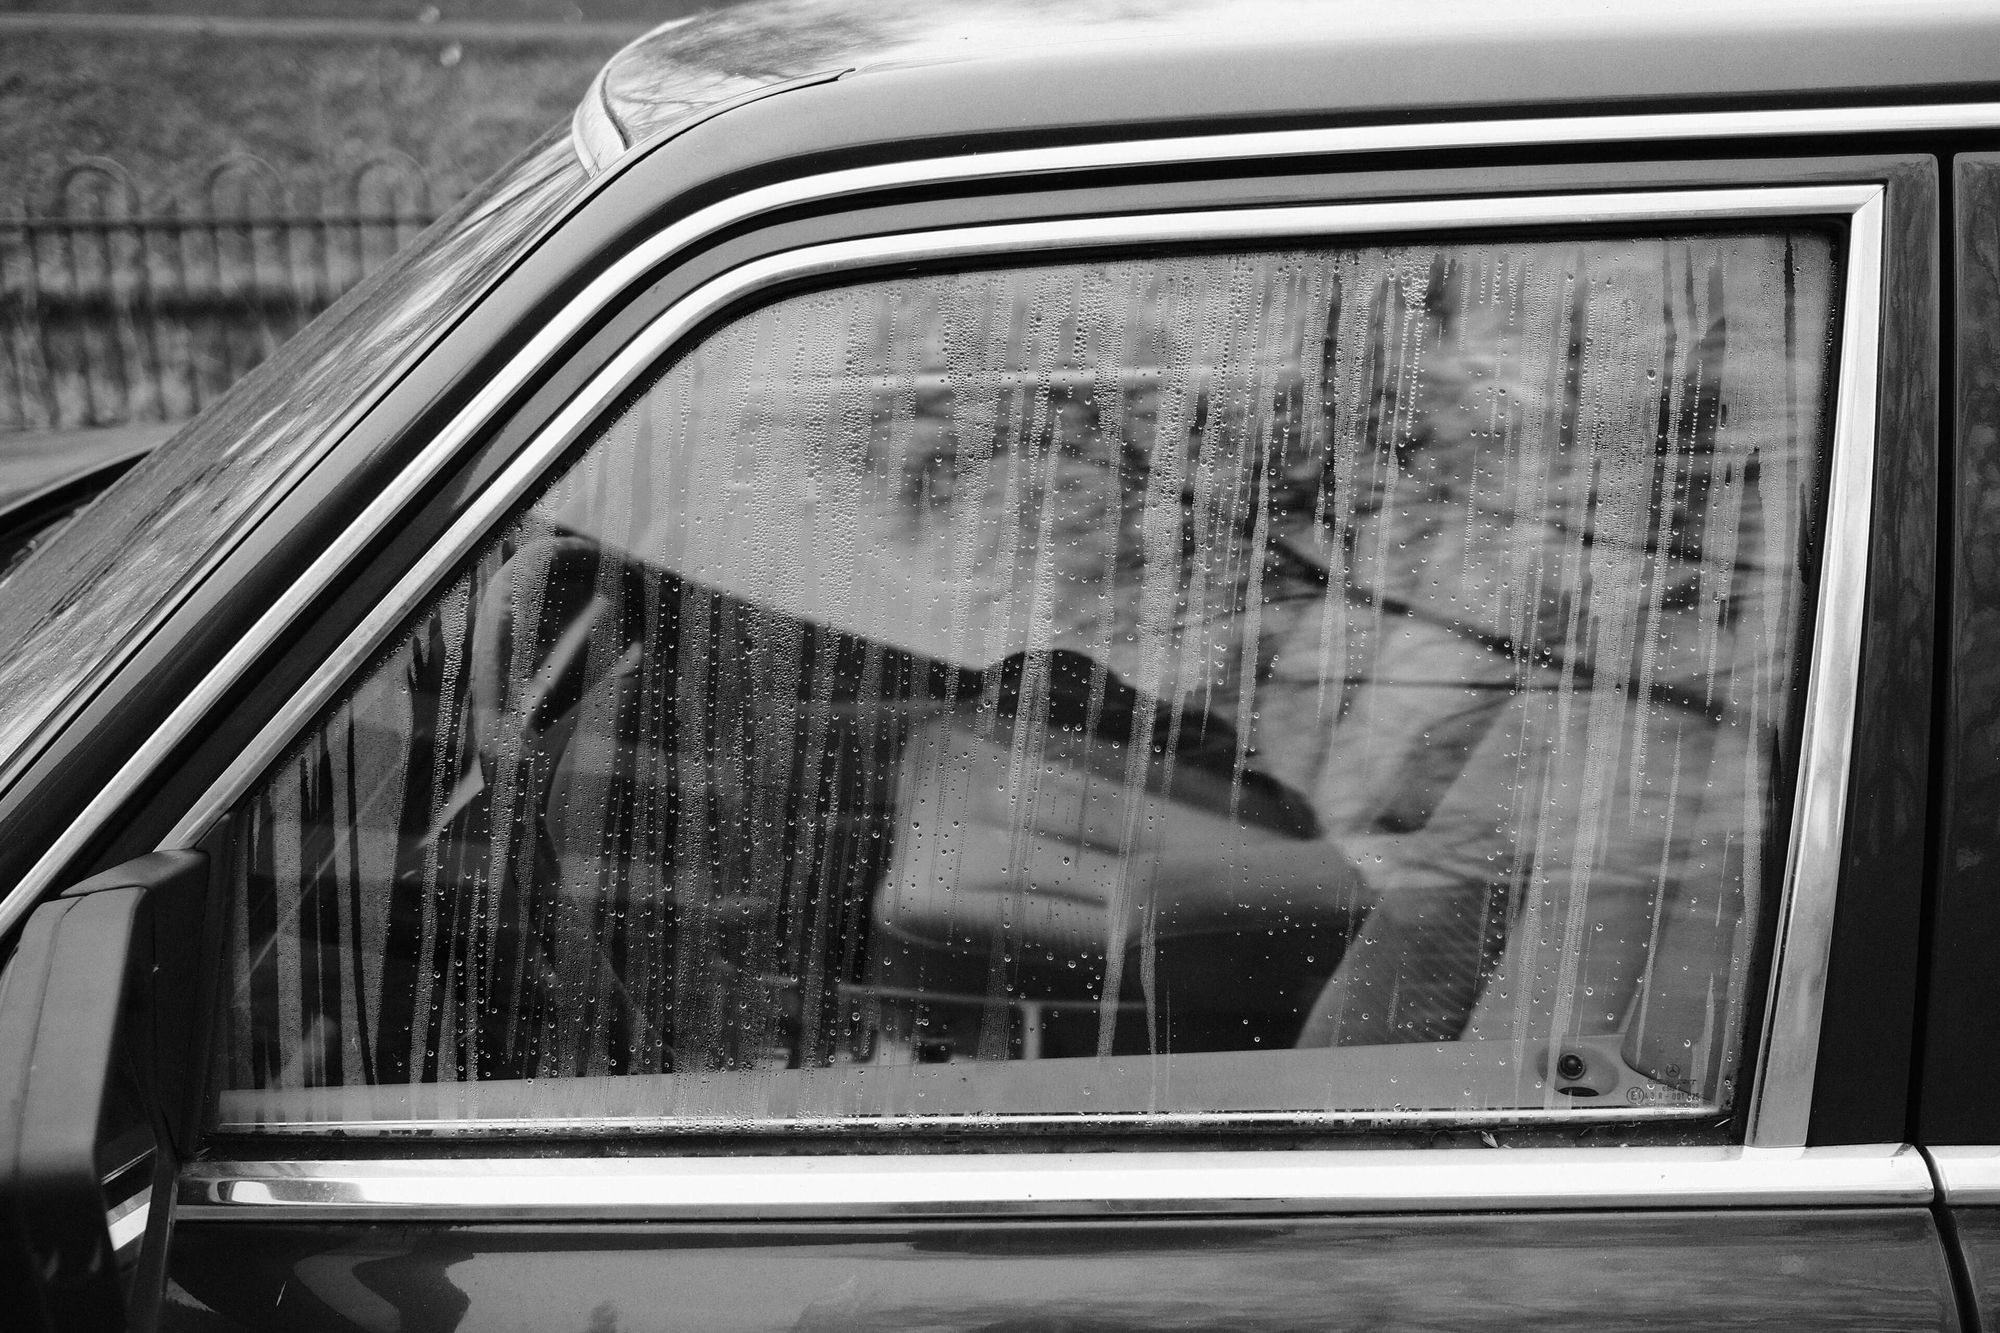
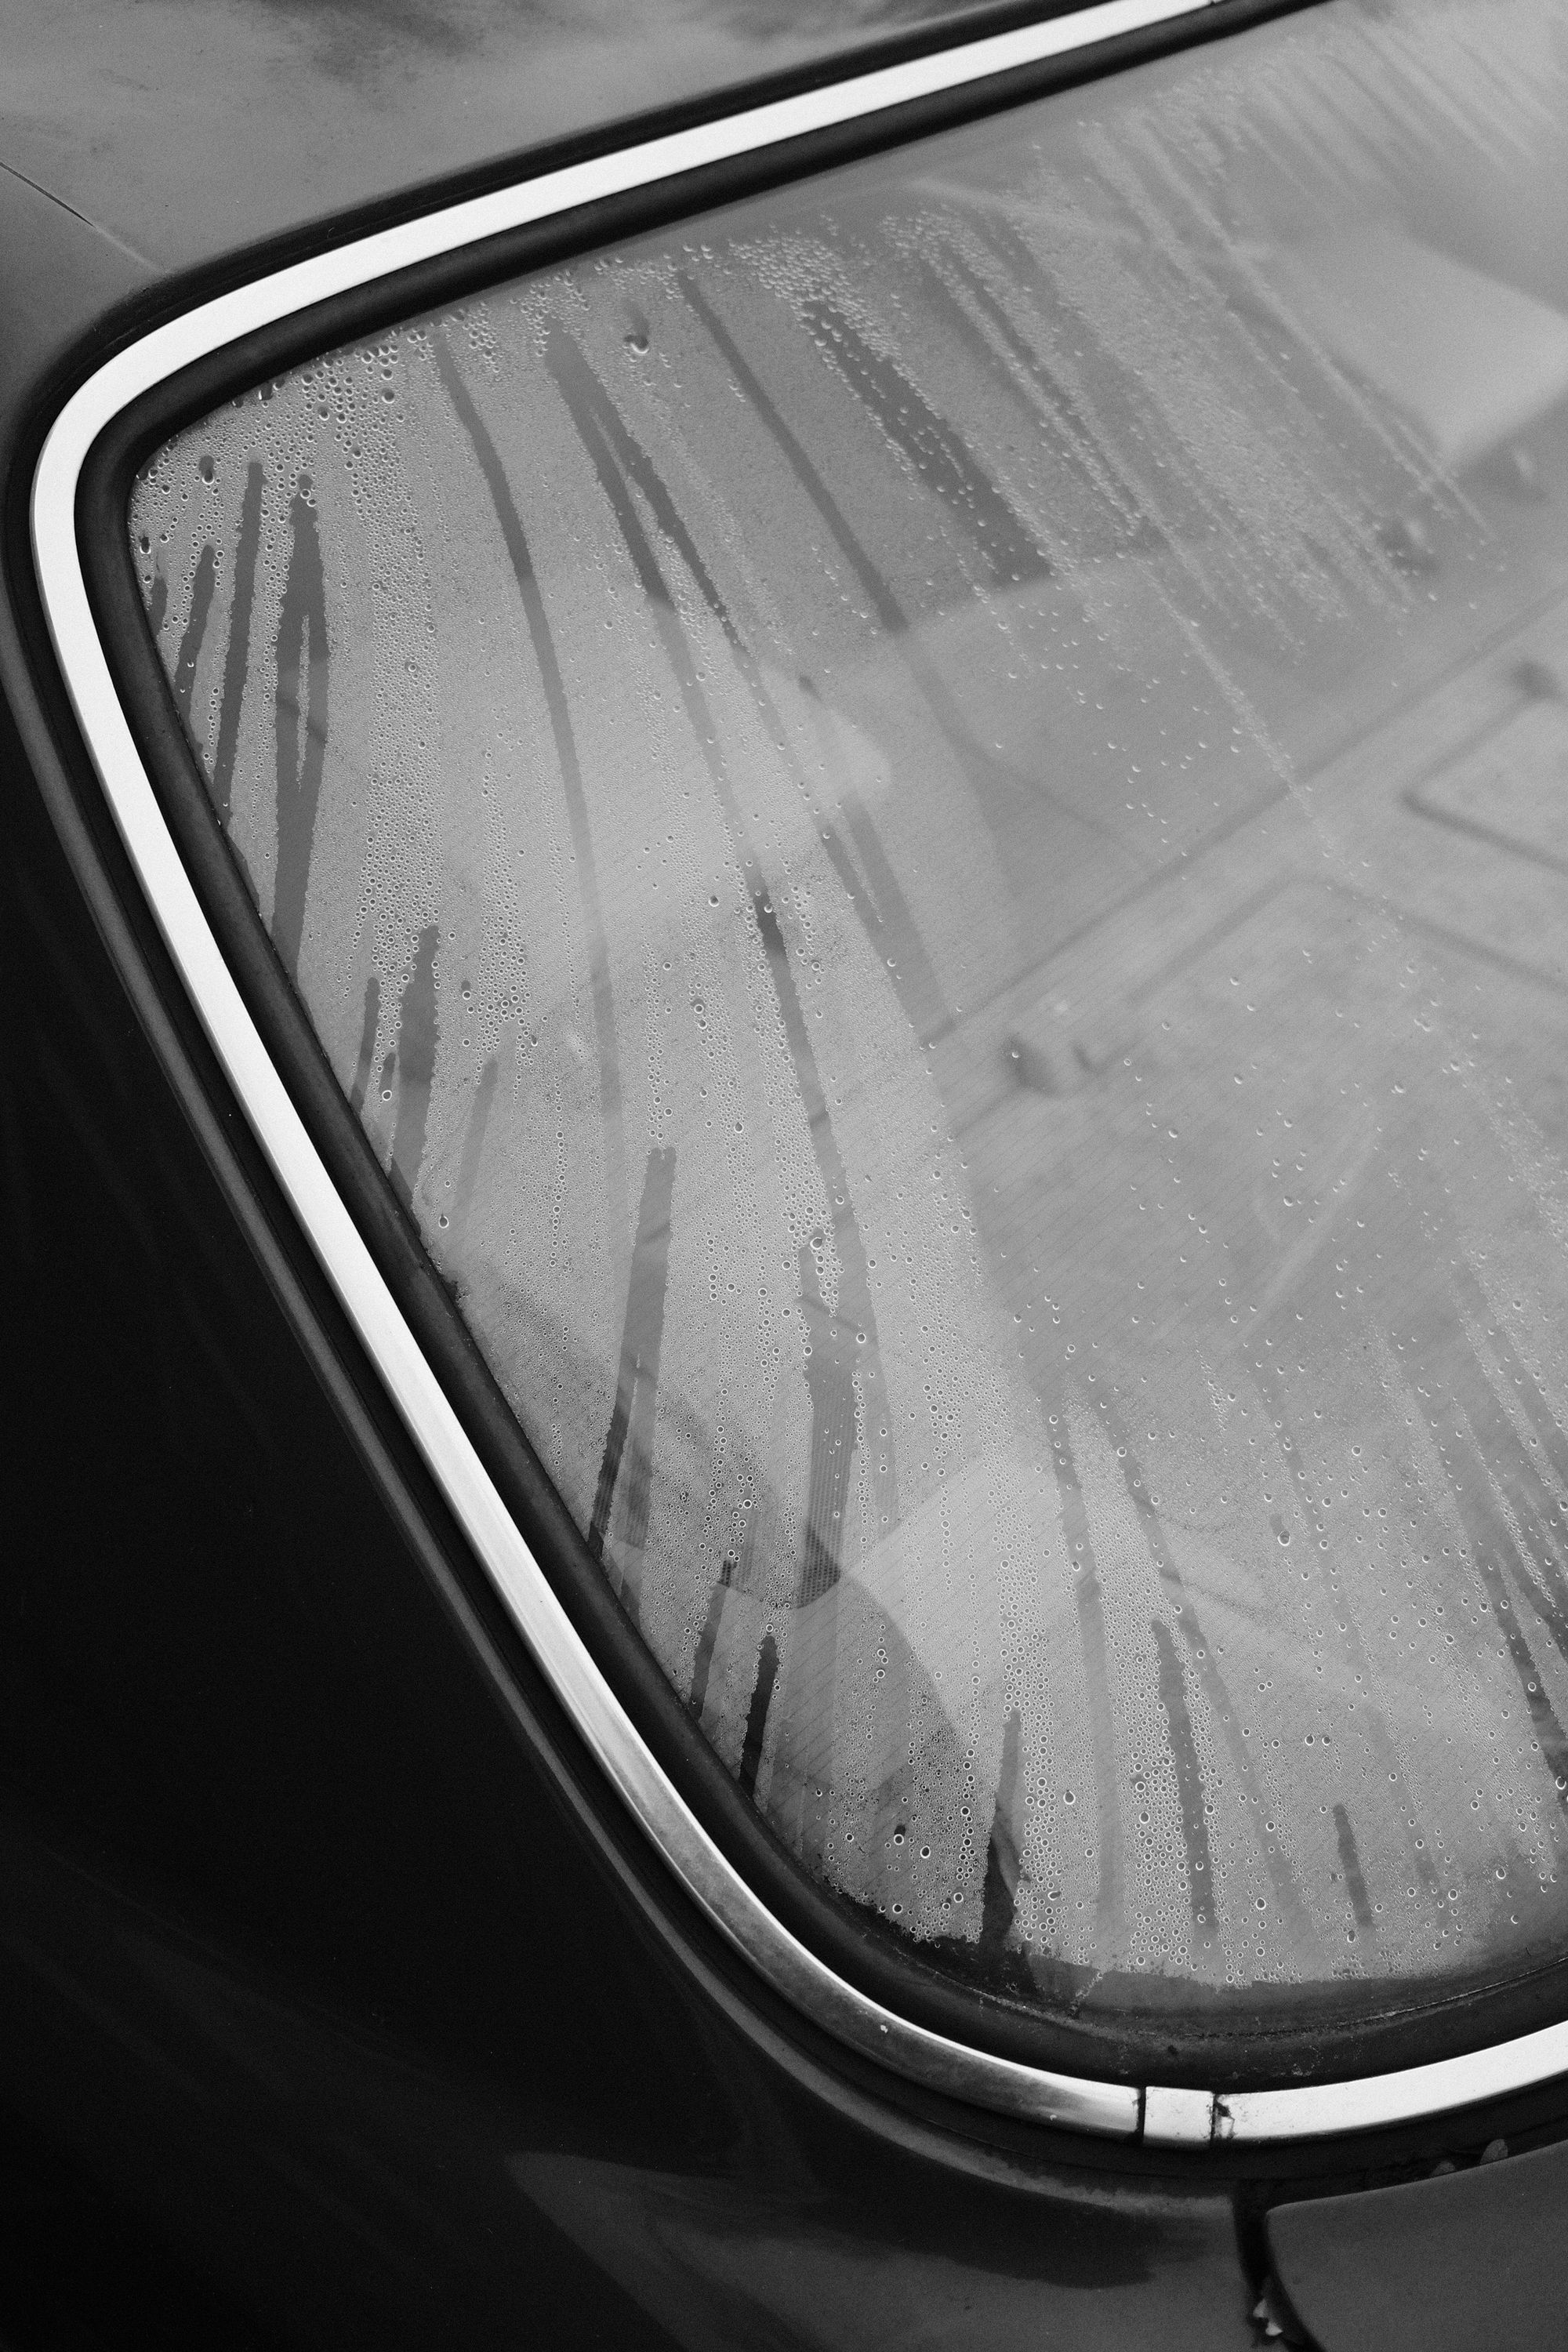
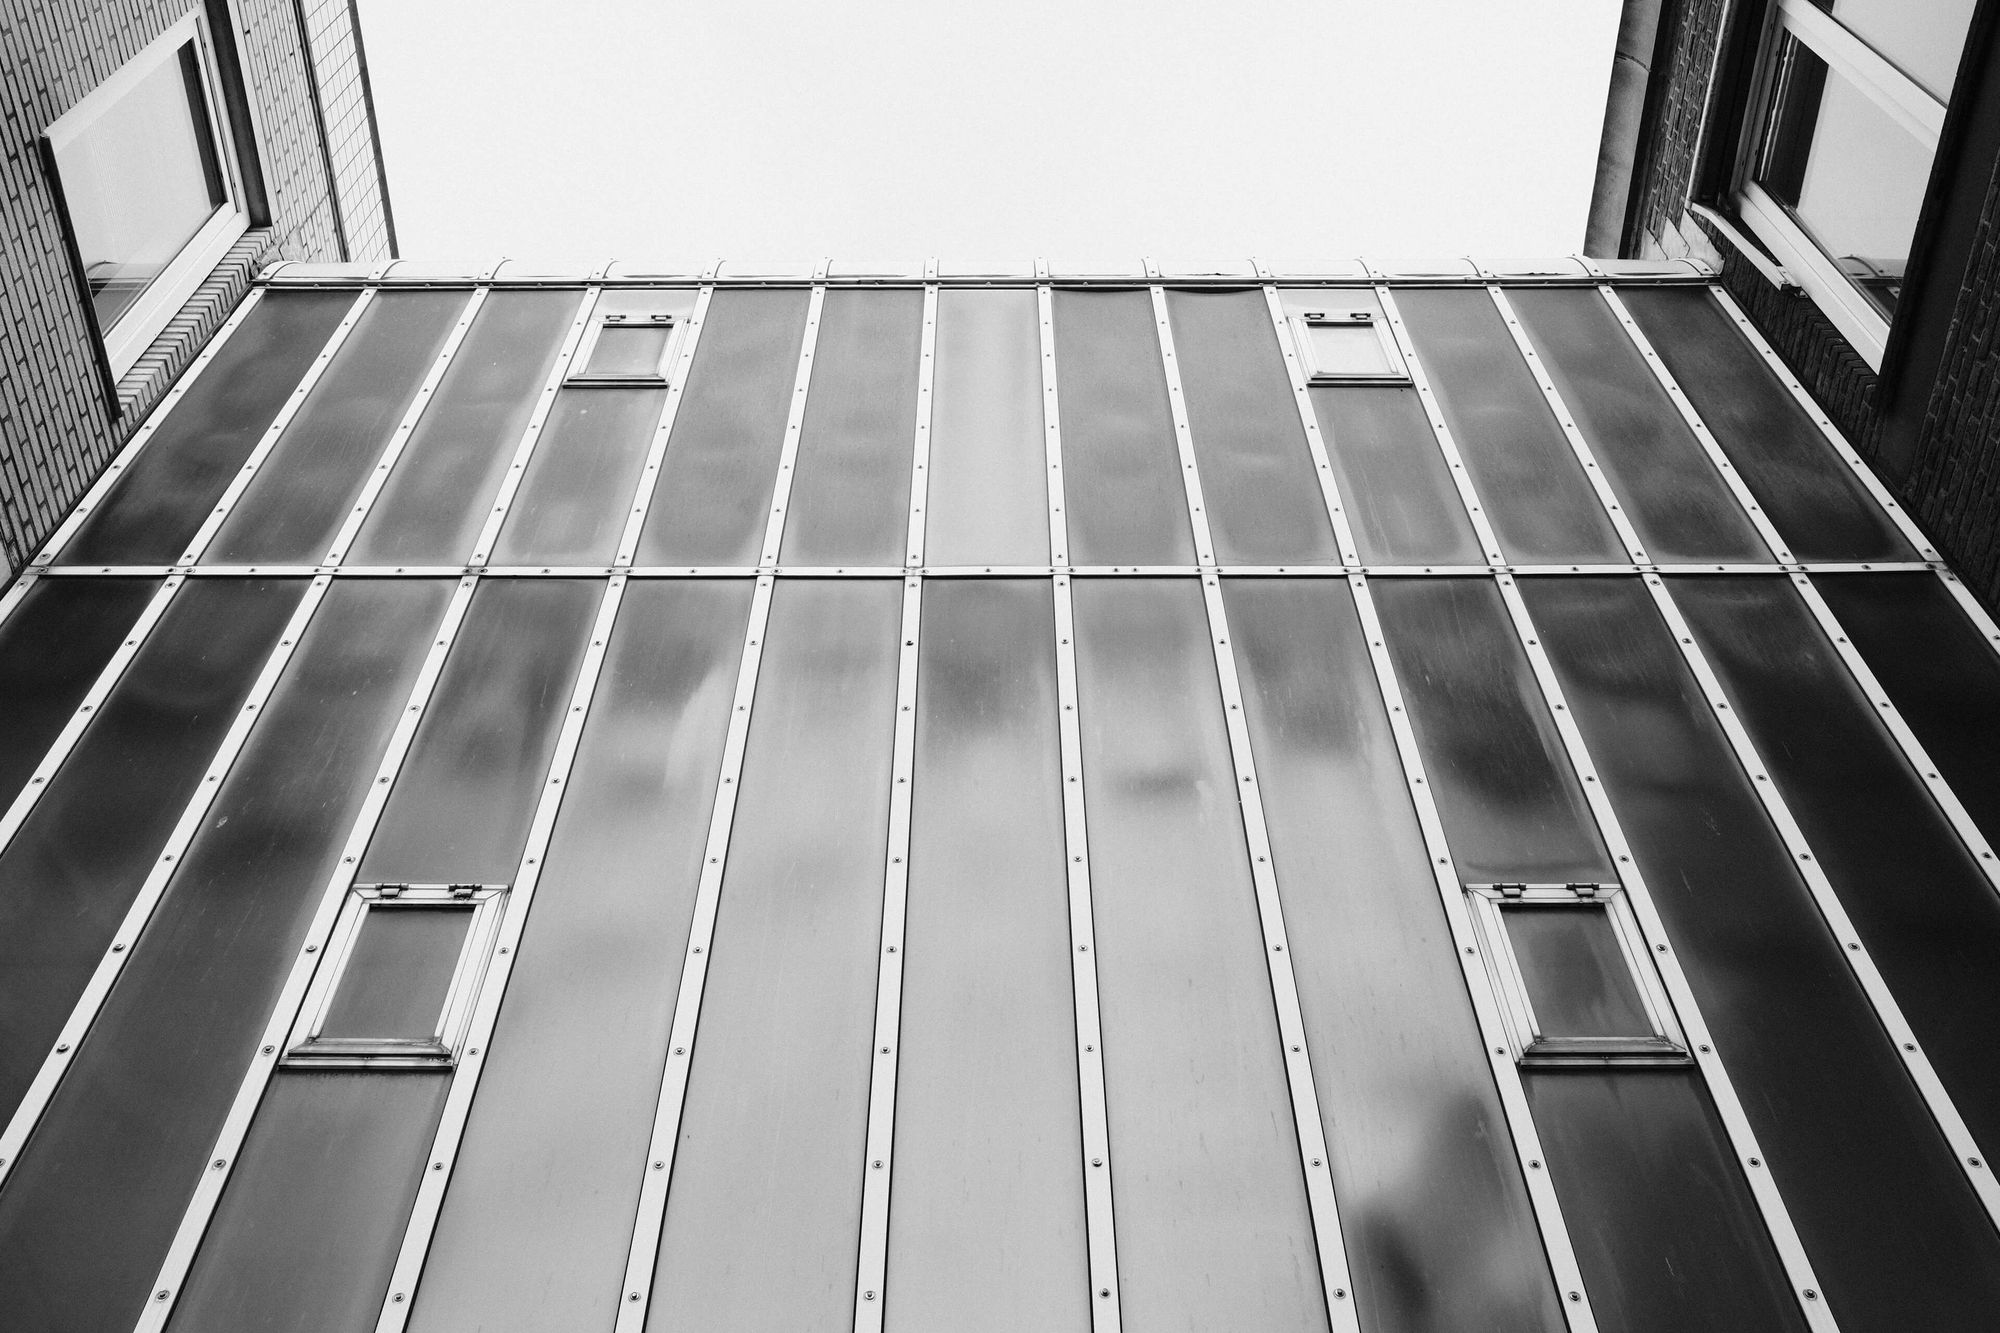
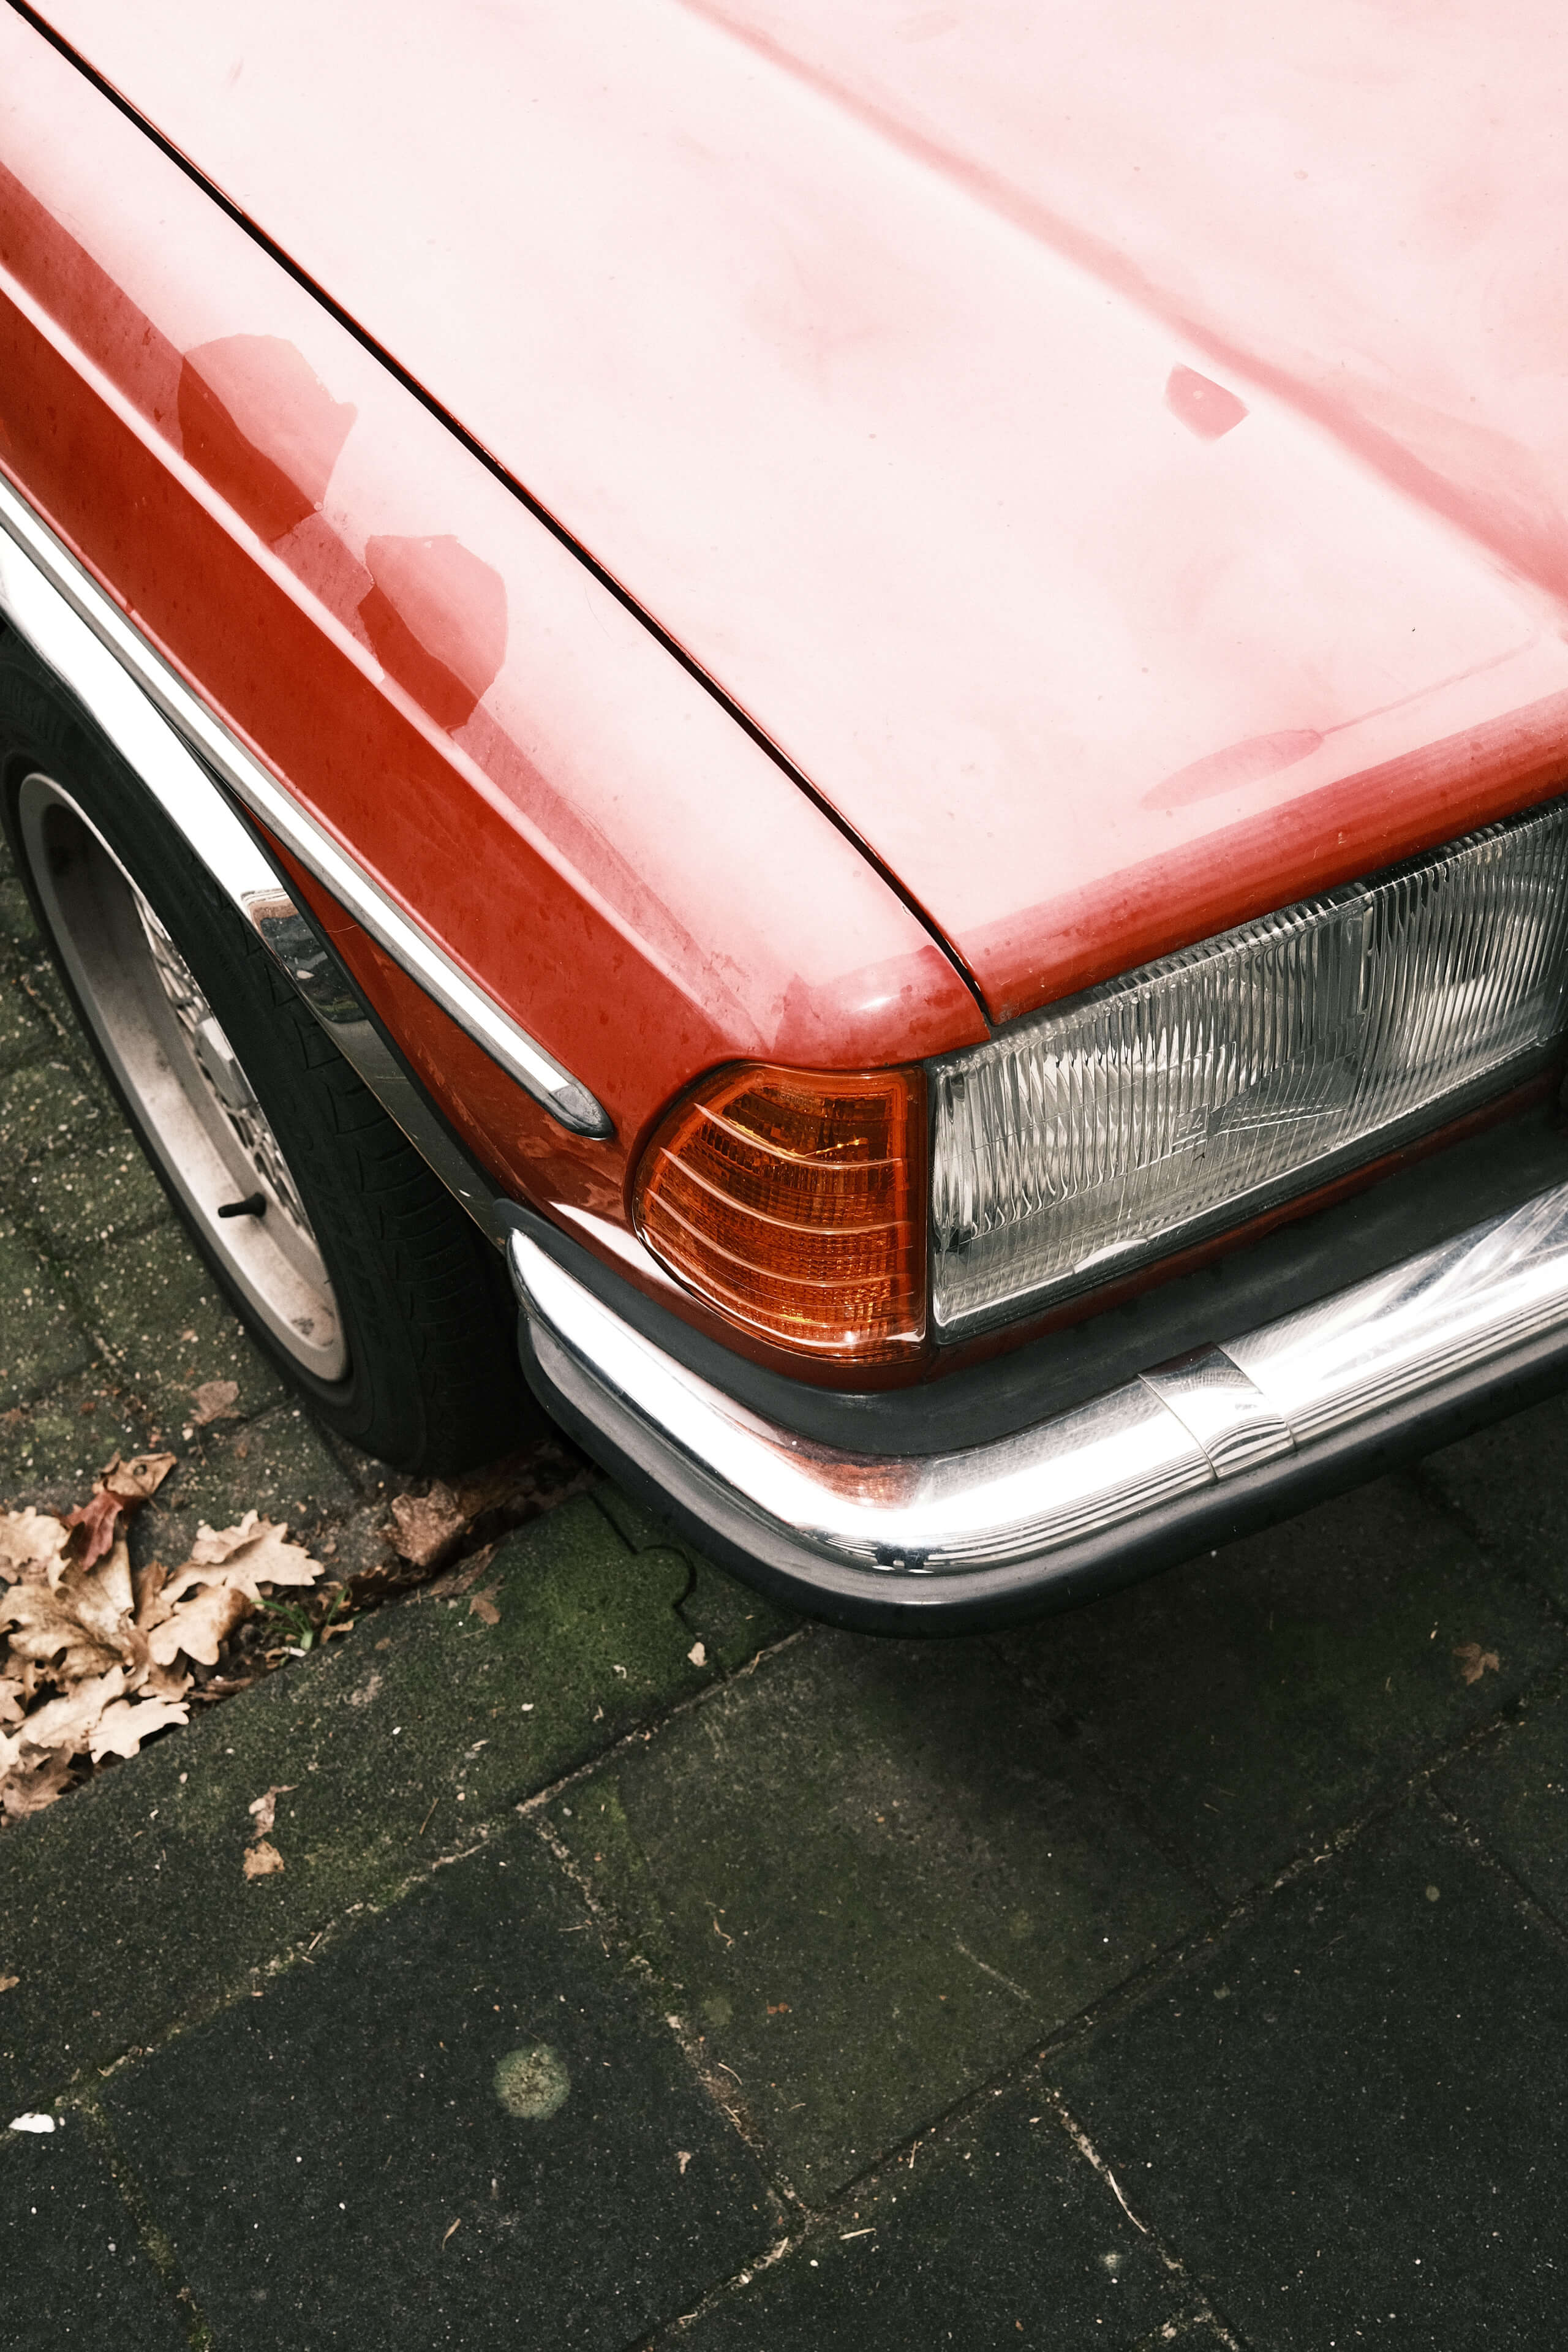
AC, straight out of camera Fujifilm jpegs
AC+: Black and white with enhanced contrast
This film simulation recipe is very similar to my AC recipe. You’ll see that reflected in the settings below as well, only Dynamic Range and Shadows are different. Those minor adjustments are enough to maintain the same look as AC but with more contrast. Yes, even more.
Works well for
- Street photography
- Flat light that benefits from added contrast
Does not work well for
- Portraiture
- Heavy contrast scenes, where shadow detail matters
My AC+ film simulation recipe
Dynamic Range: DR100
Highlight: +3
Shadow: +4
Noise Reduction: -4
Sharpening: +3
Clarity: 0
Grain Effect: Weak, Small
Color Chrome Effect: Strong
Color Chrome Effect Blue: Off
White Balance: Auto, 0 Red & 0 Blue
ISO: Manual
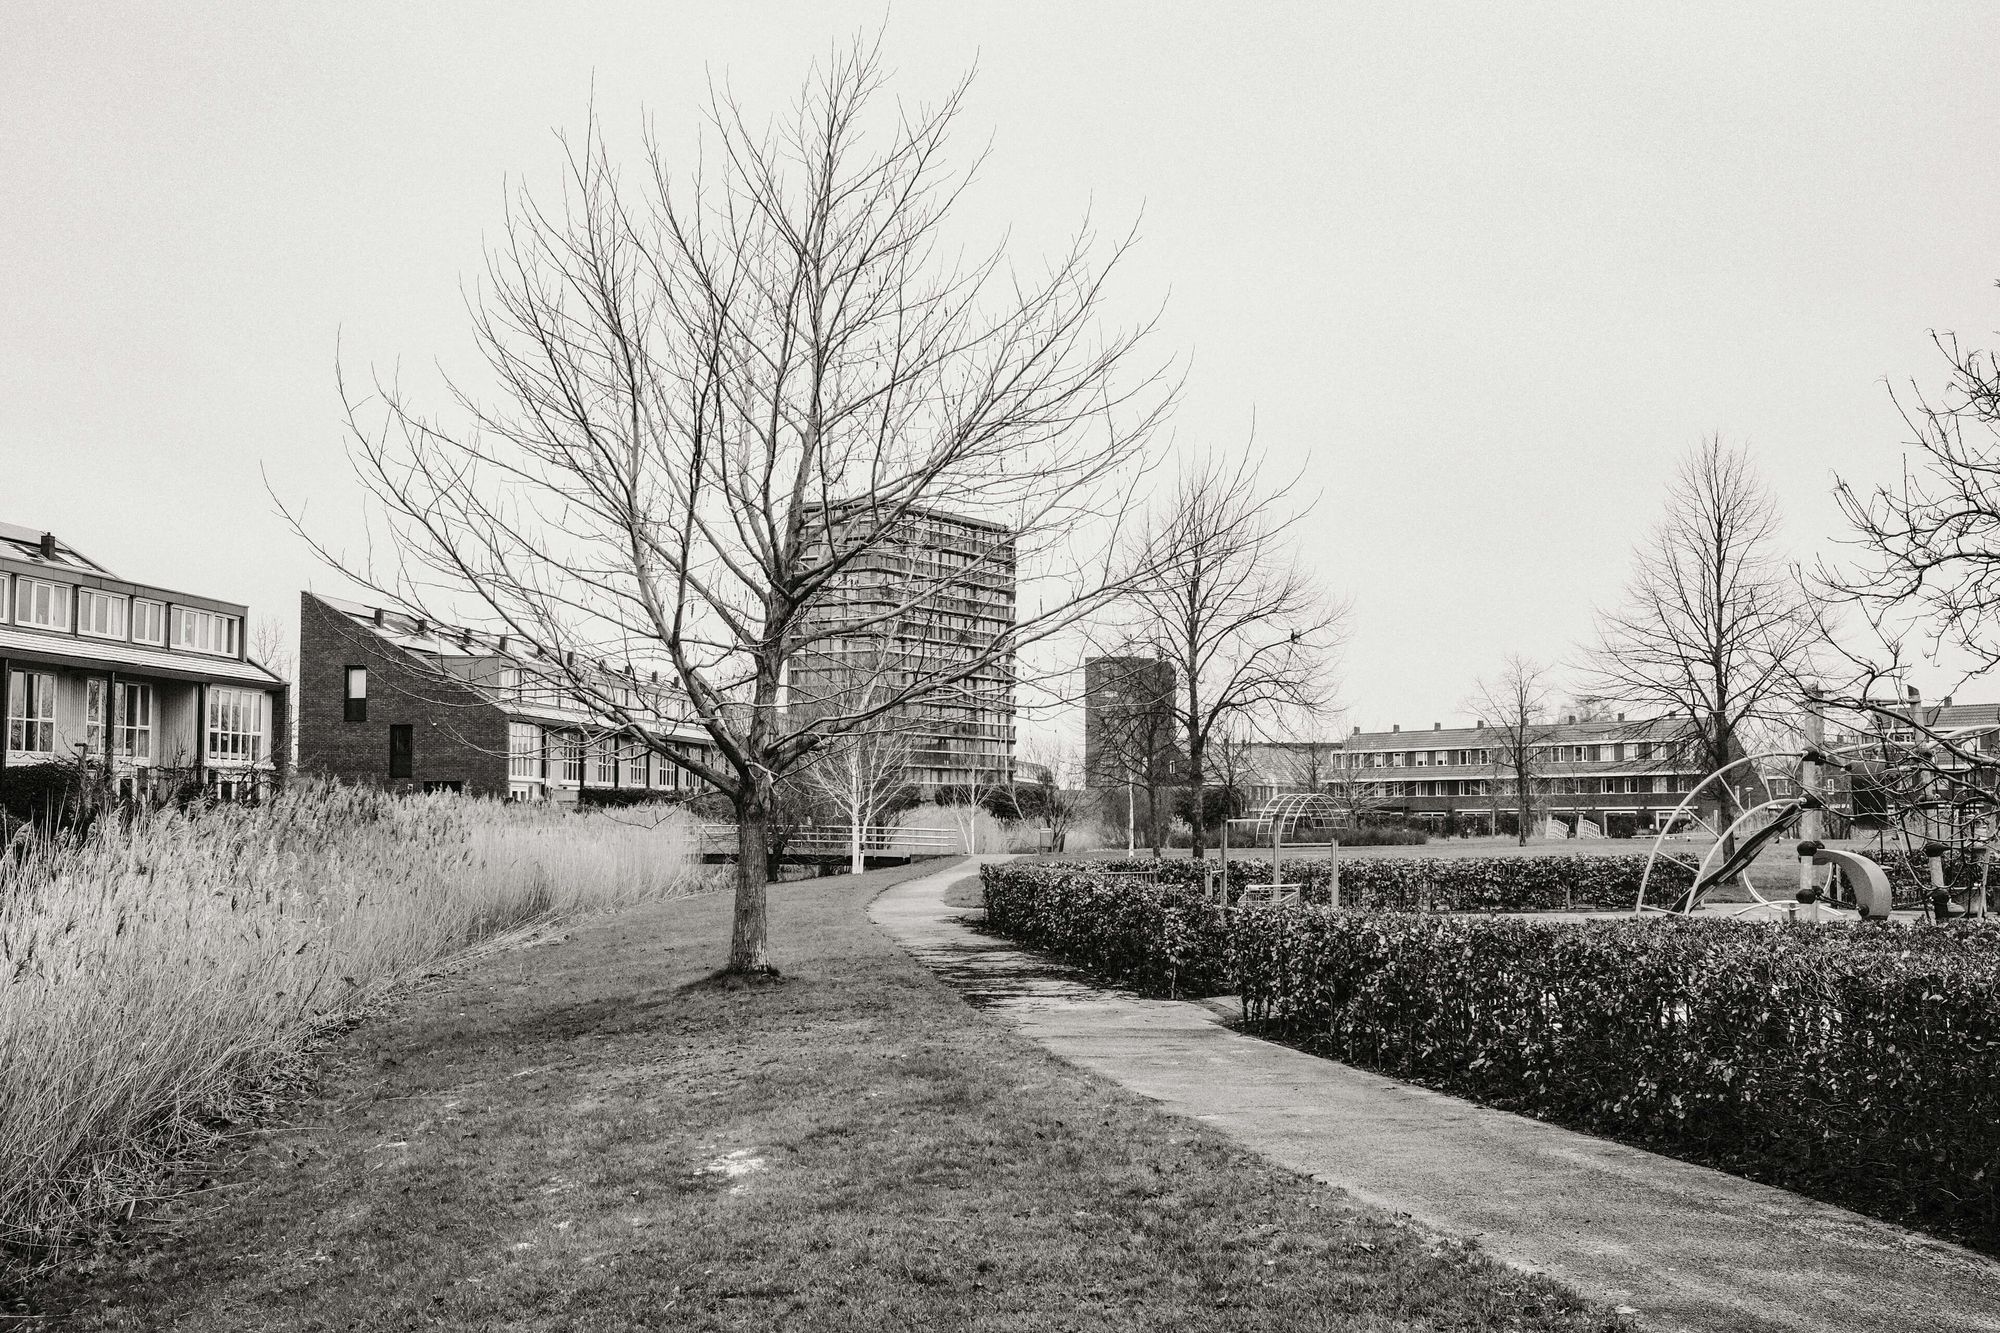

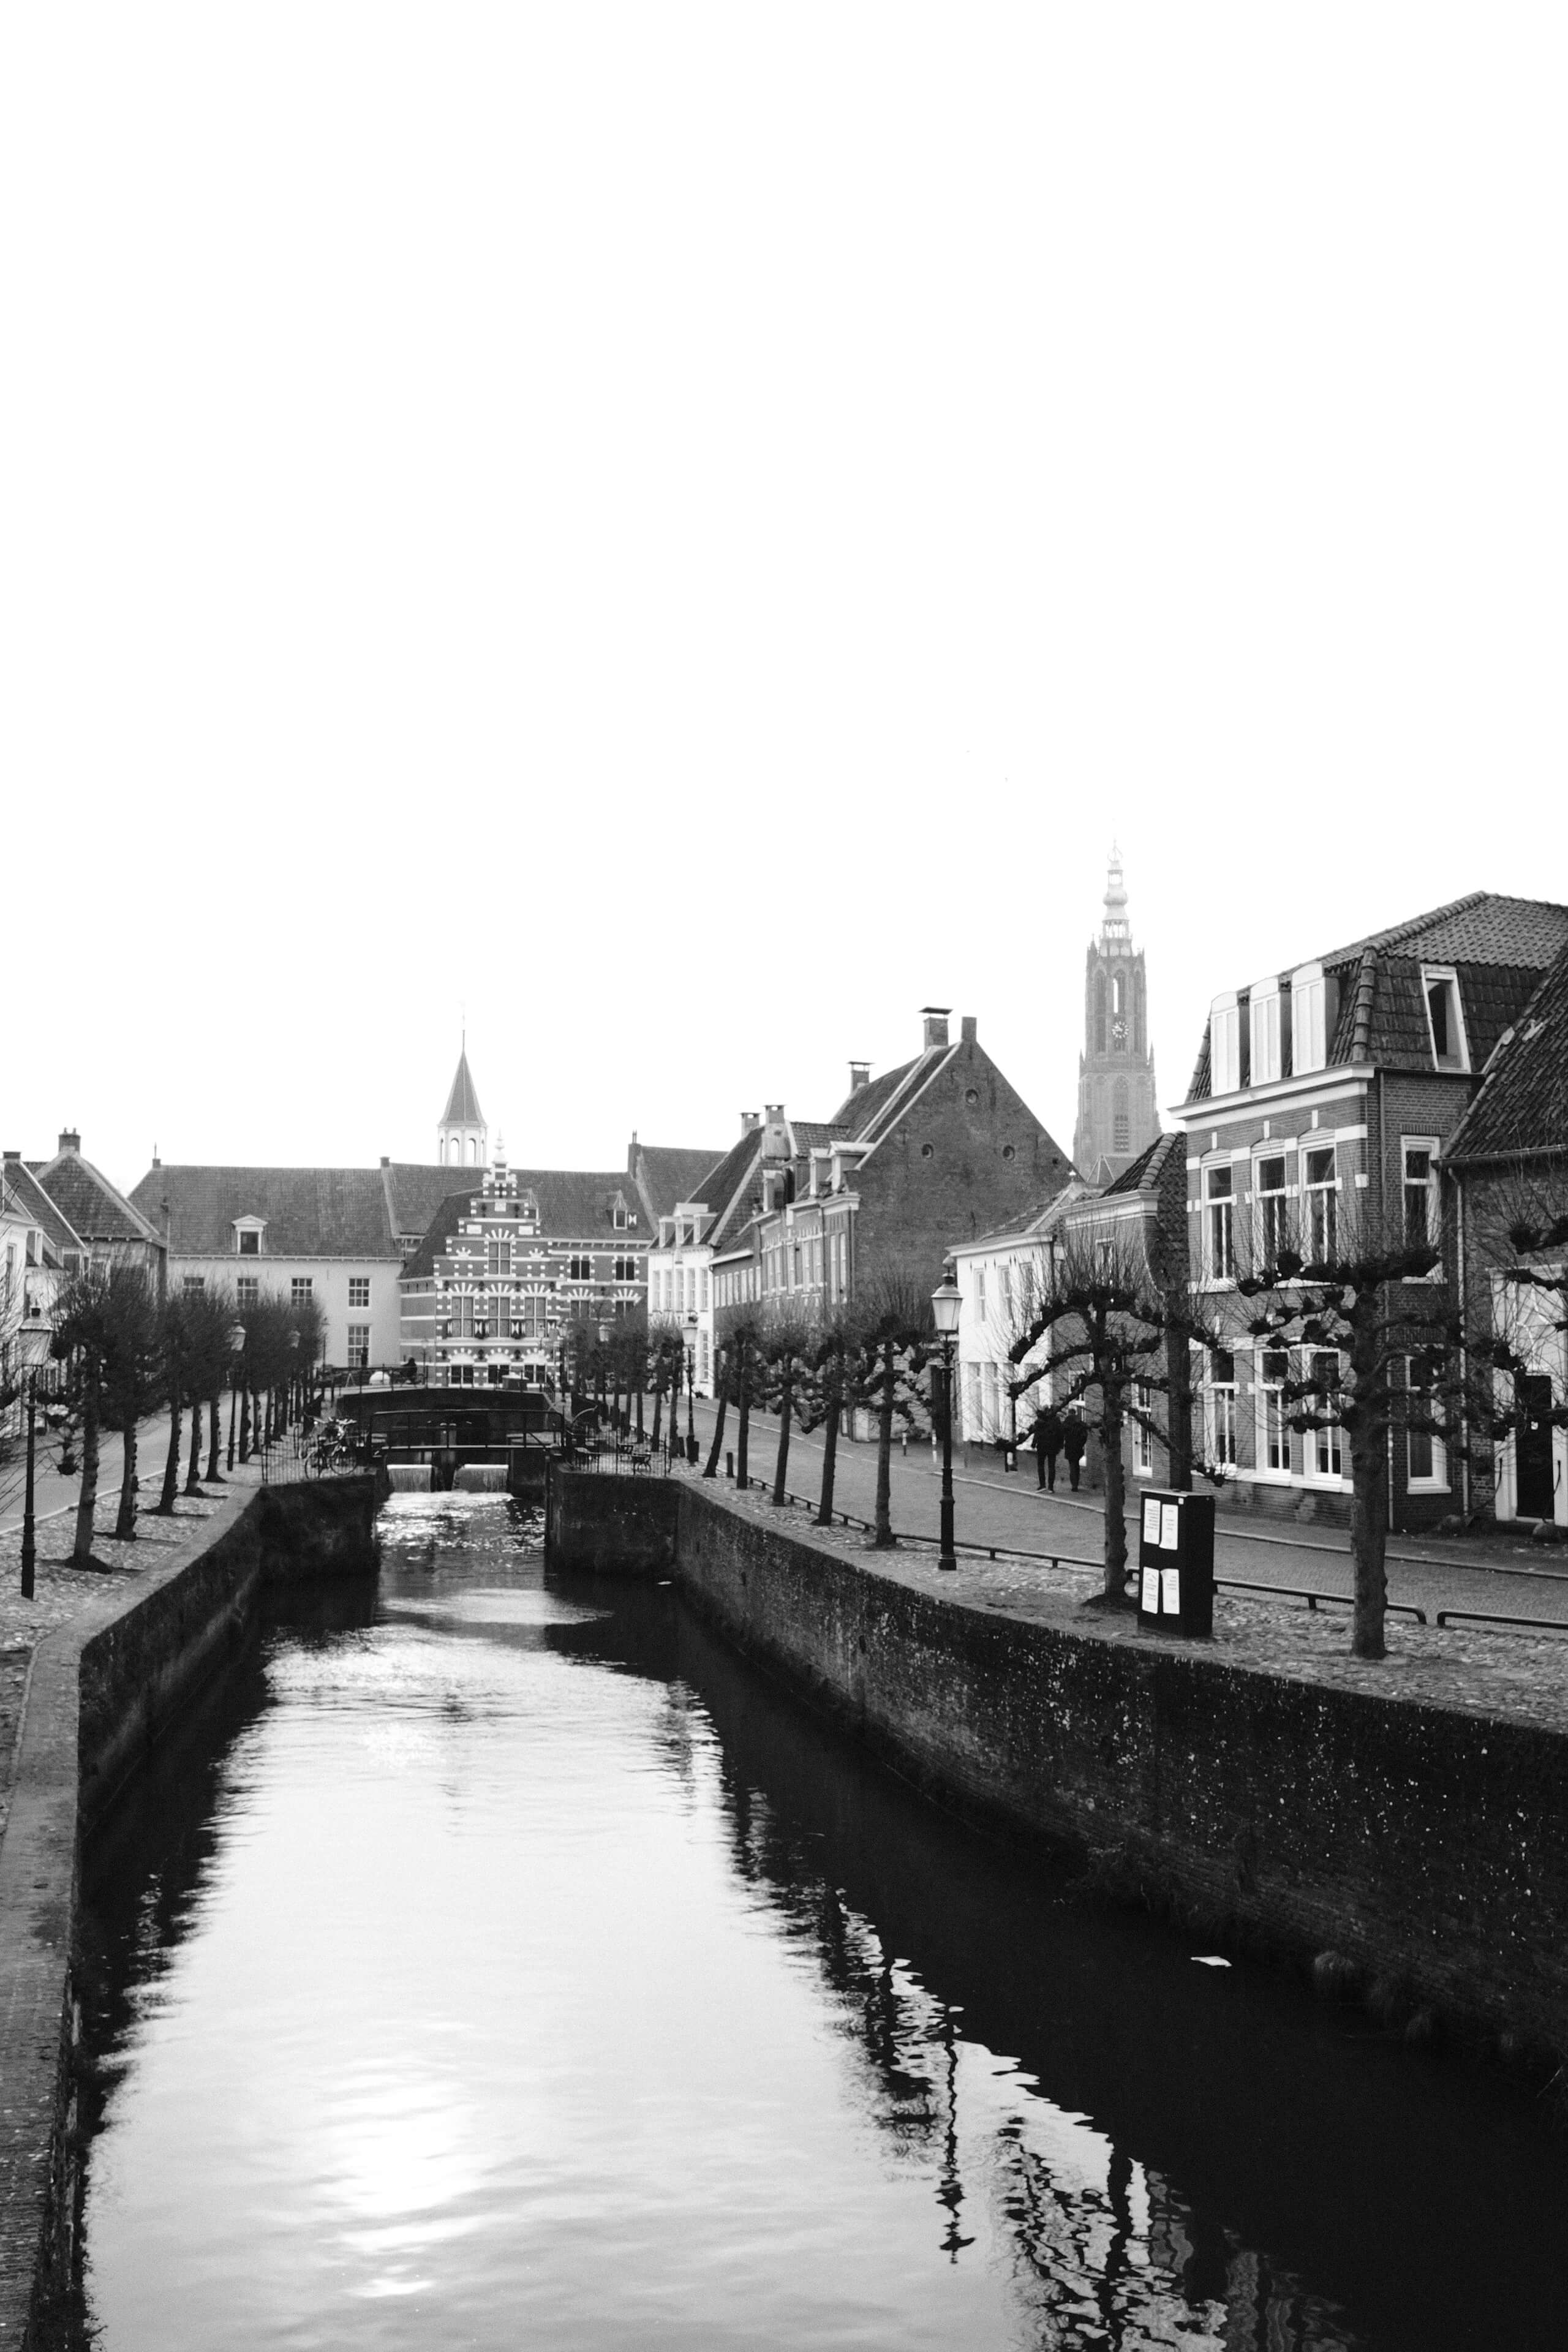
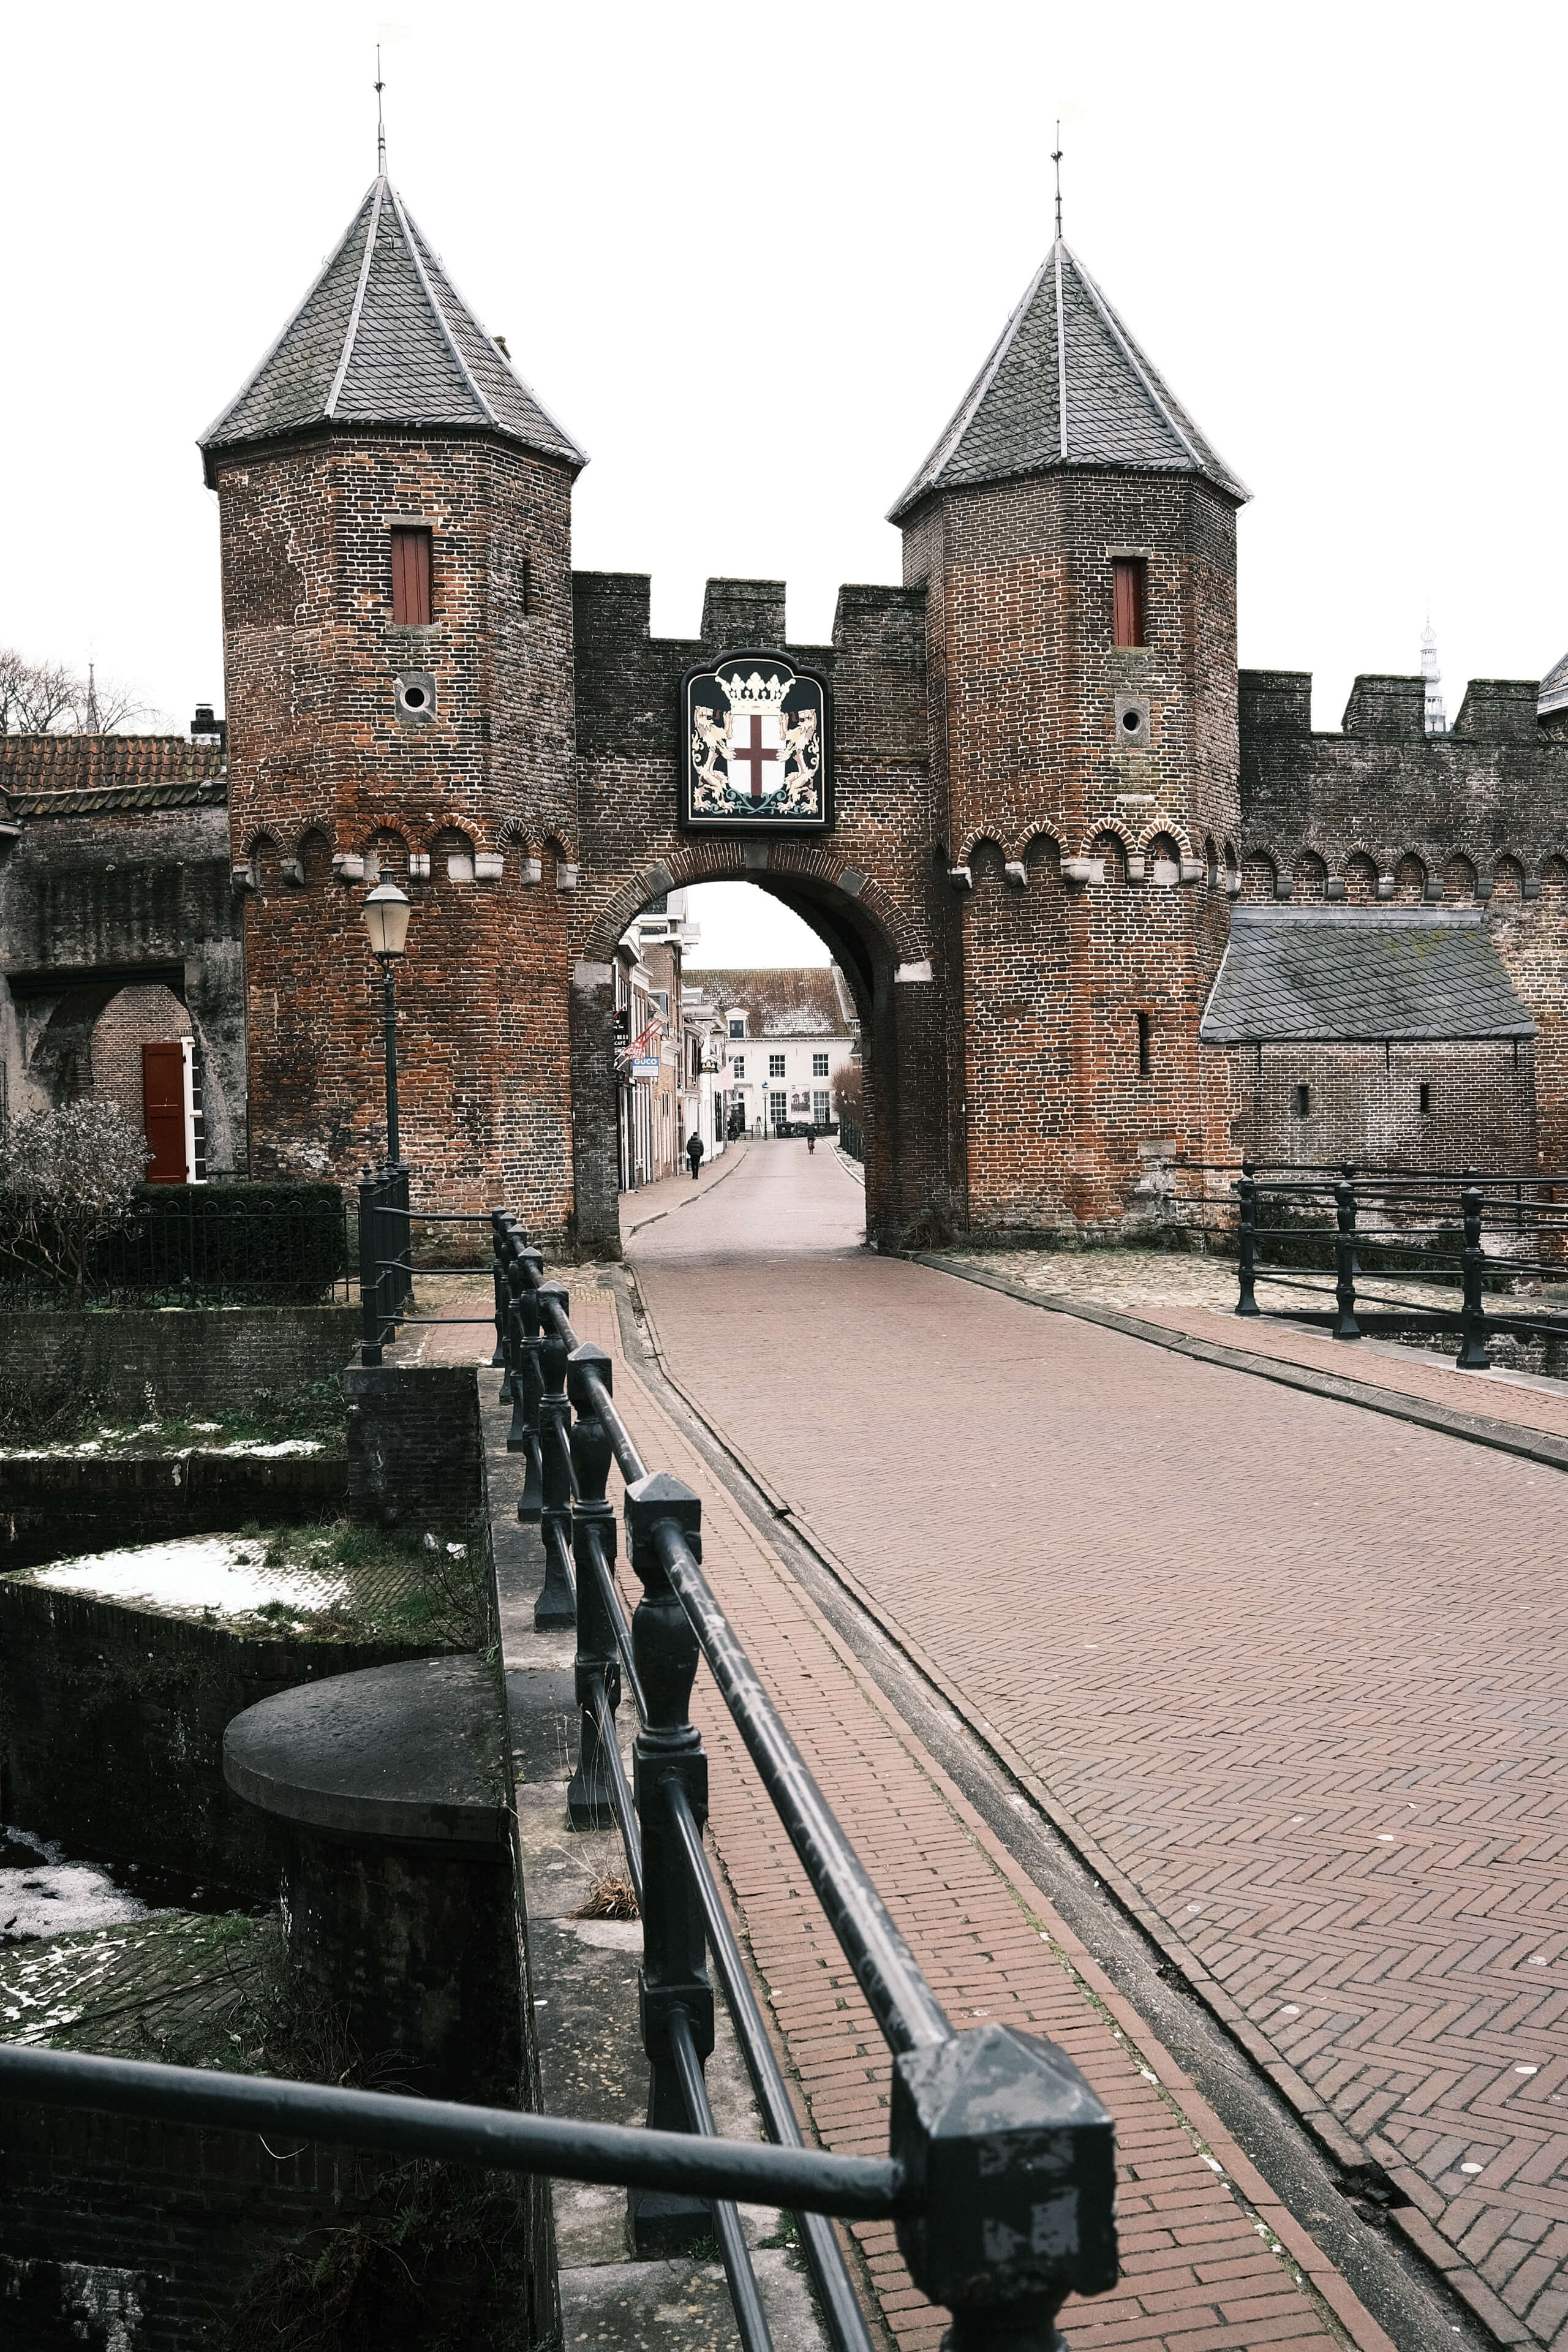
AC+, straight out of camera Fujifilm jpegs
CC: Color with warm Kodak vibes
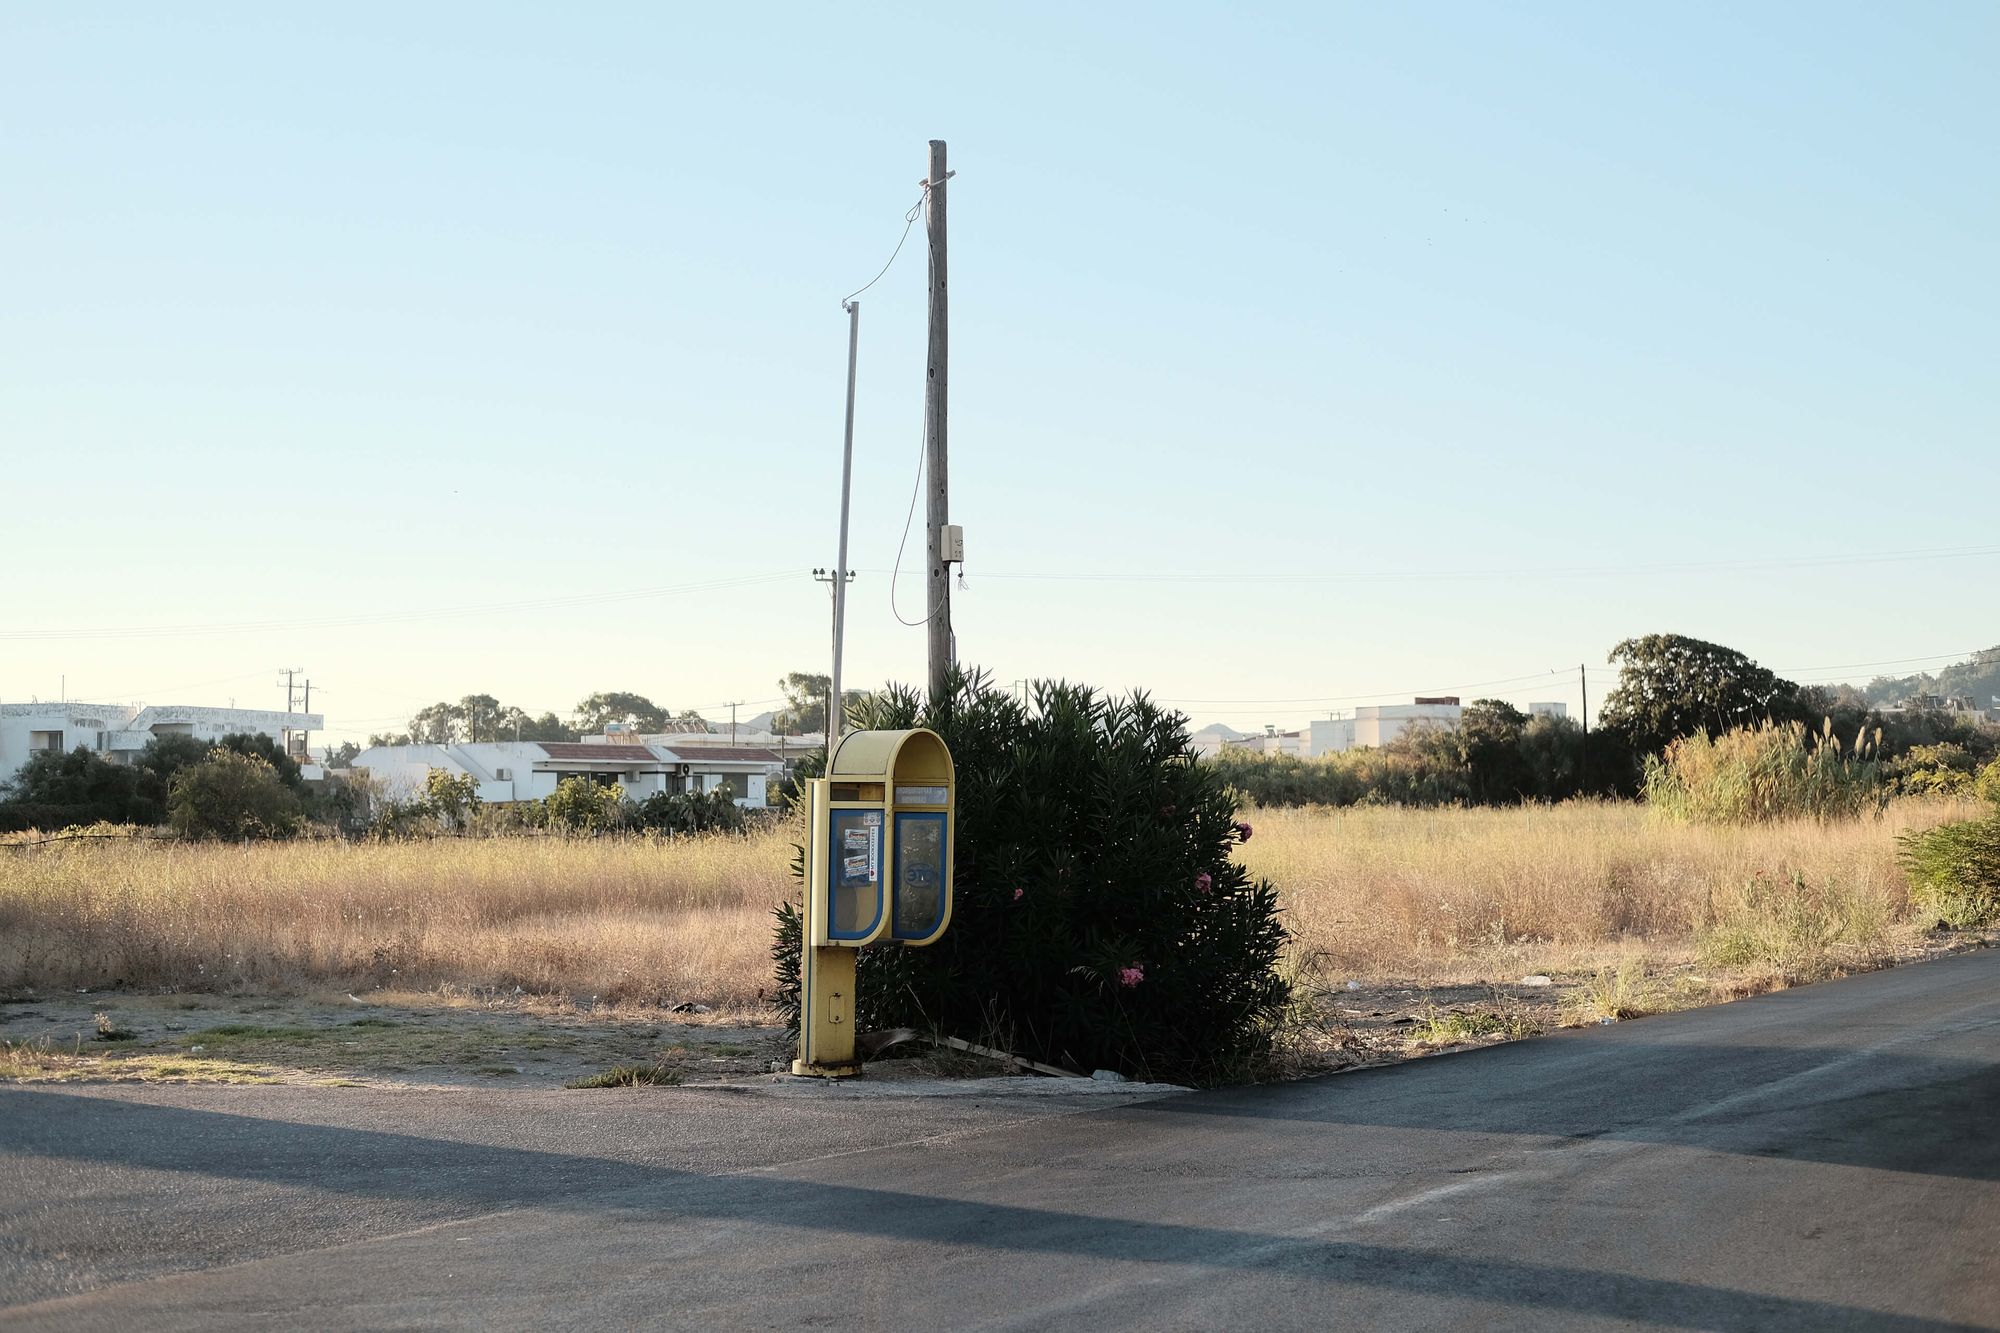
CC is my favorite color film simulation and the one I use the most. It's rather understated and works on pretty much all subjects, thanks to its desaturated and balanced look. CC has a punchy look that protects the highlights while keeping sufficient detail in the shadows. This is helpful on sunny days, which is why I used it almost exclusively on my trip to Greece. Set your camera to a slightly warmer white balance (around 6500K to 6900K) and you won’t be able to tell the difference between Kodak film and this film simulation recipe.
Works well for
- Almost anything
- Desaturated ‘film-like’ vibes
- Portraiture
- Street photography
- Documentary photography
- Nature
Does not work well for
- Evenly lit scenes with subjects that lack natural contrast
My CC film simulation recipe
Dynamic Range: DR400
Highlight: +1
Shadow: +2
Color: -3
Noise Reduction: -4
Sharpening: +3
Clarity: 0
Grain Effect: Weak, Small
Color Chrome Effect: Strong
Color Chrome Effect Blue: Off
White Balance: Auto, +2 Red & -3 Blue
ISO: Manual, 640 and up
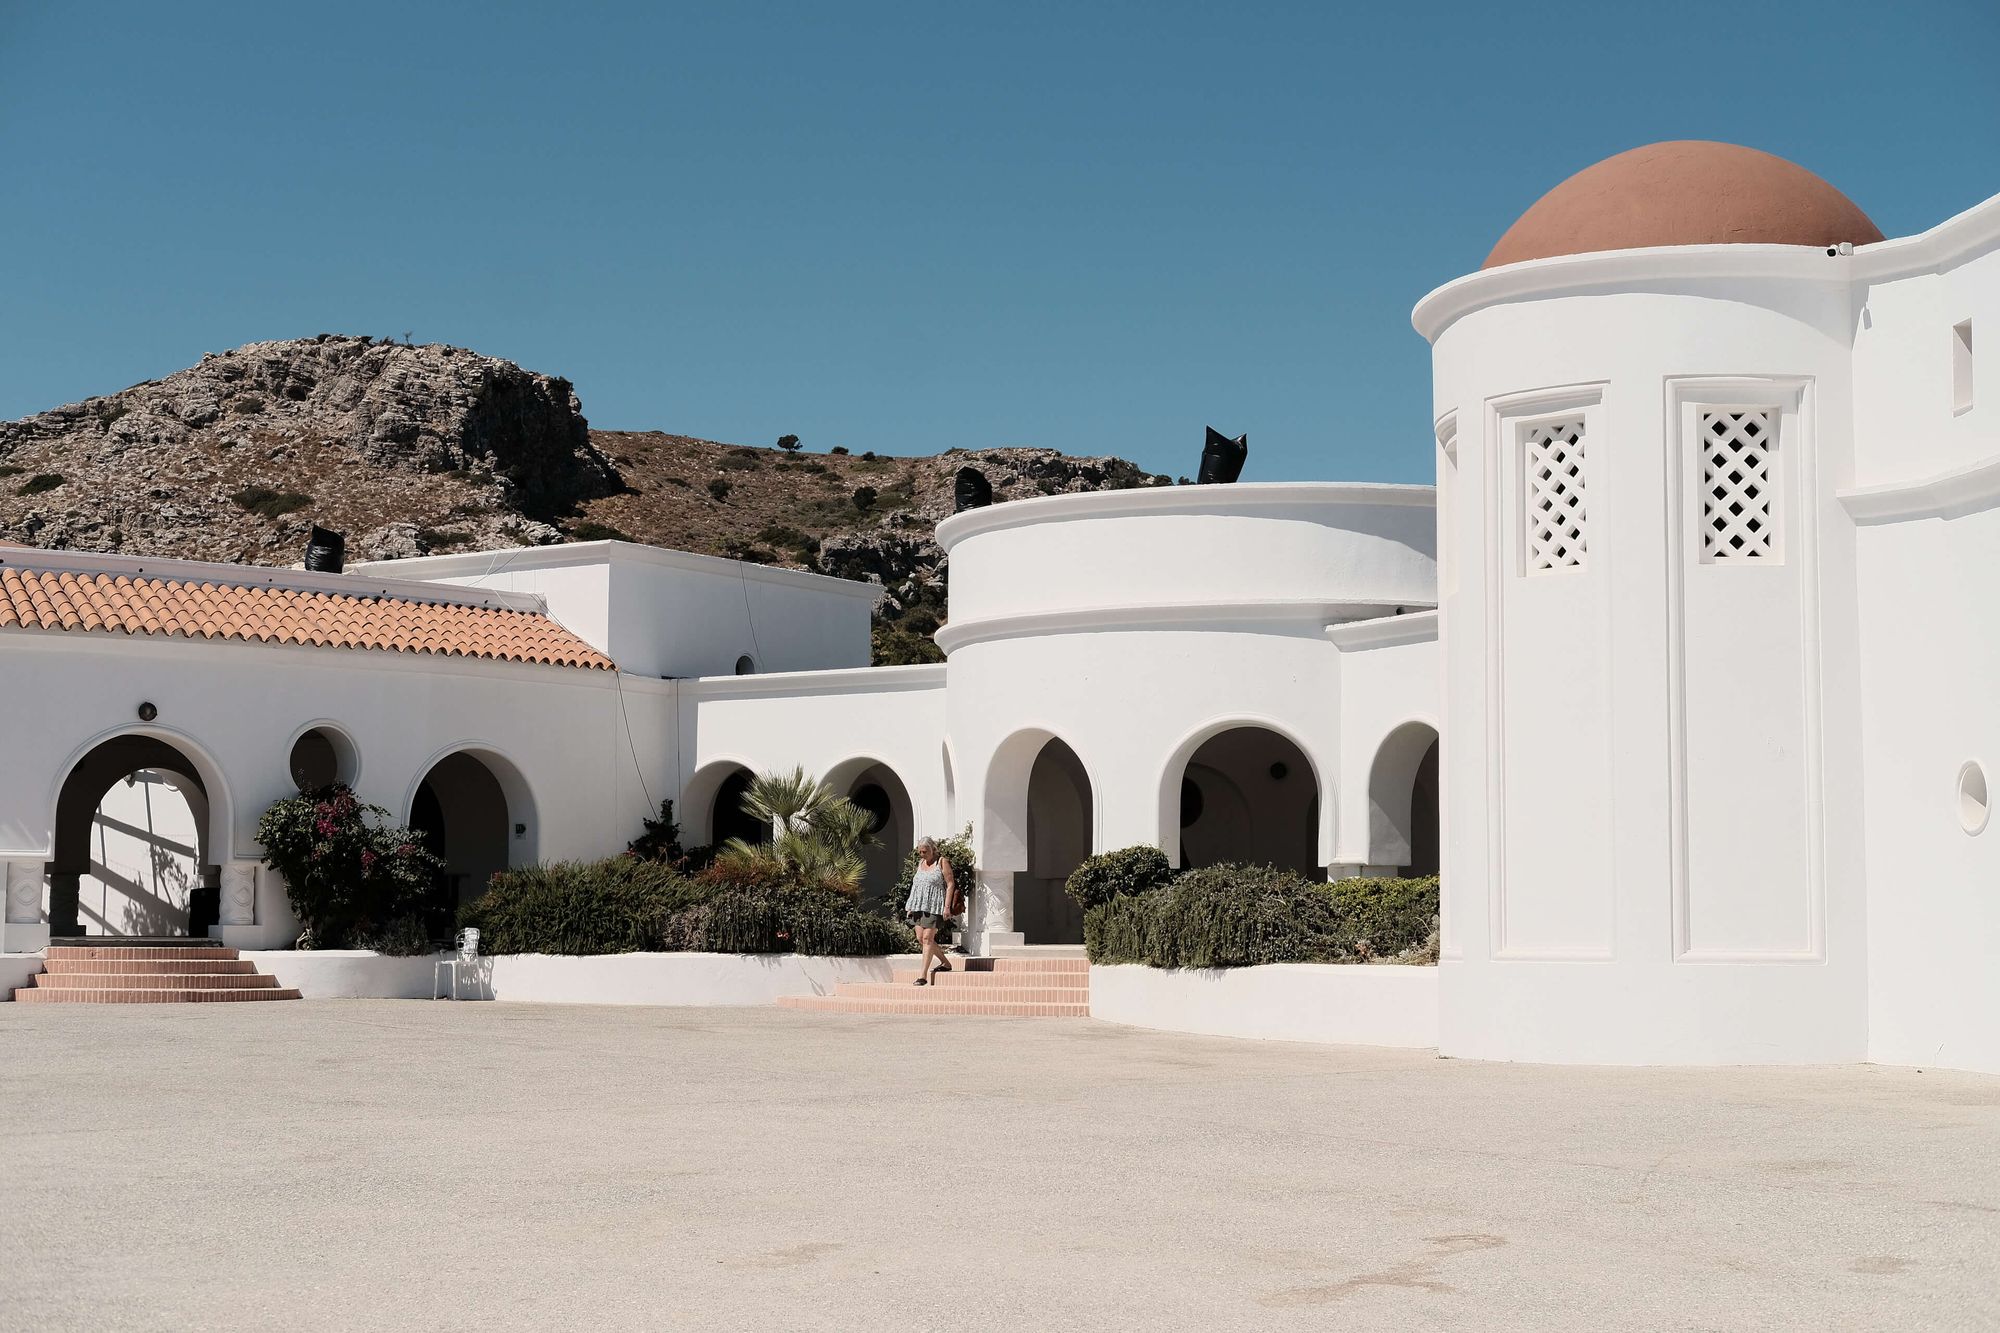

CC, straight out of camera Fujifilm jpegs
CC+: Kodak color but more intense
Just like the higher-intensity version of my black and white recipe, my CC+ film simulation recipe is very similar to its sibling CC. Only Dynamic Range and Highlights are different. Unlike with my black and white simulations, where I introduce contrast by lowering the shadows though, I aim for a more high-key look in the Plus versions of my color film simulations. I do this by boosting the highlights for a sharper distinction between light and dark while protecting the details in the shadows.
Works well for
- Soft light on overcast days, where you need some extra ‘punch’ in your photos
- Urban scenes without people
Does not work well for
- Harsh direct sunlight, where shadow detail is important
My CC+ film simulation recipe
Dynamic Range: DR100
Highlight: +3
Shadow: +2
Color: -3
Noise Reduction: -4
Sharpening: +3
Clarity: 0
Grain Effect: Weak, Small
Color Chrome Effect: Strong
Color Chrome Effect Blue: Off
White Balance: Auto, +2 Red & -3 Blue
ISO: Manual

CC+, straight out of camera Fujifilm jpegs
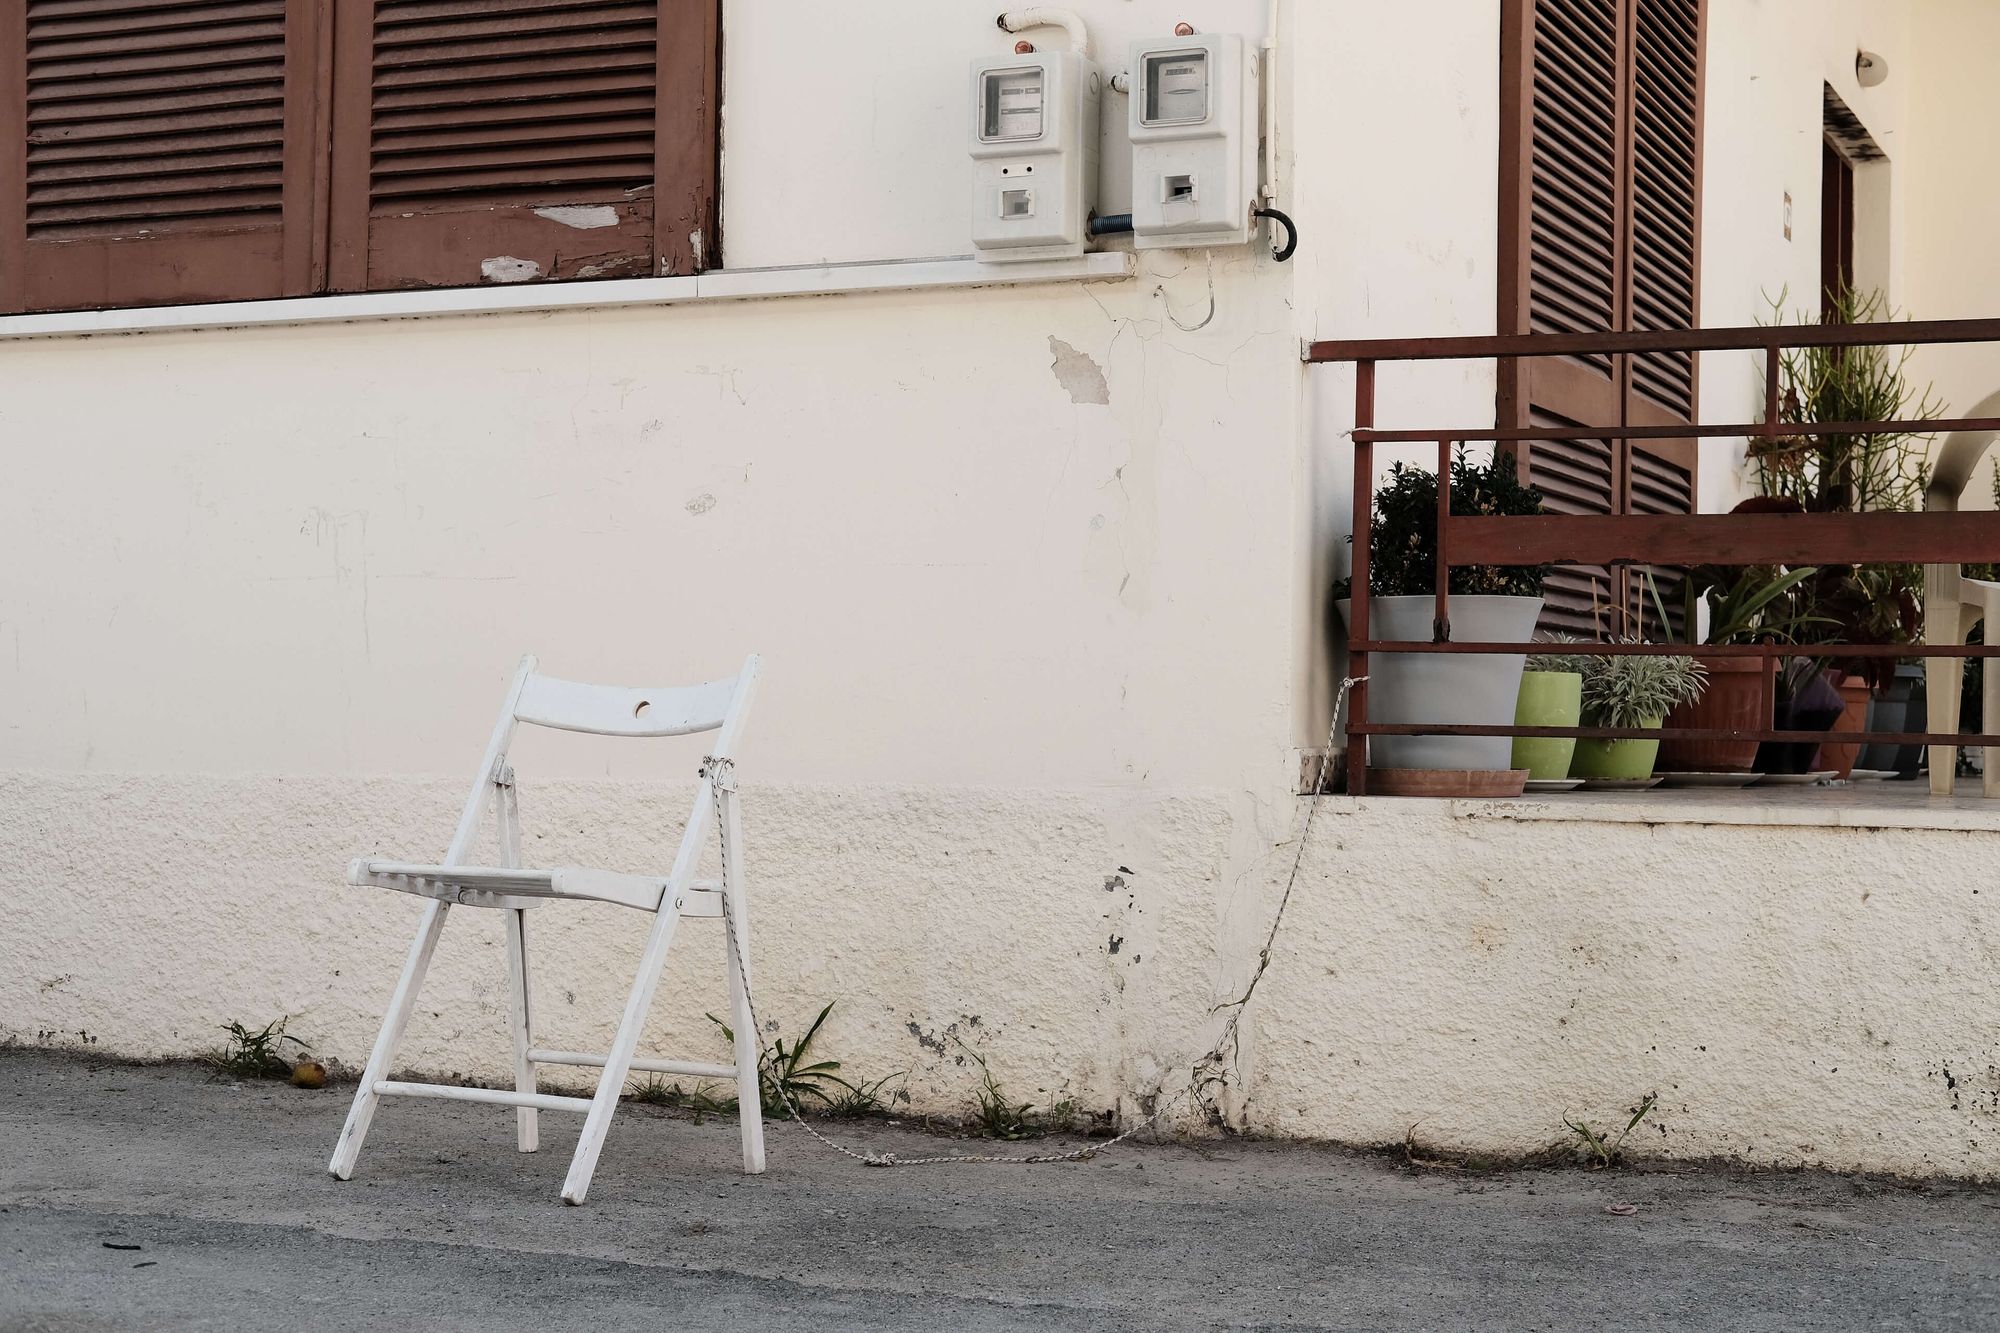
CN: Tasteful vintage colors
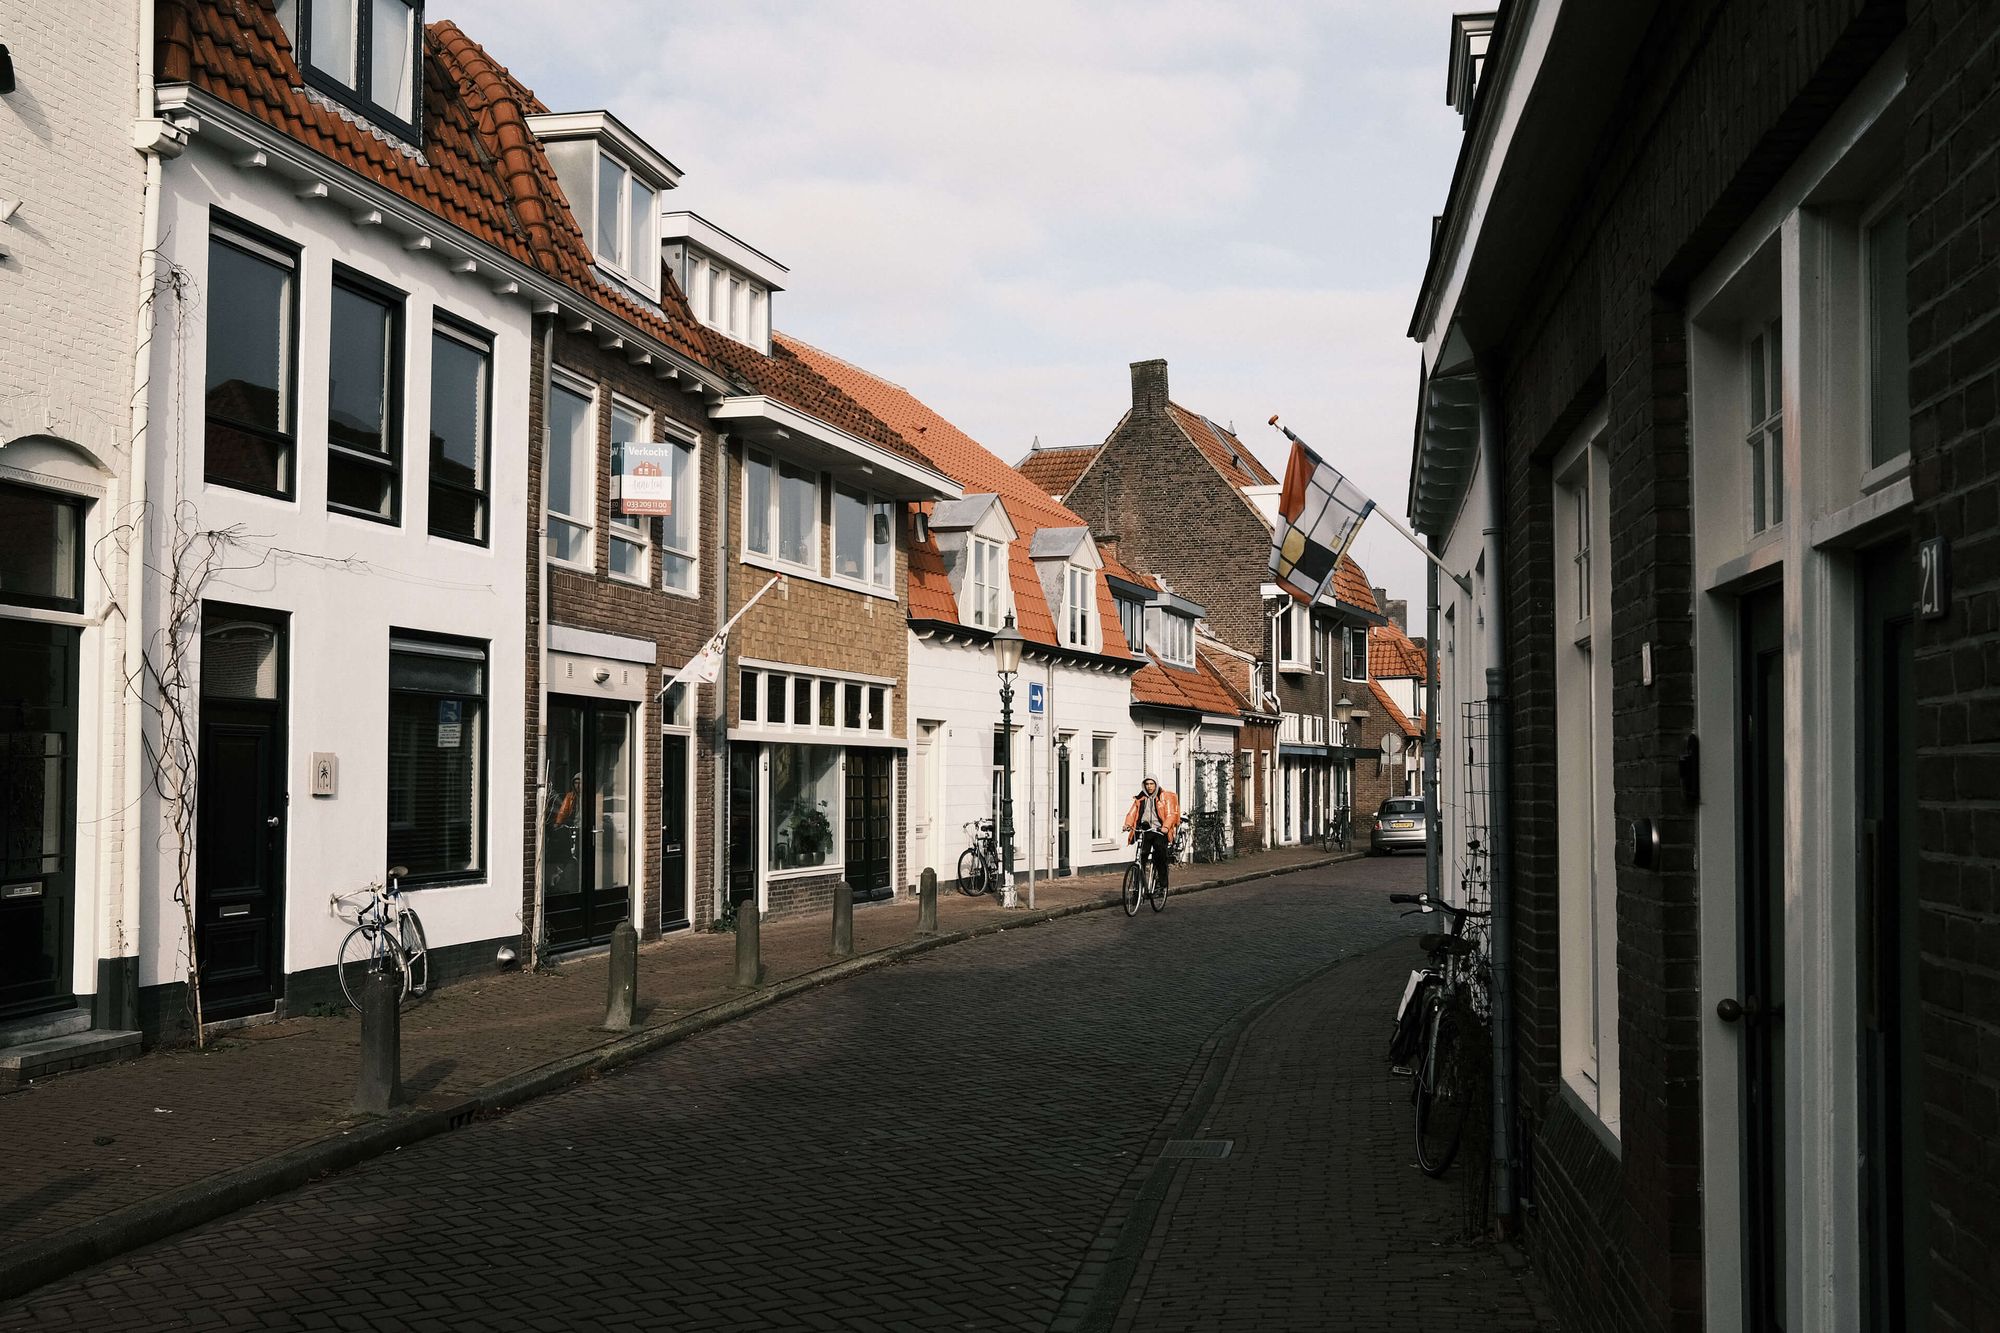
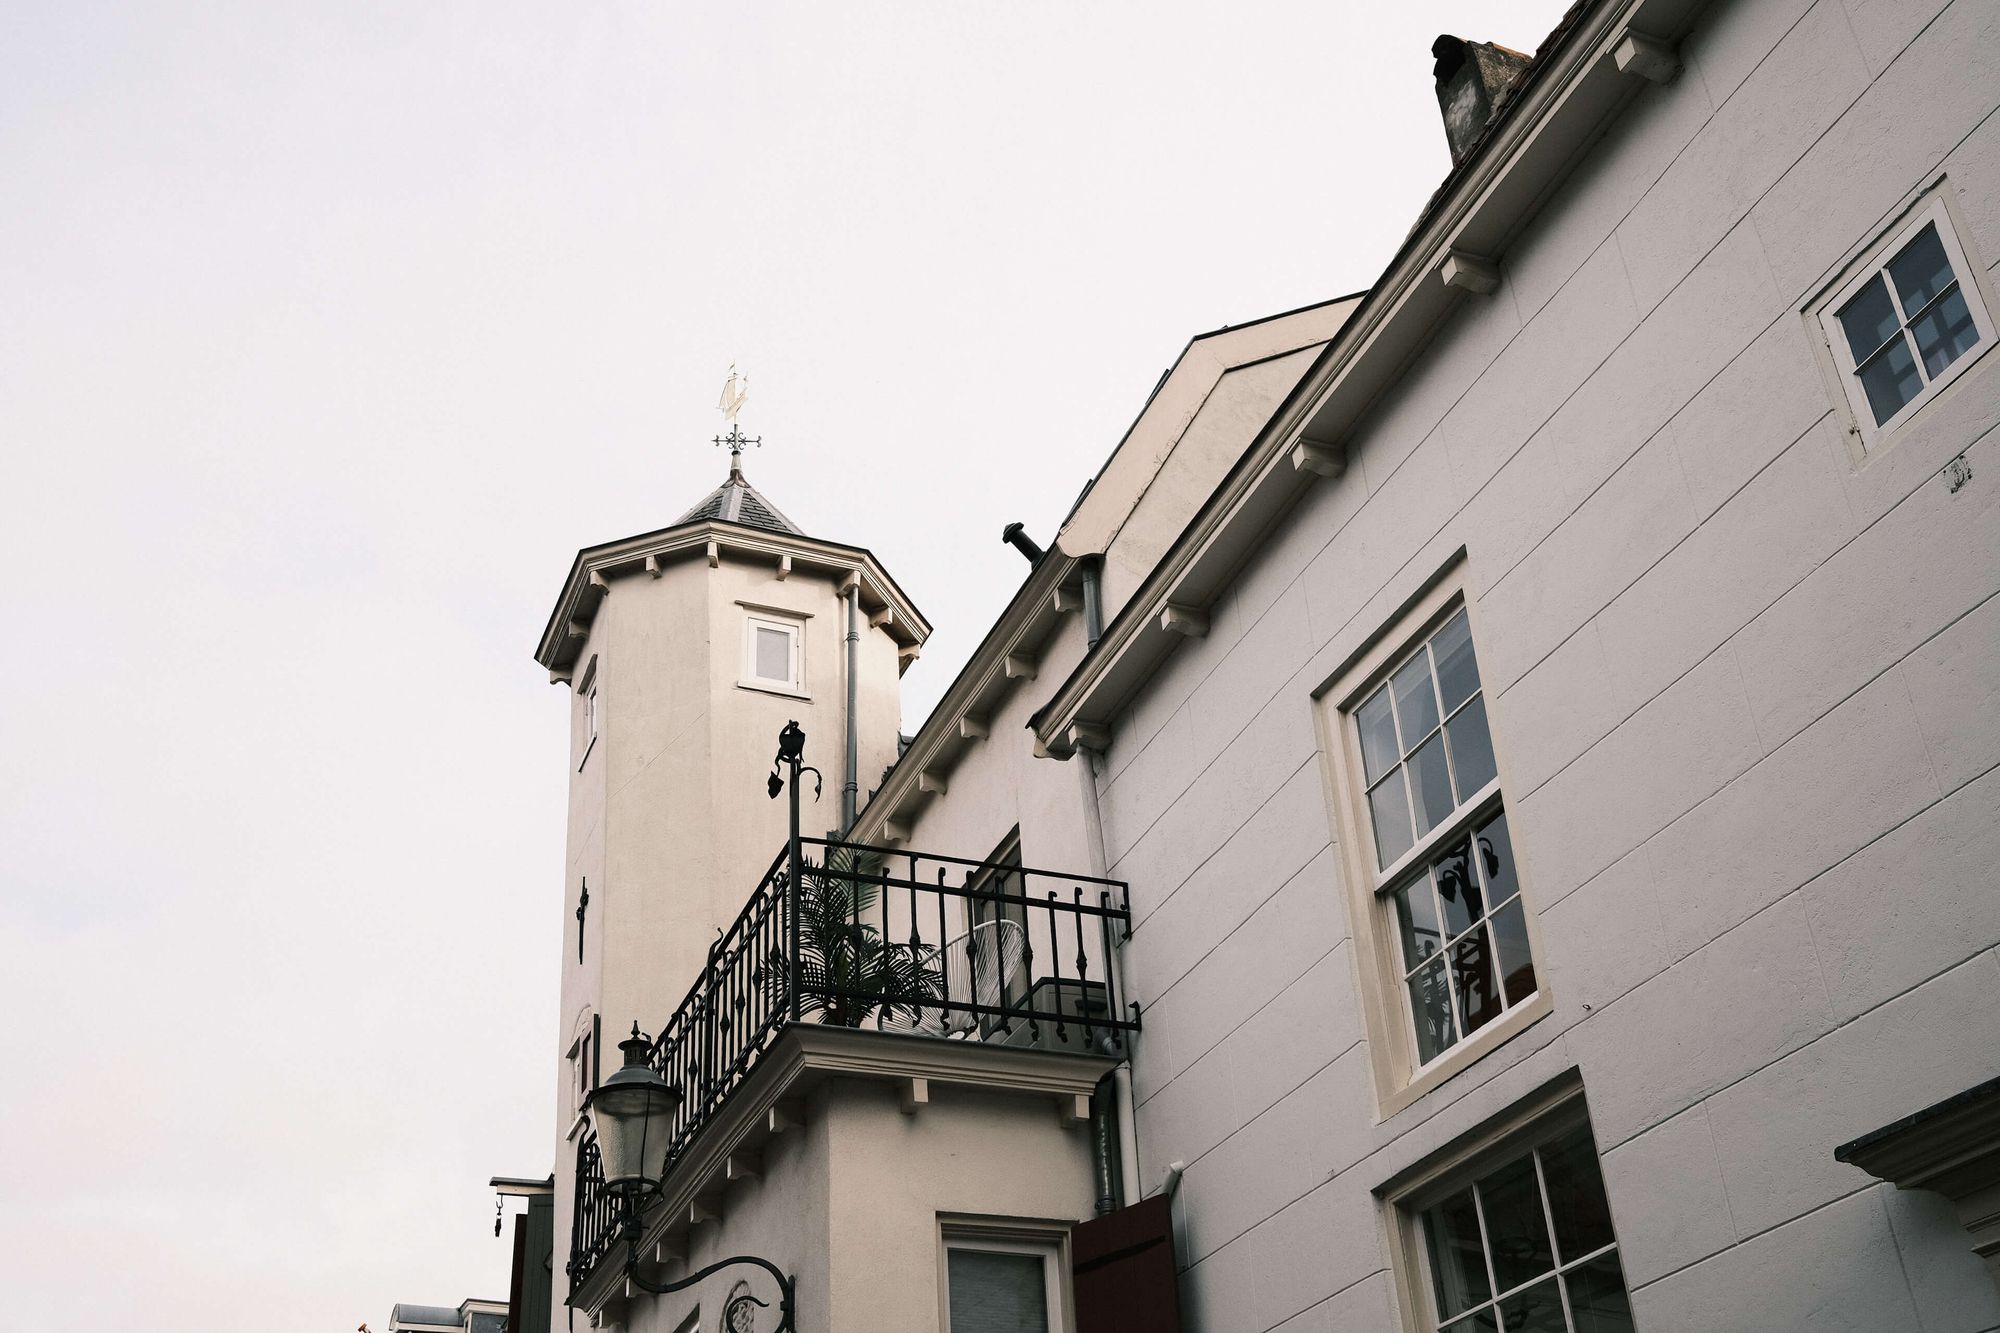
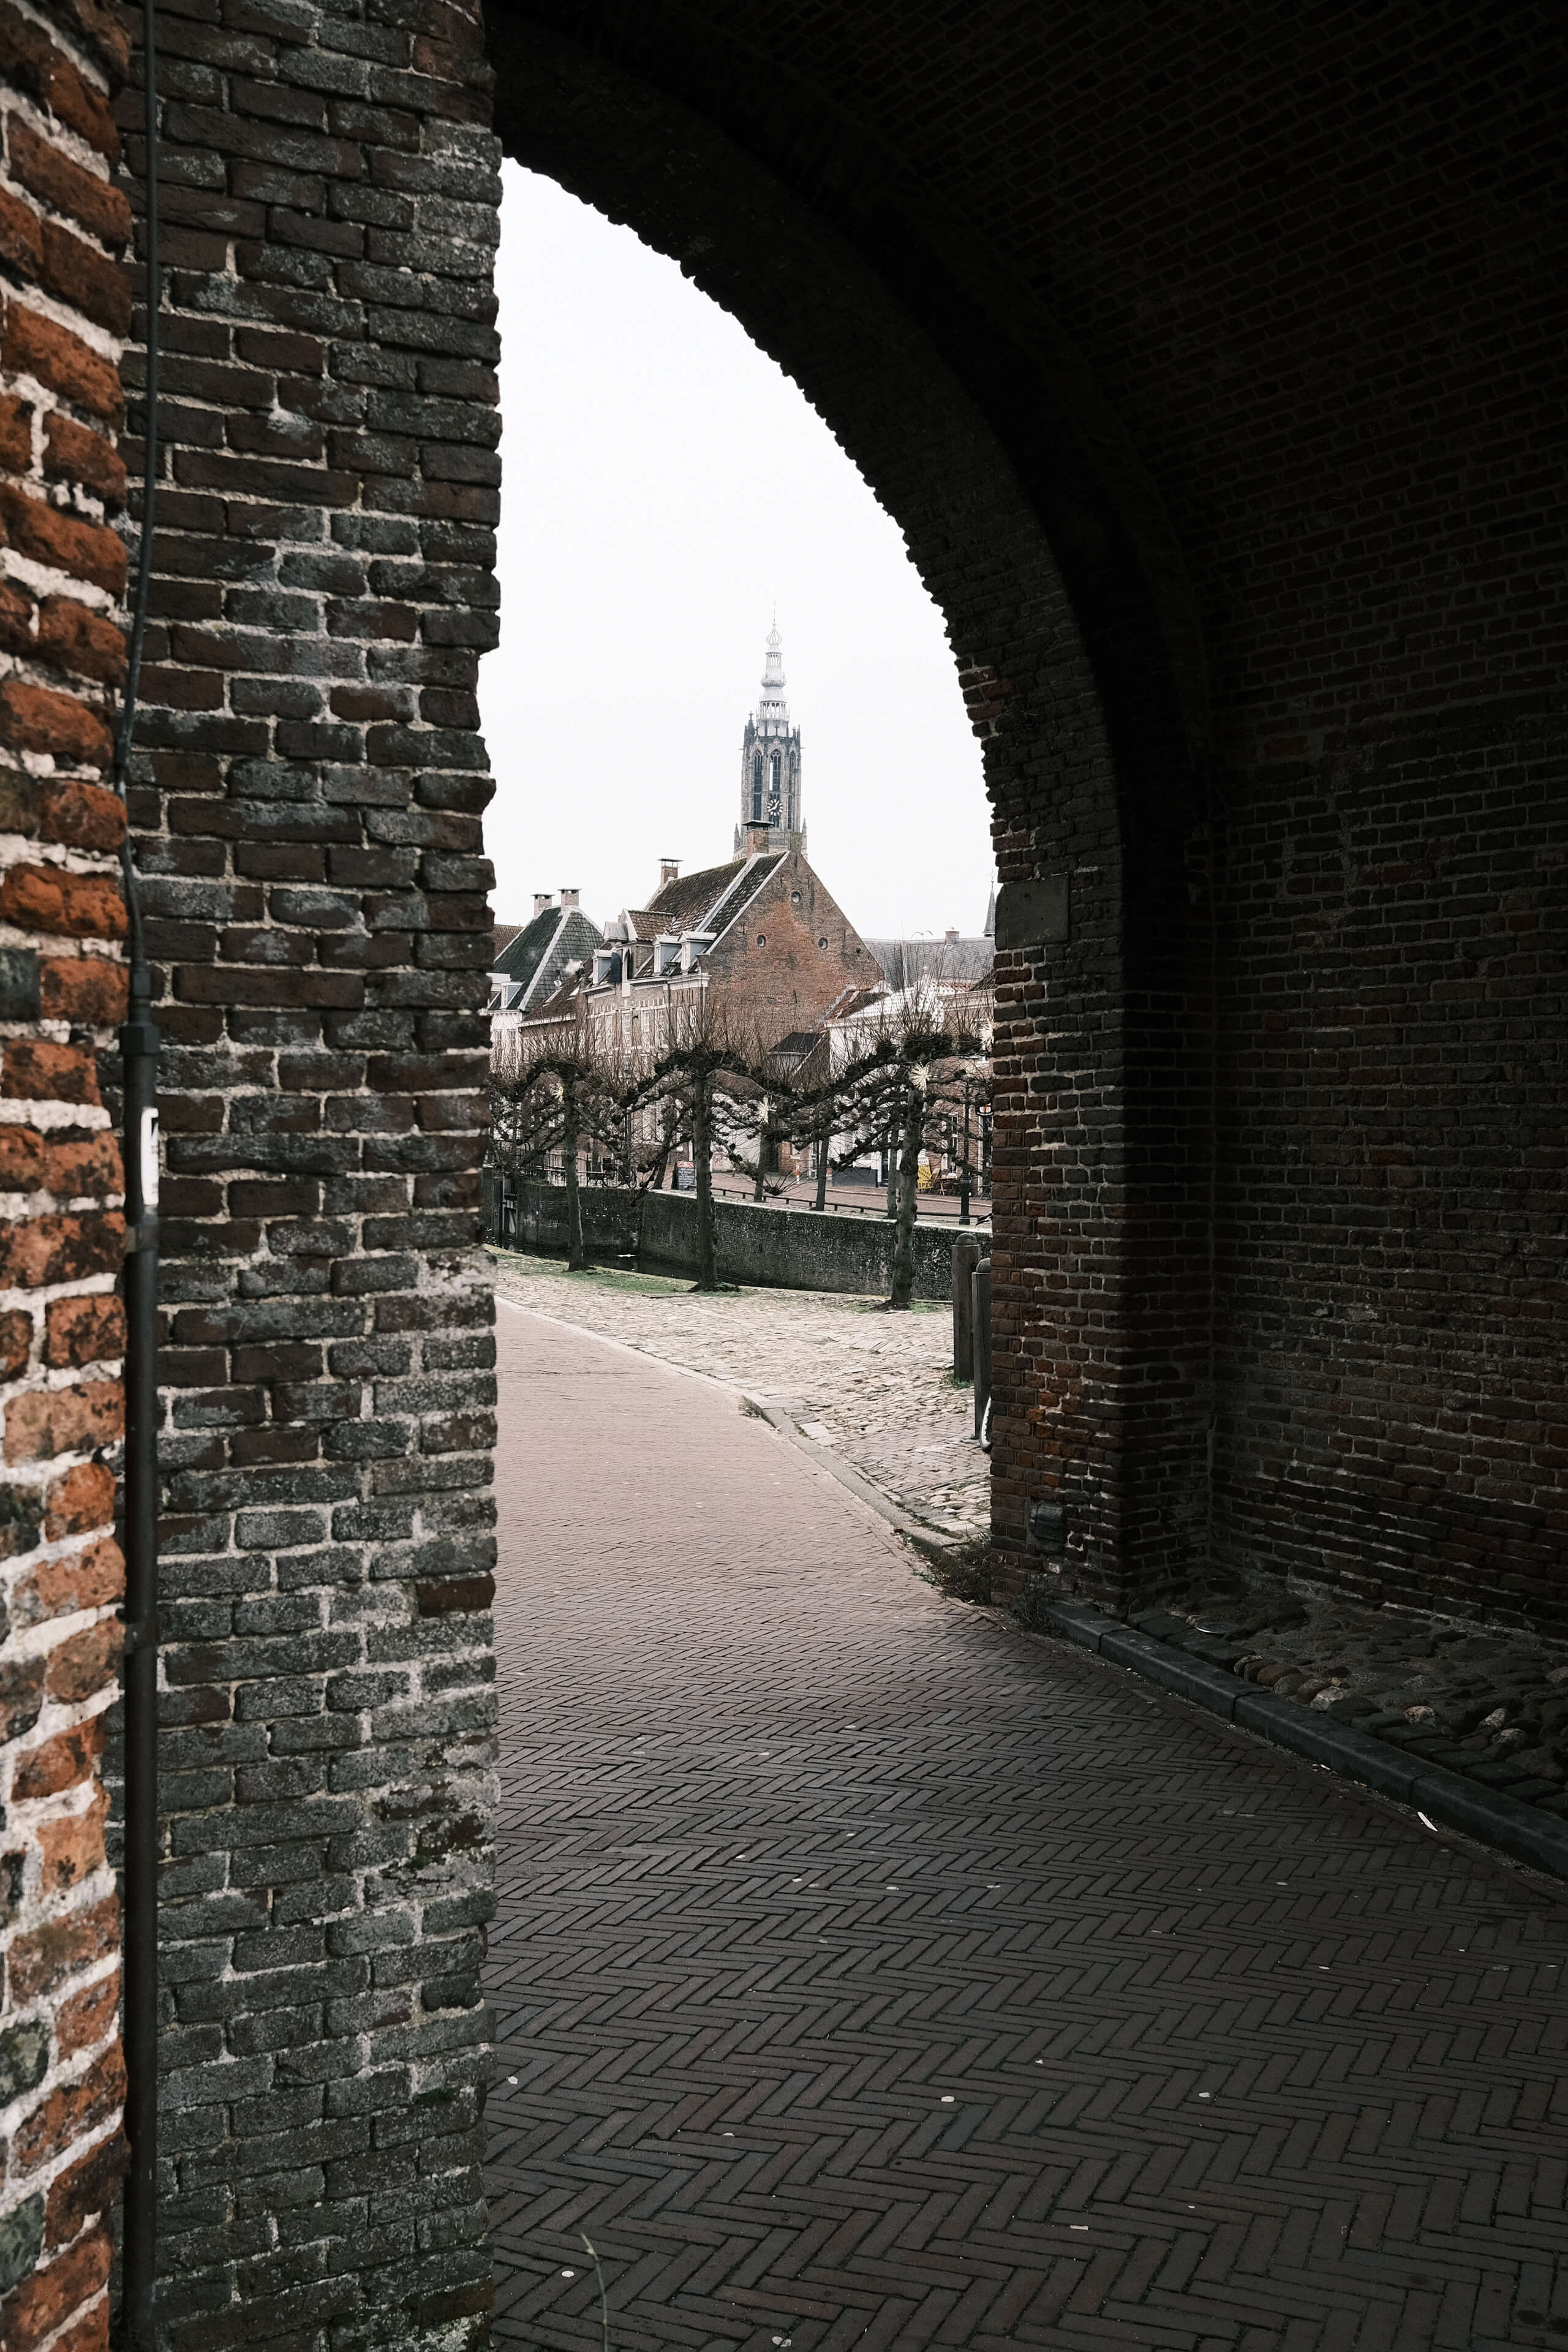
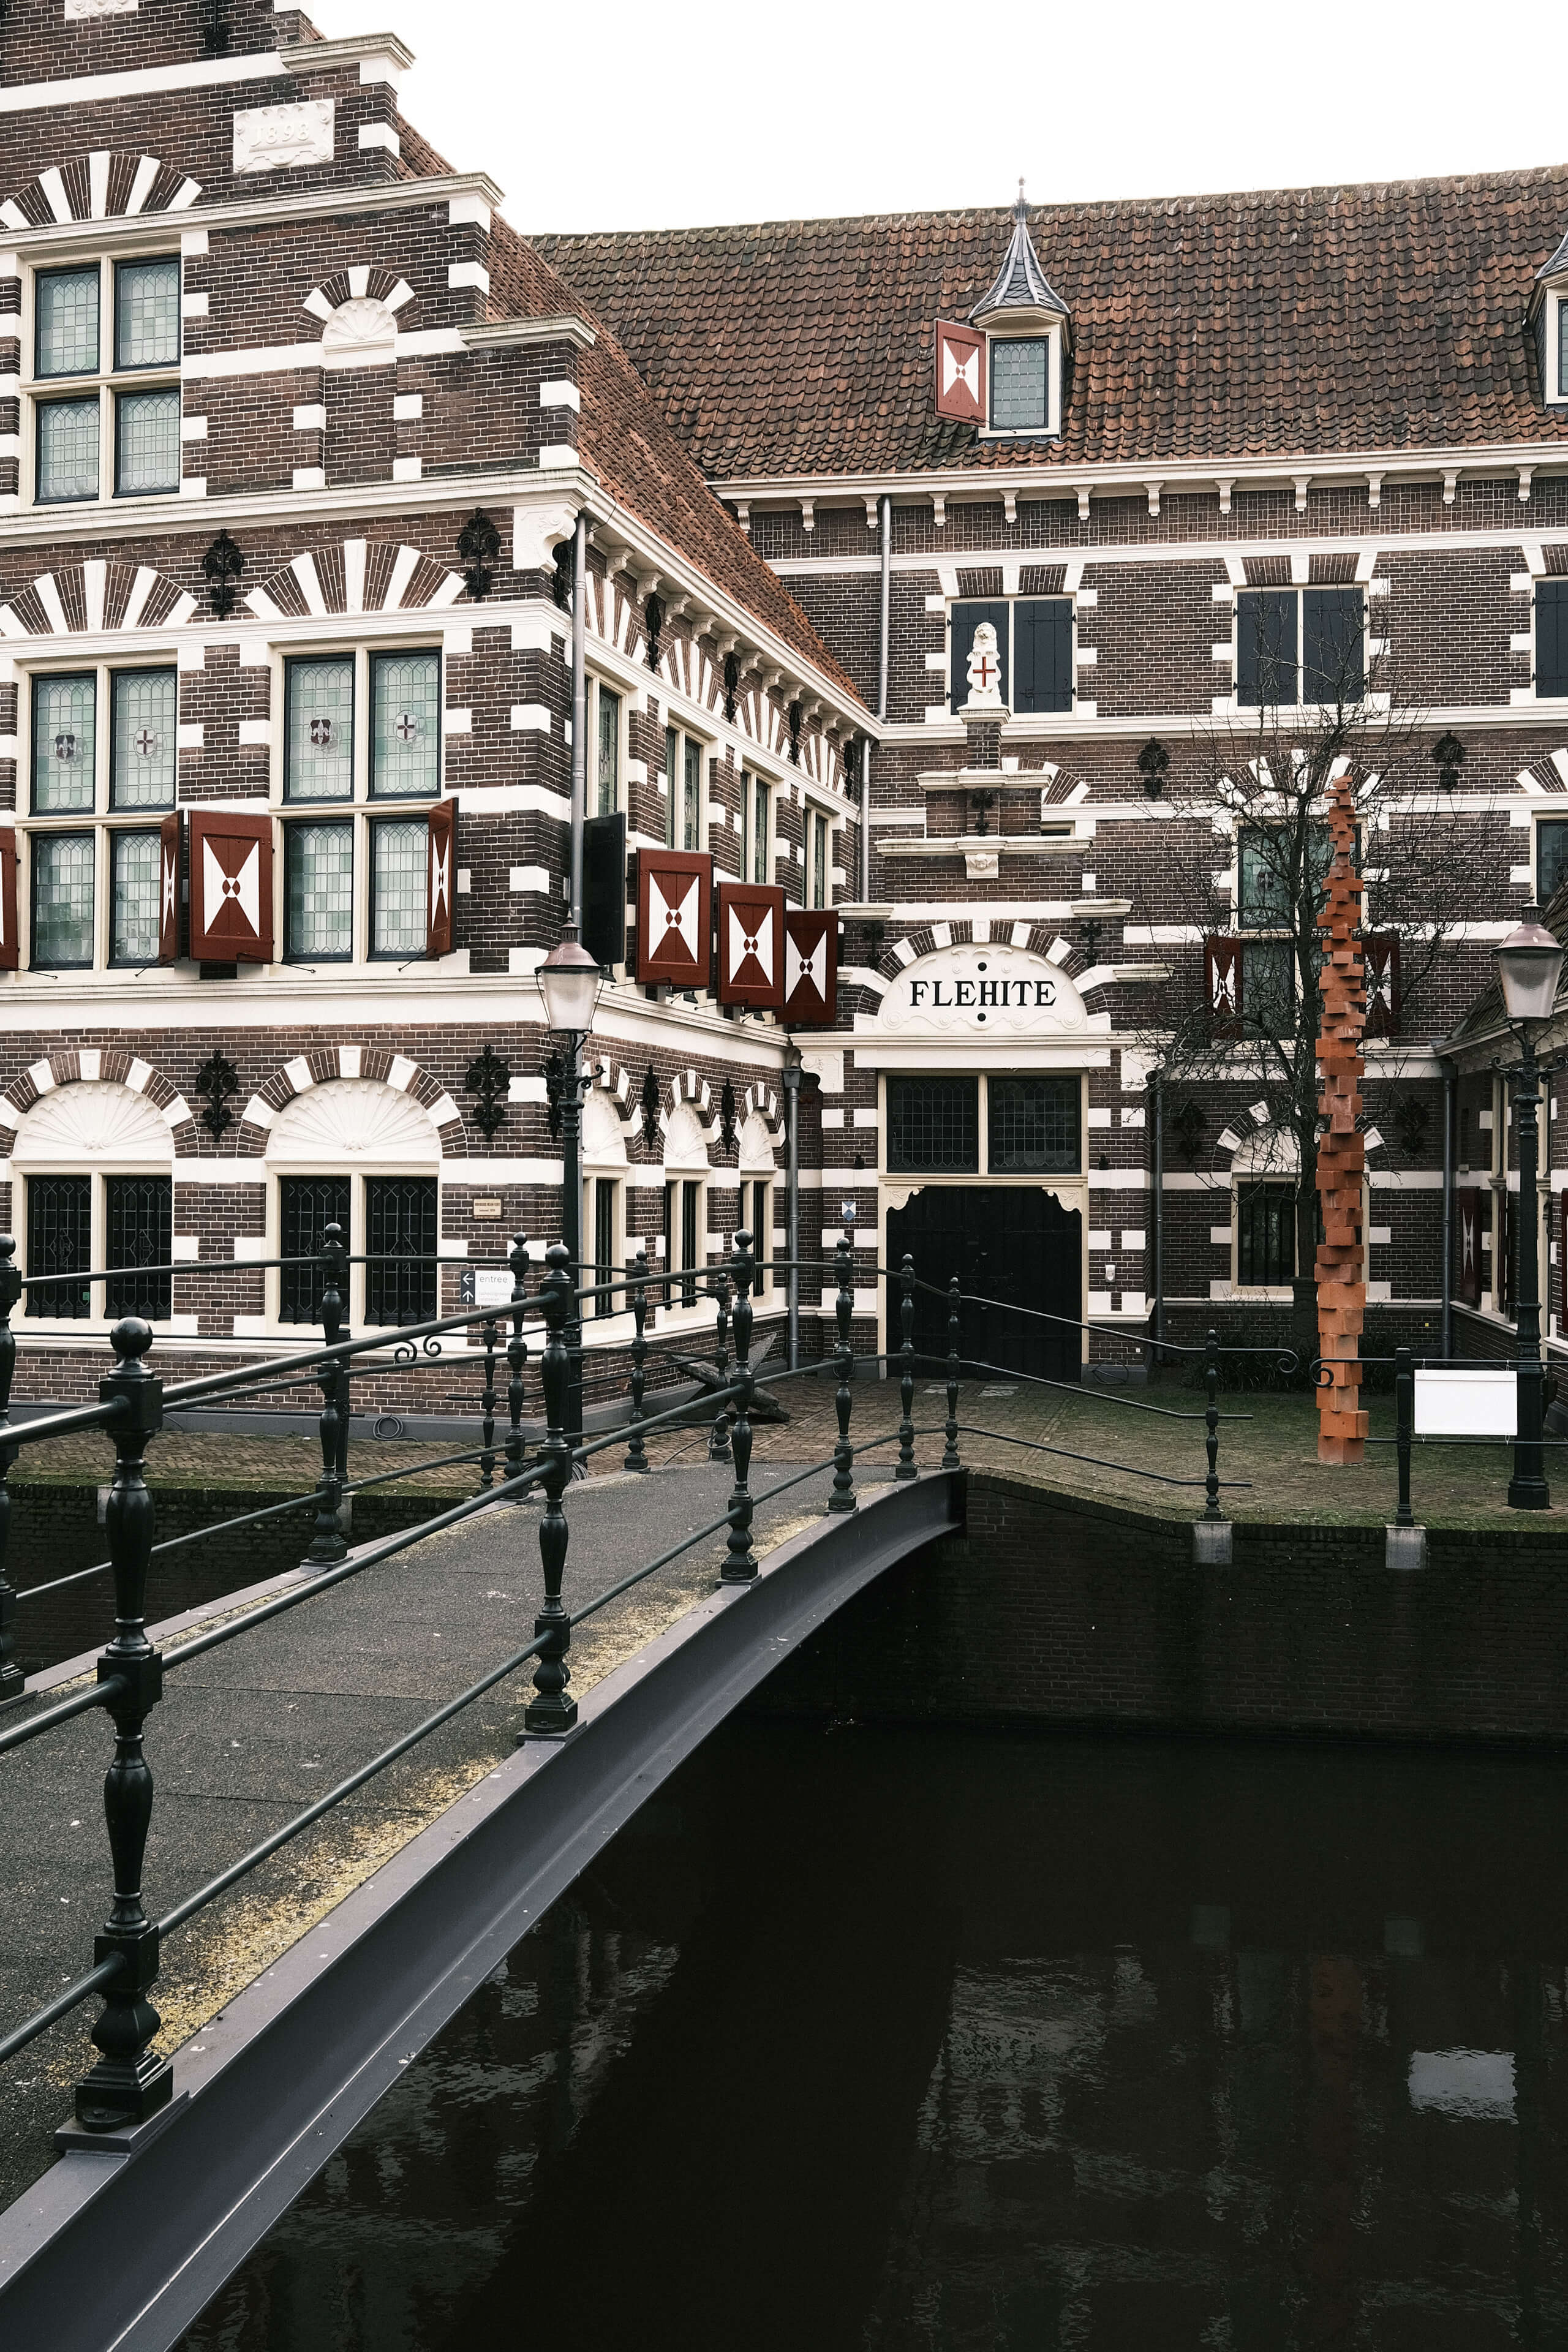
This film simulation recipe is identical to my CC recipe but swaps out Classic Chrome for Classic Negative. If that doesn't sound like much, you have yet to properly meet Classic Neg. It's one of Fujifilm's most pronounced film simulations and can provide a unique look in the right conditions. I decided to keep the other parameters the same as CC because that achieves the same contrast, which I enjoy so much. The colors of this film sim recipe, oh man the colors, that's something else though. Classic Negative can really bring those ultimate vintage film vibes if you use it in the right lighting conditions and on the right subjects. It has very lovely tones for urban scenes and really brings that extra punch (I know I keep talking about 'punch'. You know what I mean, right?) that sometimes is missing from my CC recipe.
Works well for
- Urban landscapes
- Concrete and brick textures
- Street photography
- Analog vibes
Does not work well for
- Nature that involves a lot of green like foliage and grass
- Understated looks
My CN film simulation recipe
Dynamic Range: DR400
Highlight: +1
Shadow: +2
Color: -3
Noise Reduction: -4
Sharpening: +3
Clarity: 0
Grain Effect: Weak, Small
Color Chrome Effect: Strong
Color Chrome Effect Blue: Off
White Balance: Auto, +2 Red & -3 Blue
ISO: Manual, 640 and up

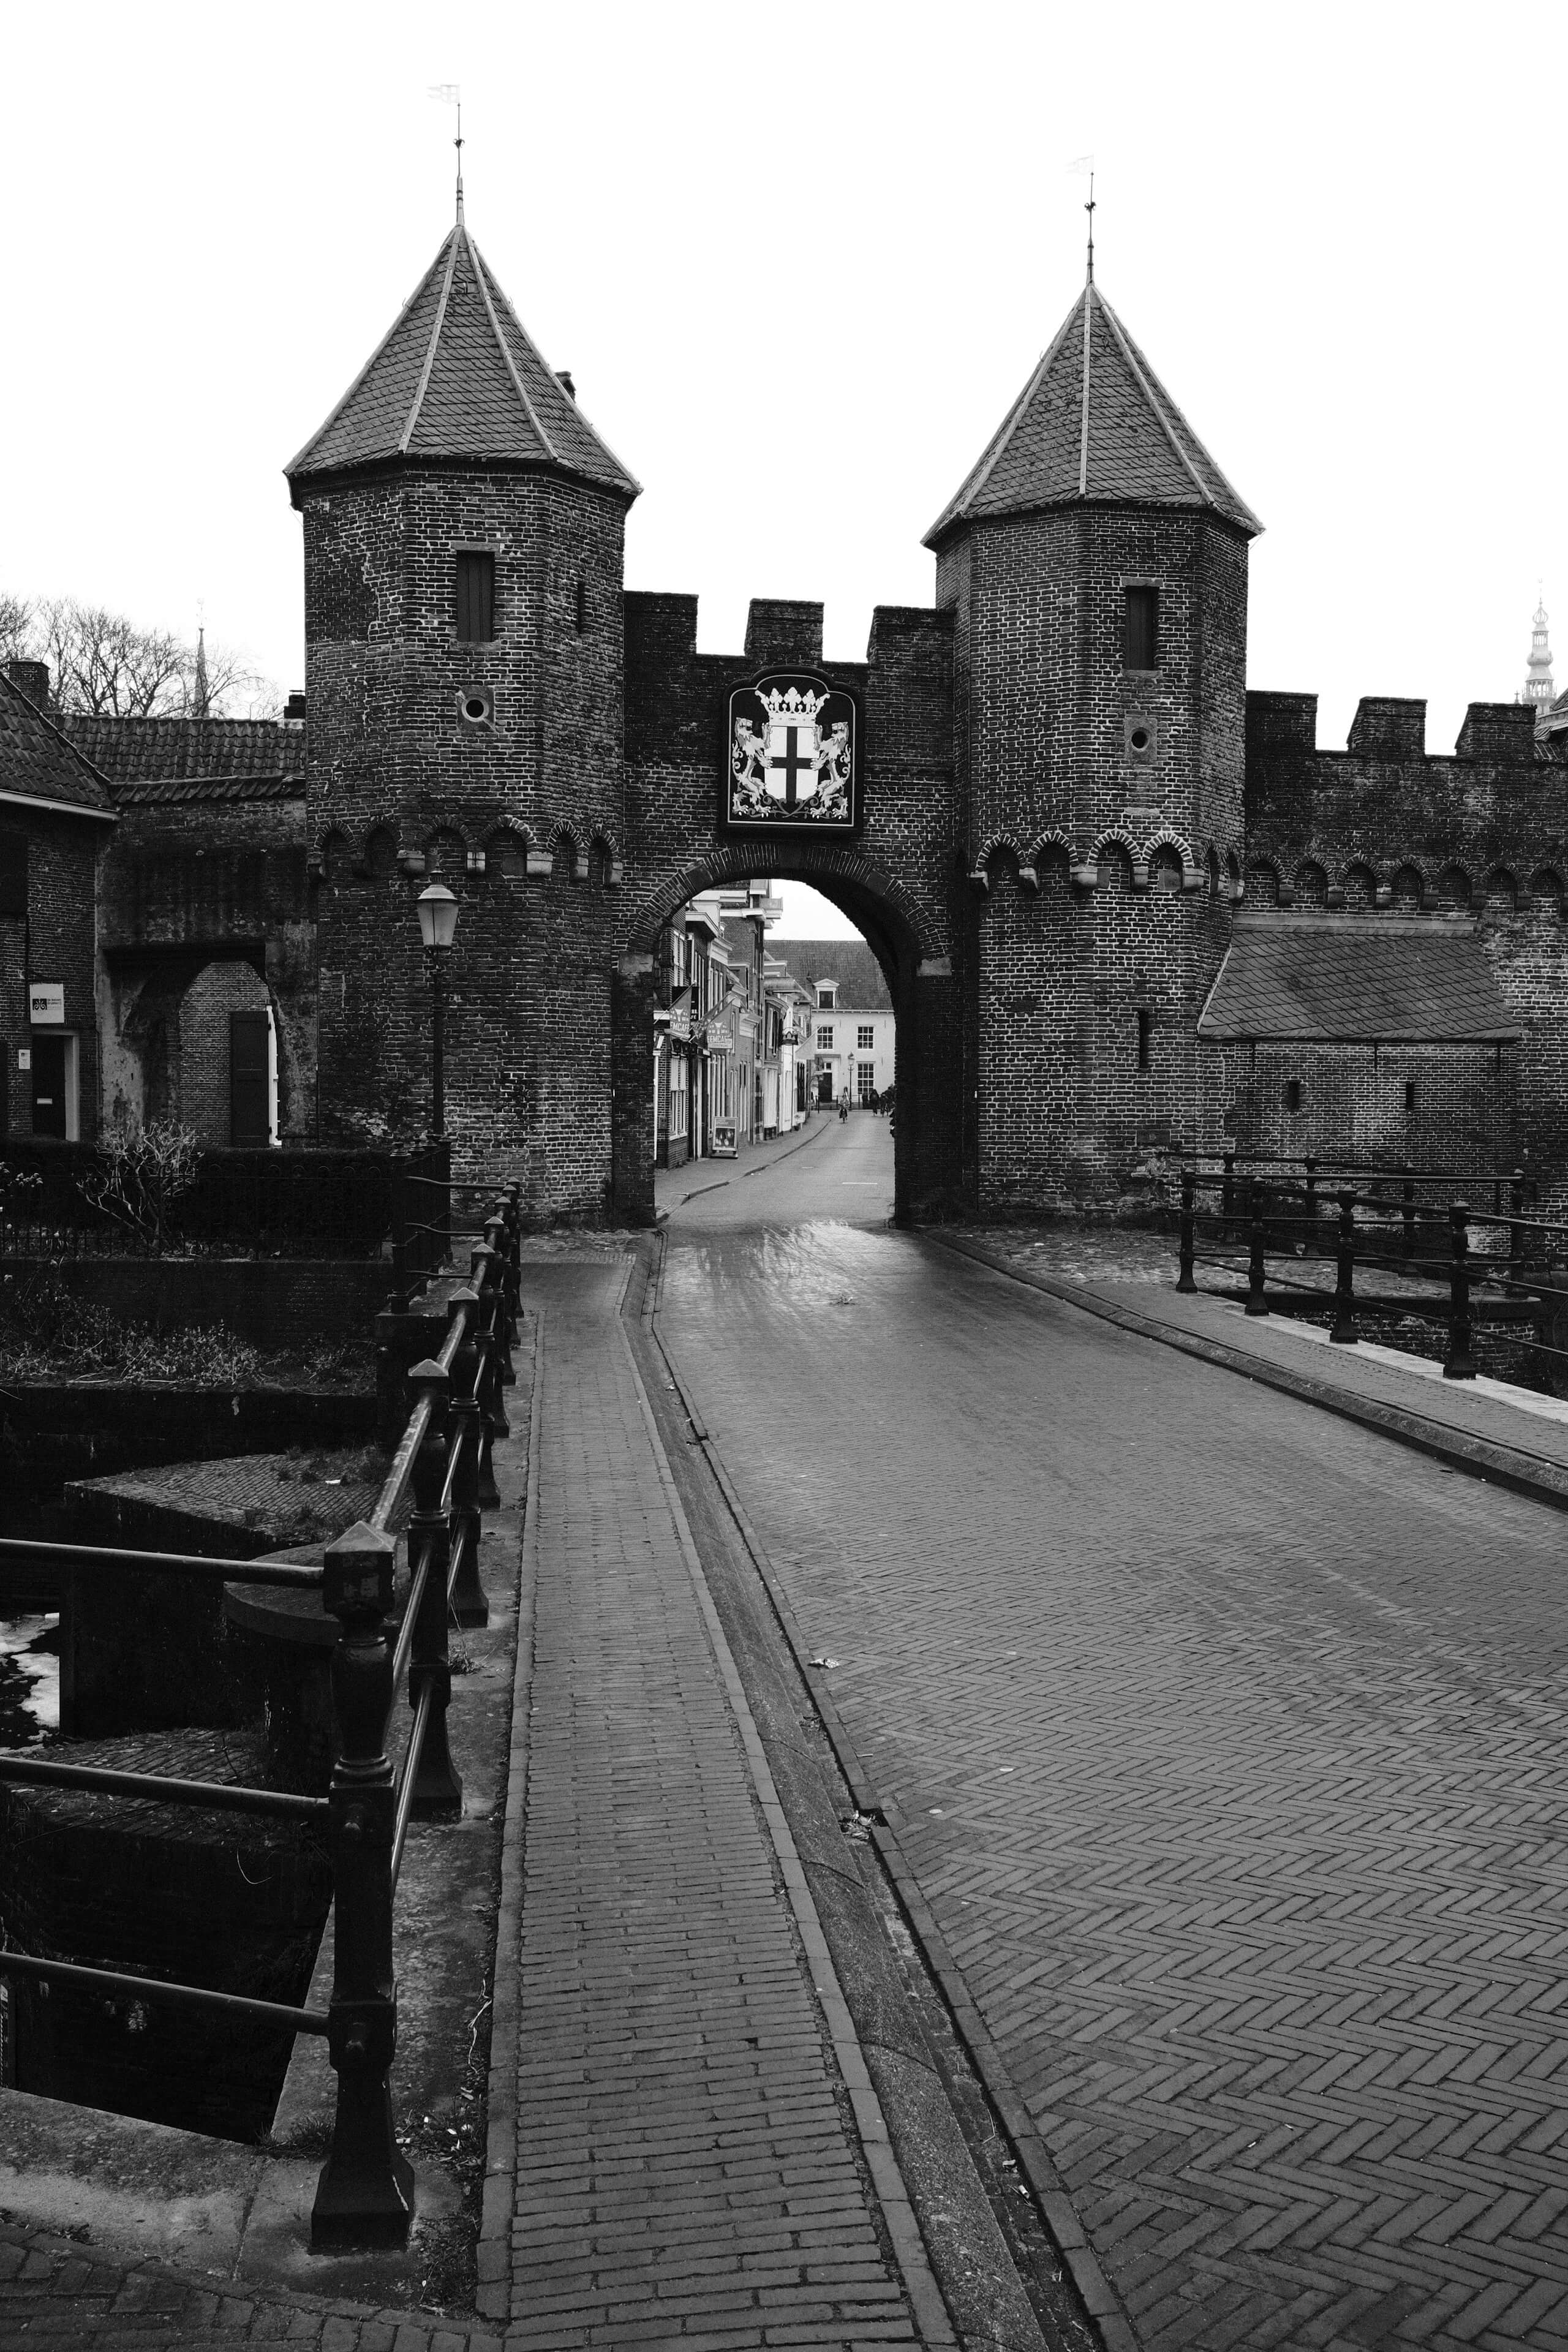
CN, straight out of camera Fujifilm jpegs
CN+: Vintage color but more intense
It probably doesn't come as a surprise now but, this film simulation recipe is identical to my CC+ recipe but swaps out Classic Chrome for Classic Negative. This recipe has the most stylized look and should be used with caution. It looks amazing in soft light and on the right subject but can give very unsatisfactory results when used incorrectly. Examples of incorrect use, in my opinion, are portraits in direct light and anything involving grass. The shadows are very hard, and the greens are highly stylized. This might be a look you're going for, which definitely has its place, but I recommend using this film sim sparingly. If you need a dramatic look that will draw immediate attention to your images though, this is the film simulation for you.

If you like this post, you might also want to give my monthly newsletter Dialogue a read. It's about photography, walking and exploration. Sometimes about other things as well.
Works well for
- Dramatic documentary or street photography
- Looks amazing with direct flash, for that old-school point-and-shoot look.
Does not work for
Harsh sunlight, will destroy your shadows
My CN+ film simulation recipe
Dynamic Range: DR100
Highlight: +3
Shadow: +2
Color: -3
Noise Reduction: -4
Sharpening: +3
Clarity: 0
Grain Effect: Weak, Small
Color Chrome Effect: Strong
Color Chrome Effect Blue: Off
White Balance: Auto, +2 Red & -3 Blue
ISO: Manual


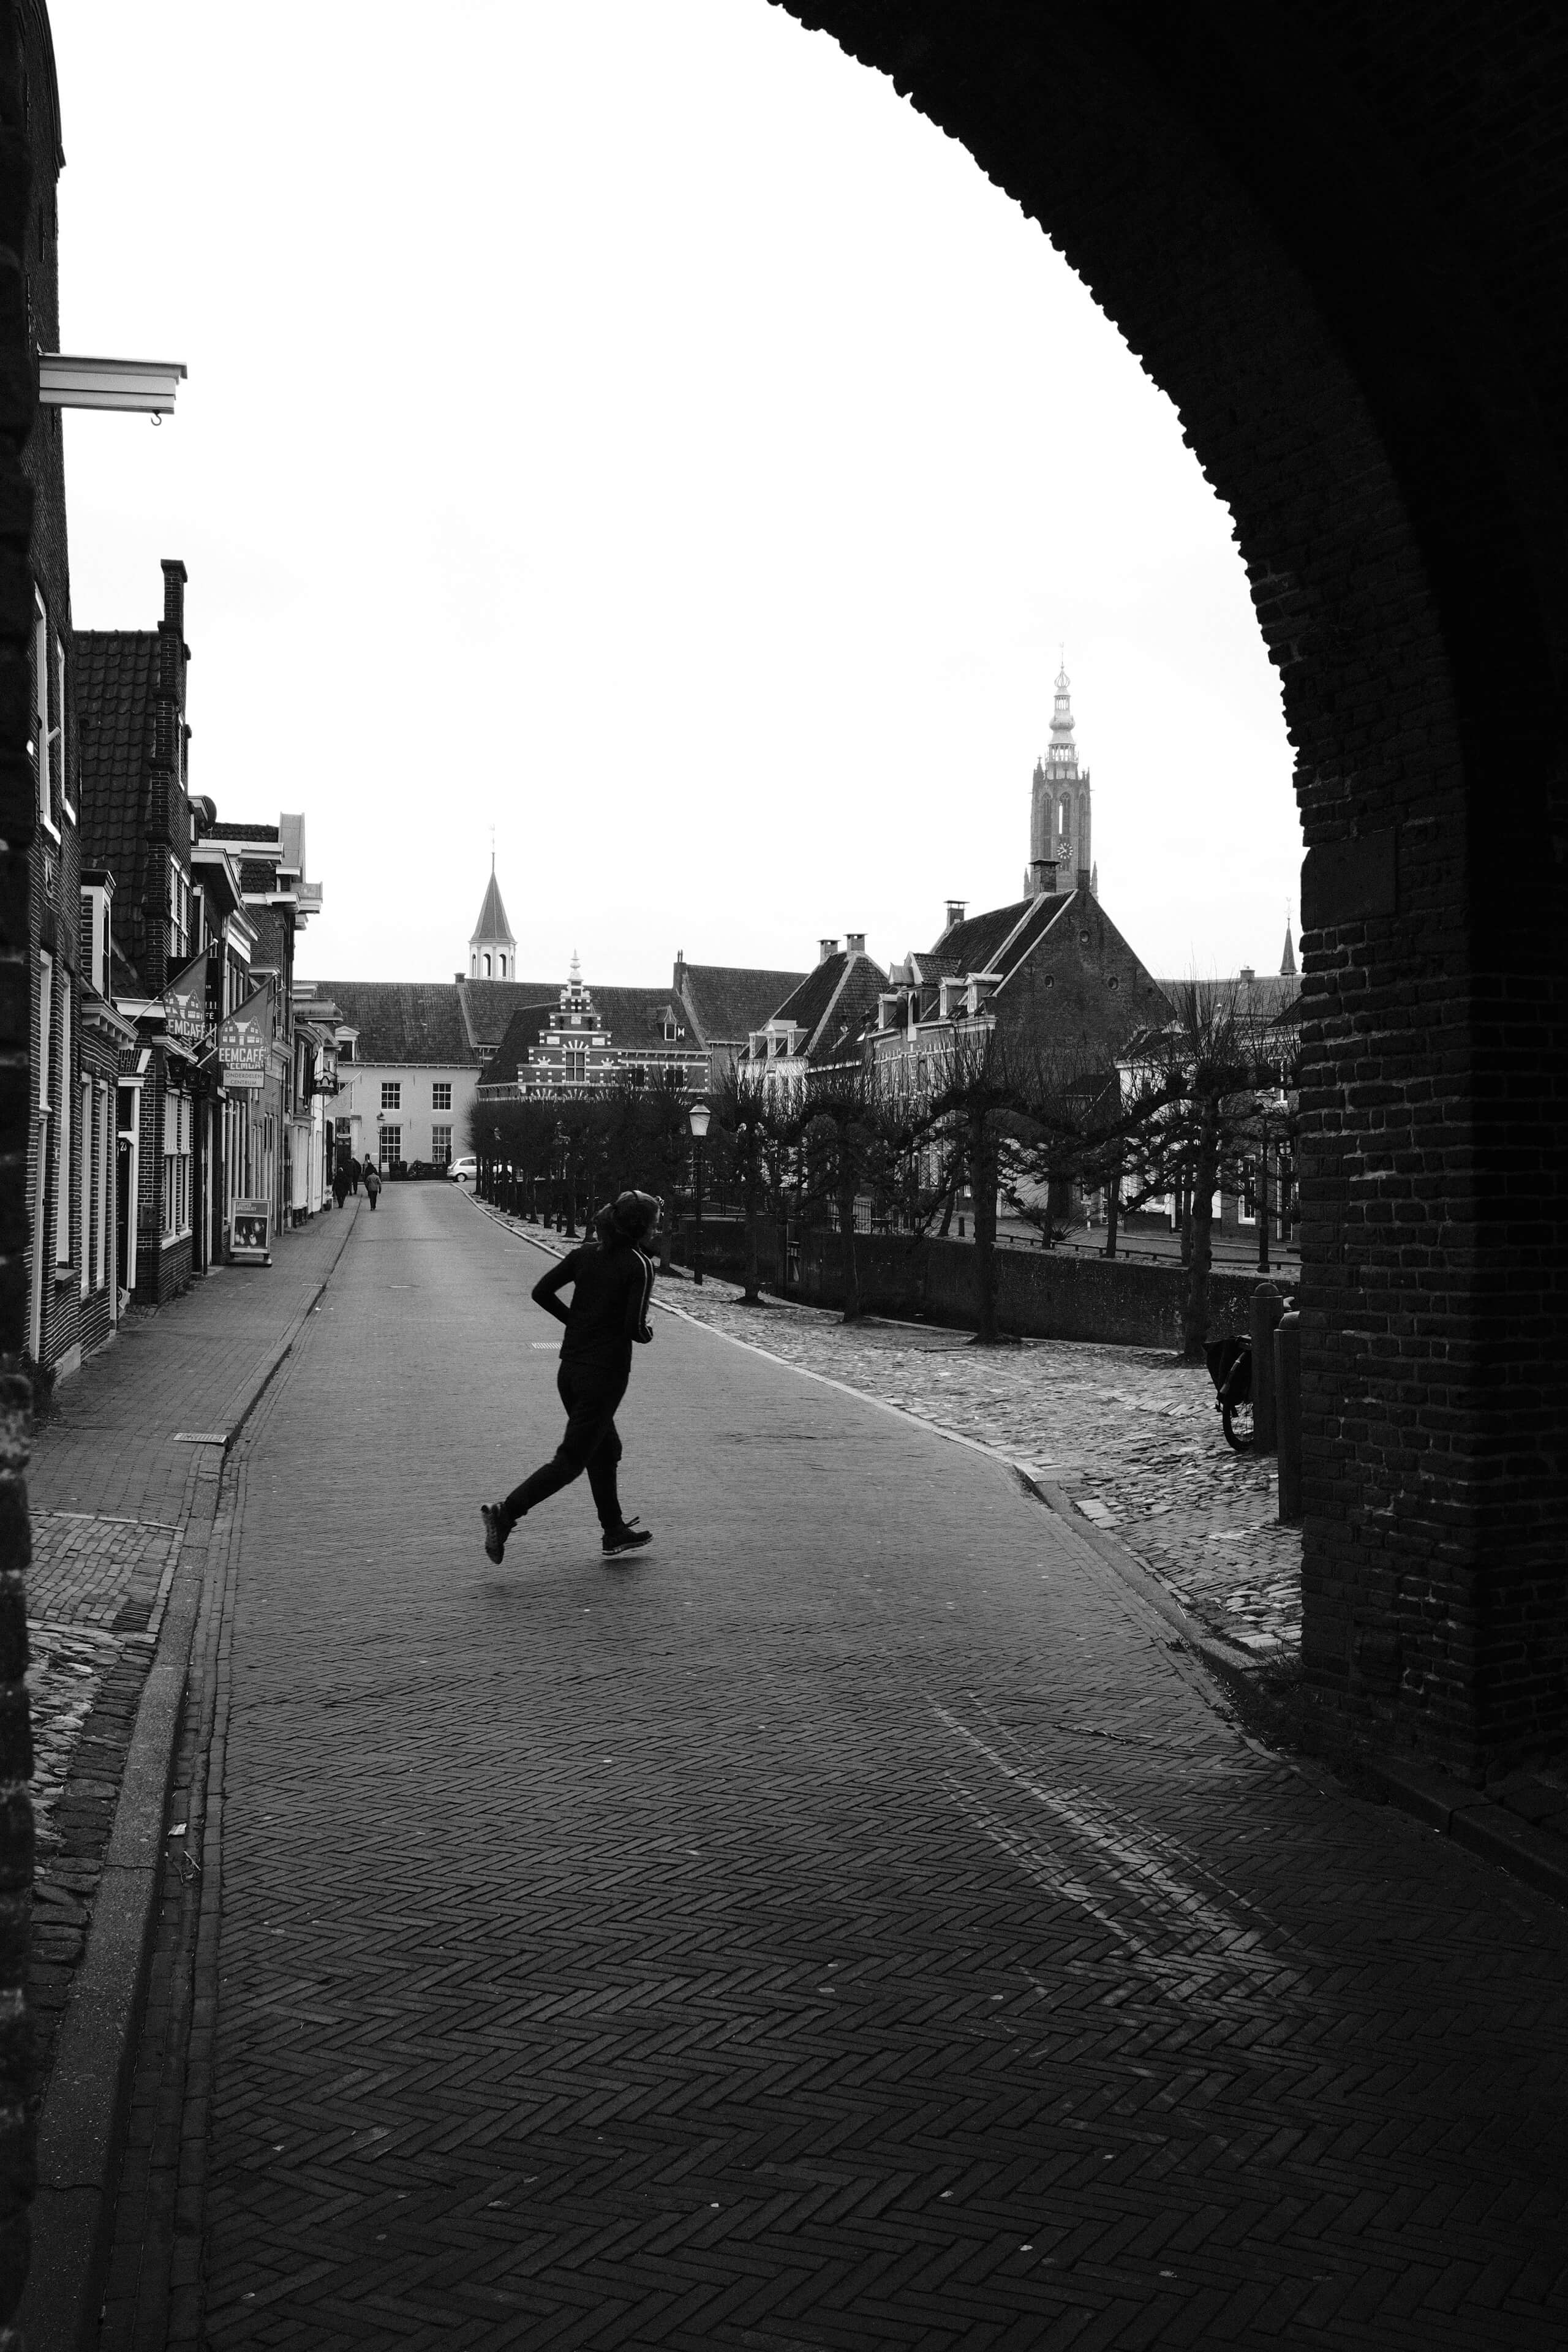
CN+, straight out of camera Fujifilm jpegs
How I use my film simulations
The above-mentioned Fujifilm film simulation recipes will work fine out of the box, but I'd like to add a few notes on how I implement these in my workflow. This isn't important if you just want to start using these film sim recipes, but it might help bring some perspective on my use cases. Hopefully, that will further improve your workflow as well.
Each film simulation recipe comes with a custom white balance that slightly biases your images to the warmer side of the spectrum. If you want to improve this look further, you can choose to manually set your white balance to 6500K and up, depending on how warm you want to go. If you do this tastefully, you can really get those warm Kodak vibes a lot of people enjoy. I personally stick to the Auto white balance in most cases.
You might also notice that I have not mentioned Exposure Compensation with my film simulations. This is because I always shoot in manual ISO, but I typically overexpose my images slightly. This renders the Exposure Compensation dial irrelevant though. Of course you can shoot with Auto ISO if that's your preferred shooting method. Just turn the Exposure Compensation dial until everything looks nice and bright but still saturated and contrasty. I do use a minimum of ISO 640 for the film simulations that use Dynamic Range 400 (DR400), because that's the lowest ISO you can use with that setting enabled. This does not apply to the Plus versions of my film simulation recipes, because those use DR100.
Some notes on editing
The goal of shooting jpegs with these film simulation recipes, was to spend as little time as possible on editing the images. This does not mean you needn't edit the images anymore at all. While these film simulations might get you the final look you're after, I often feel like some adjustments can really take the images to the next level. I filter and organize my photos in Lightroom anyway, so during the import I have the program apply some basic edits automatically. These edits pull the final levers to get the exact look I enjoy. It's not much, because I limit myself to the Basic, Tone Curve and HSL sliders, but I will include some screenshots of the sliders in action below.
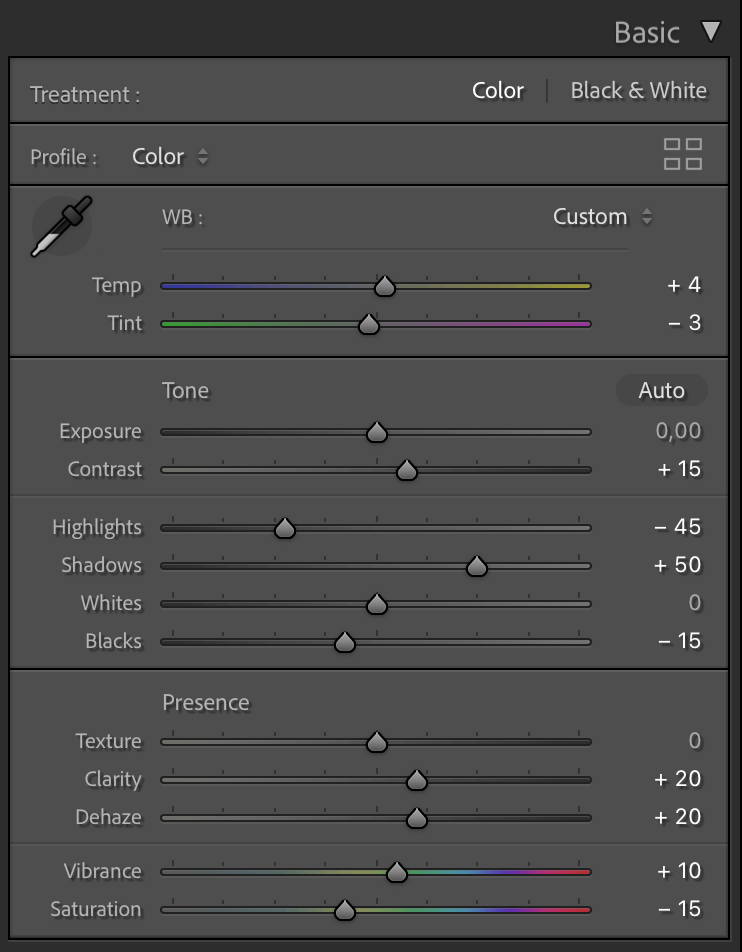
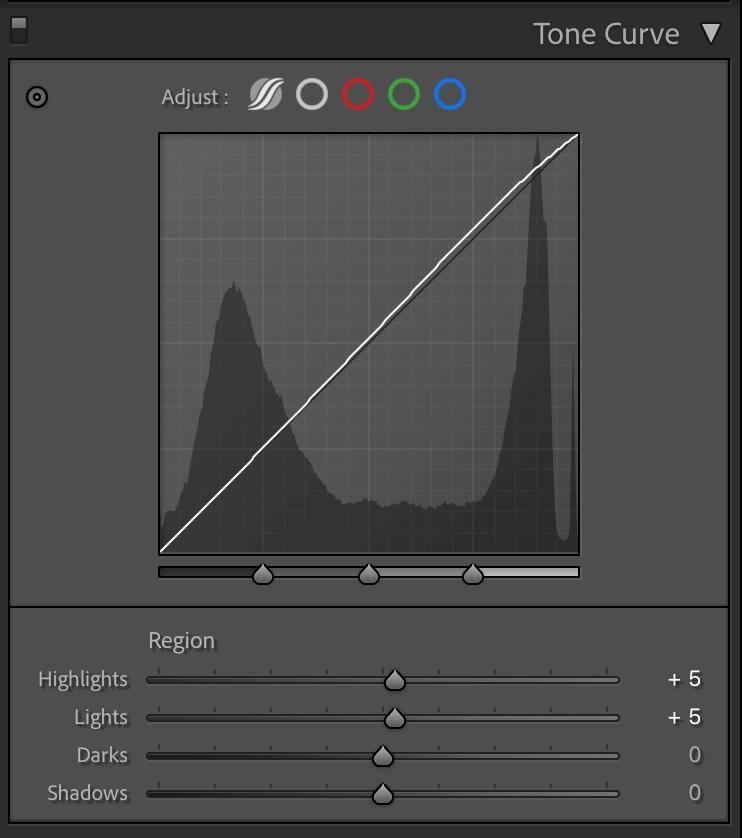
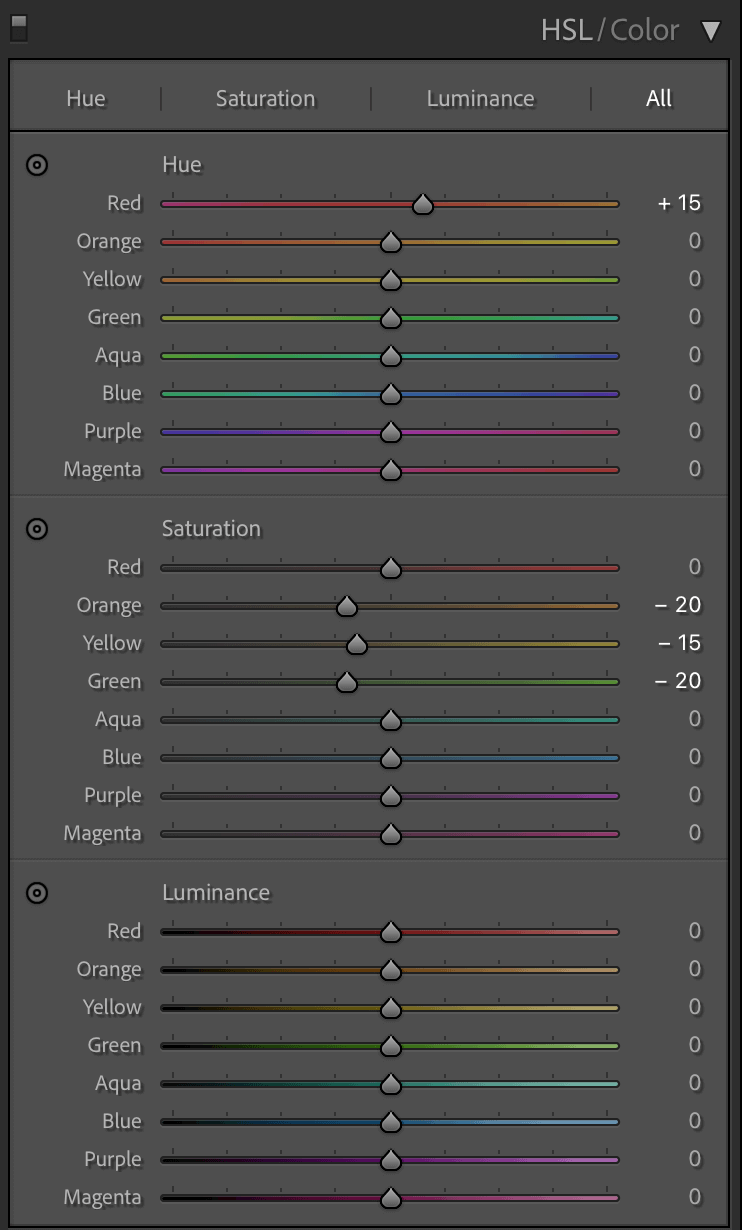
How I edit my Fujifilm jpegs in Lightroom
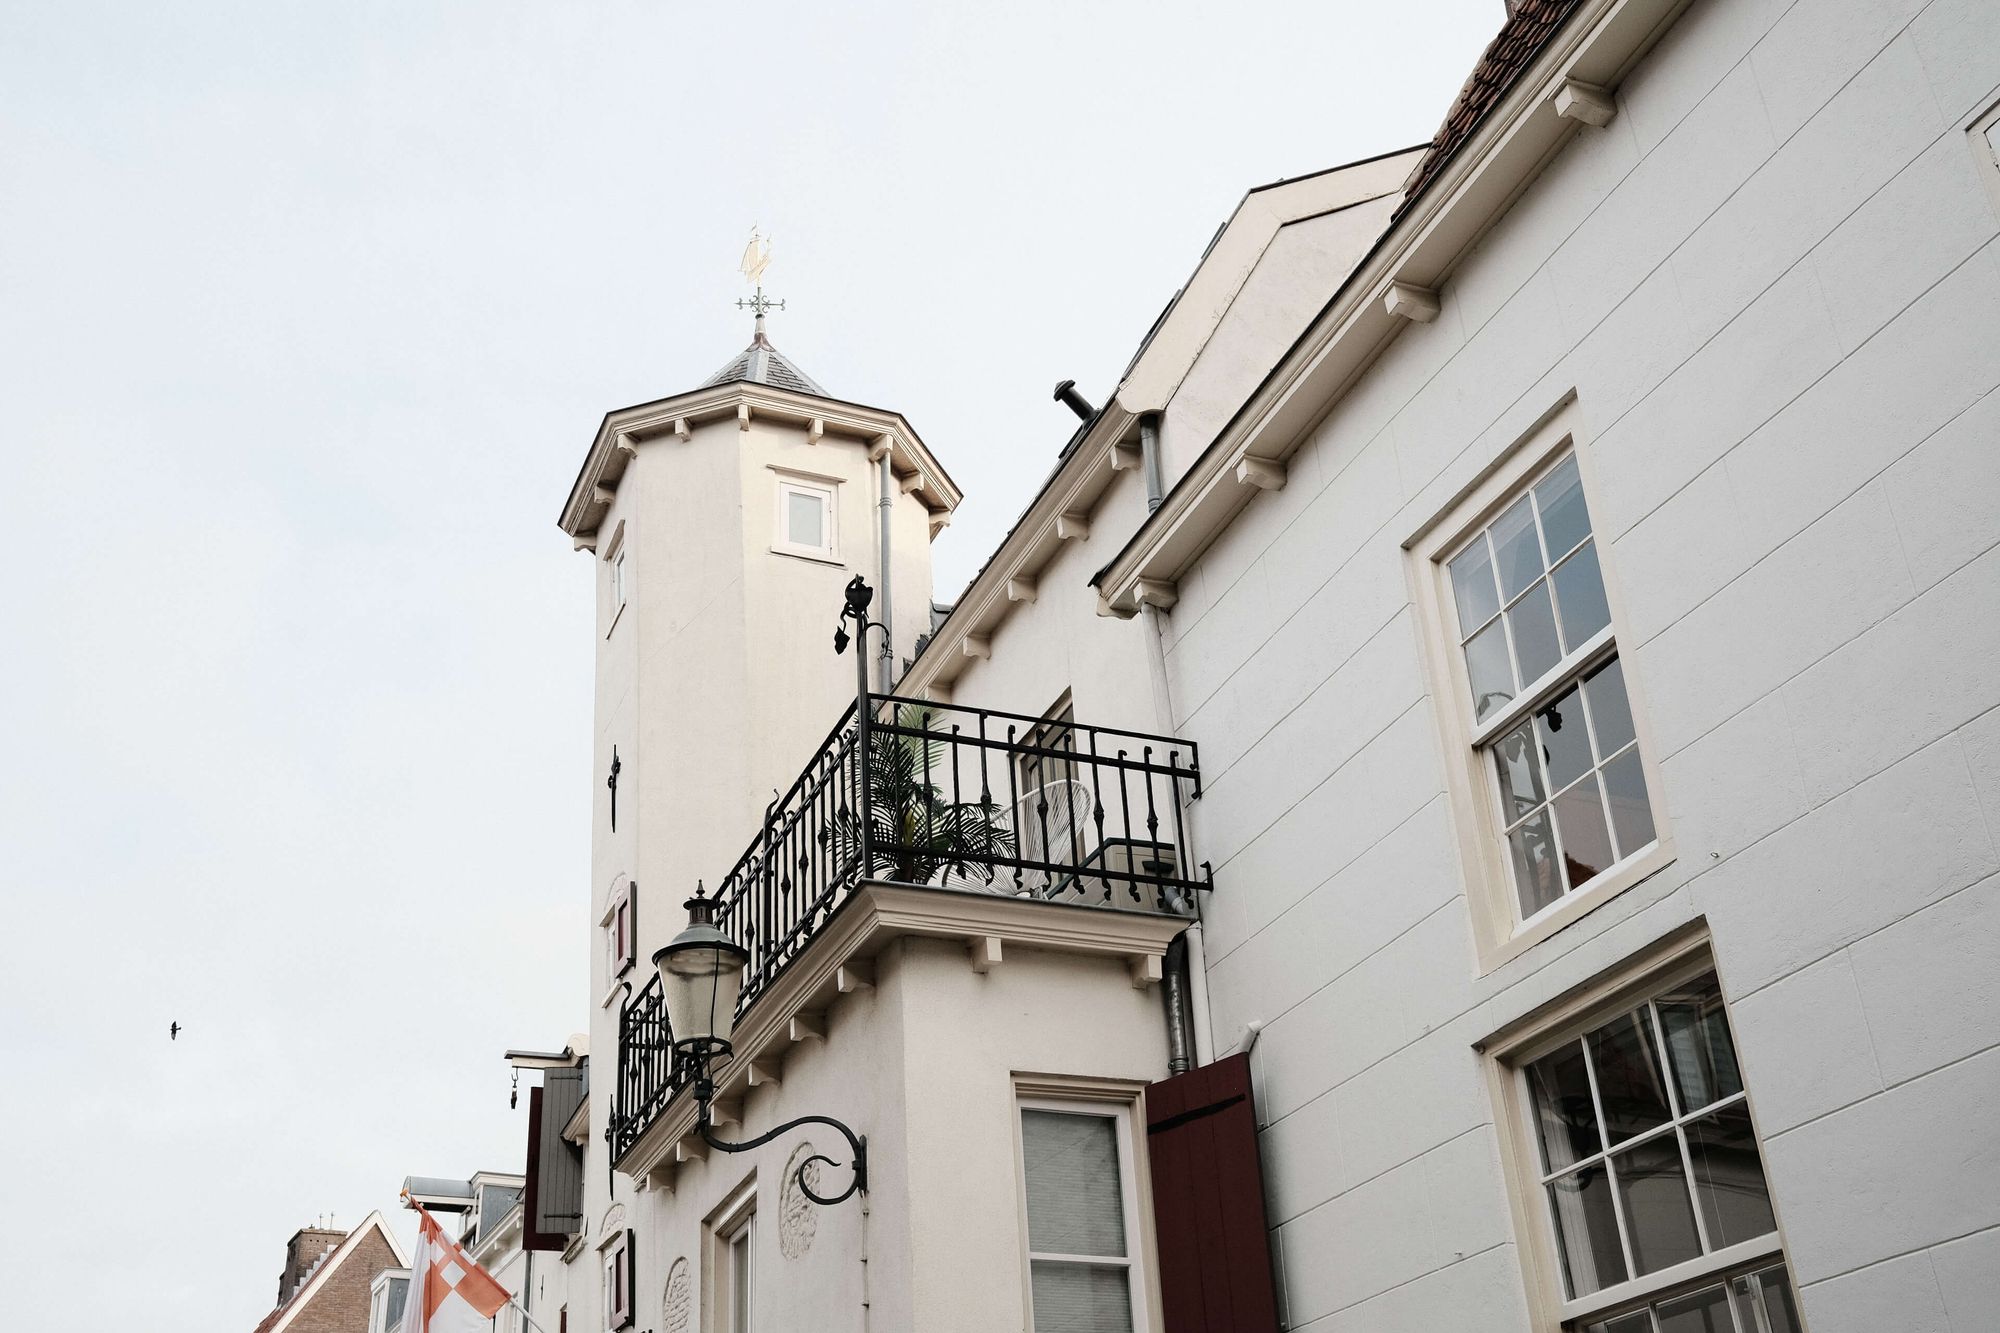
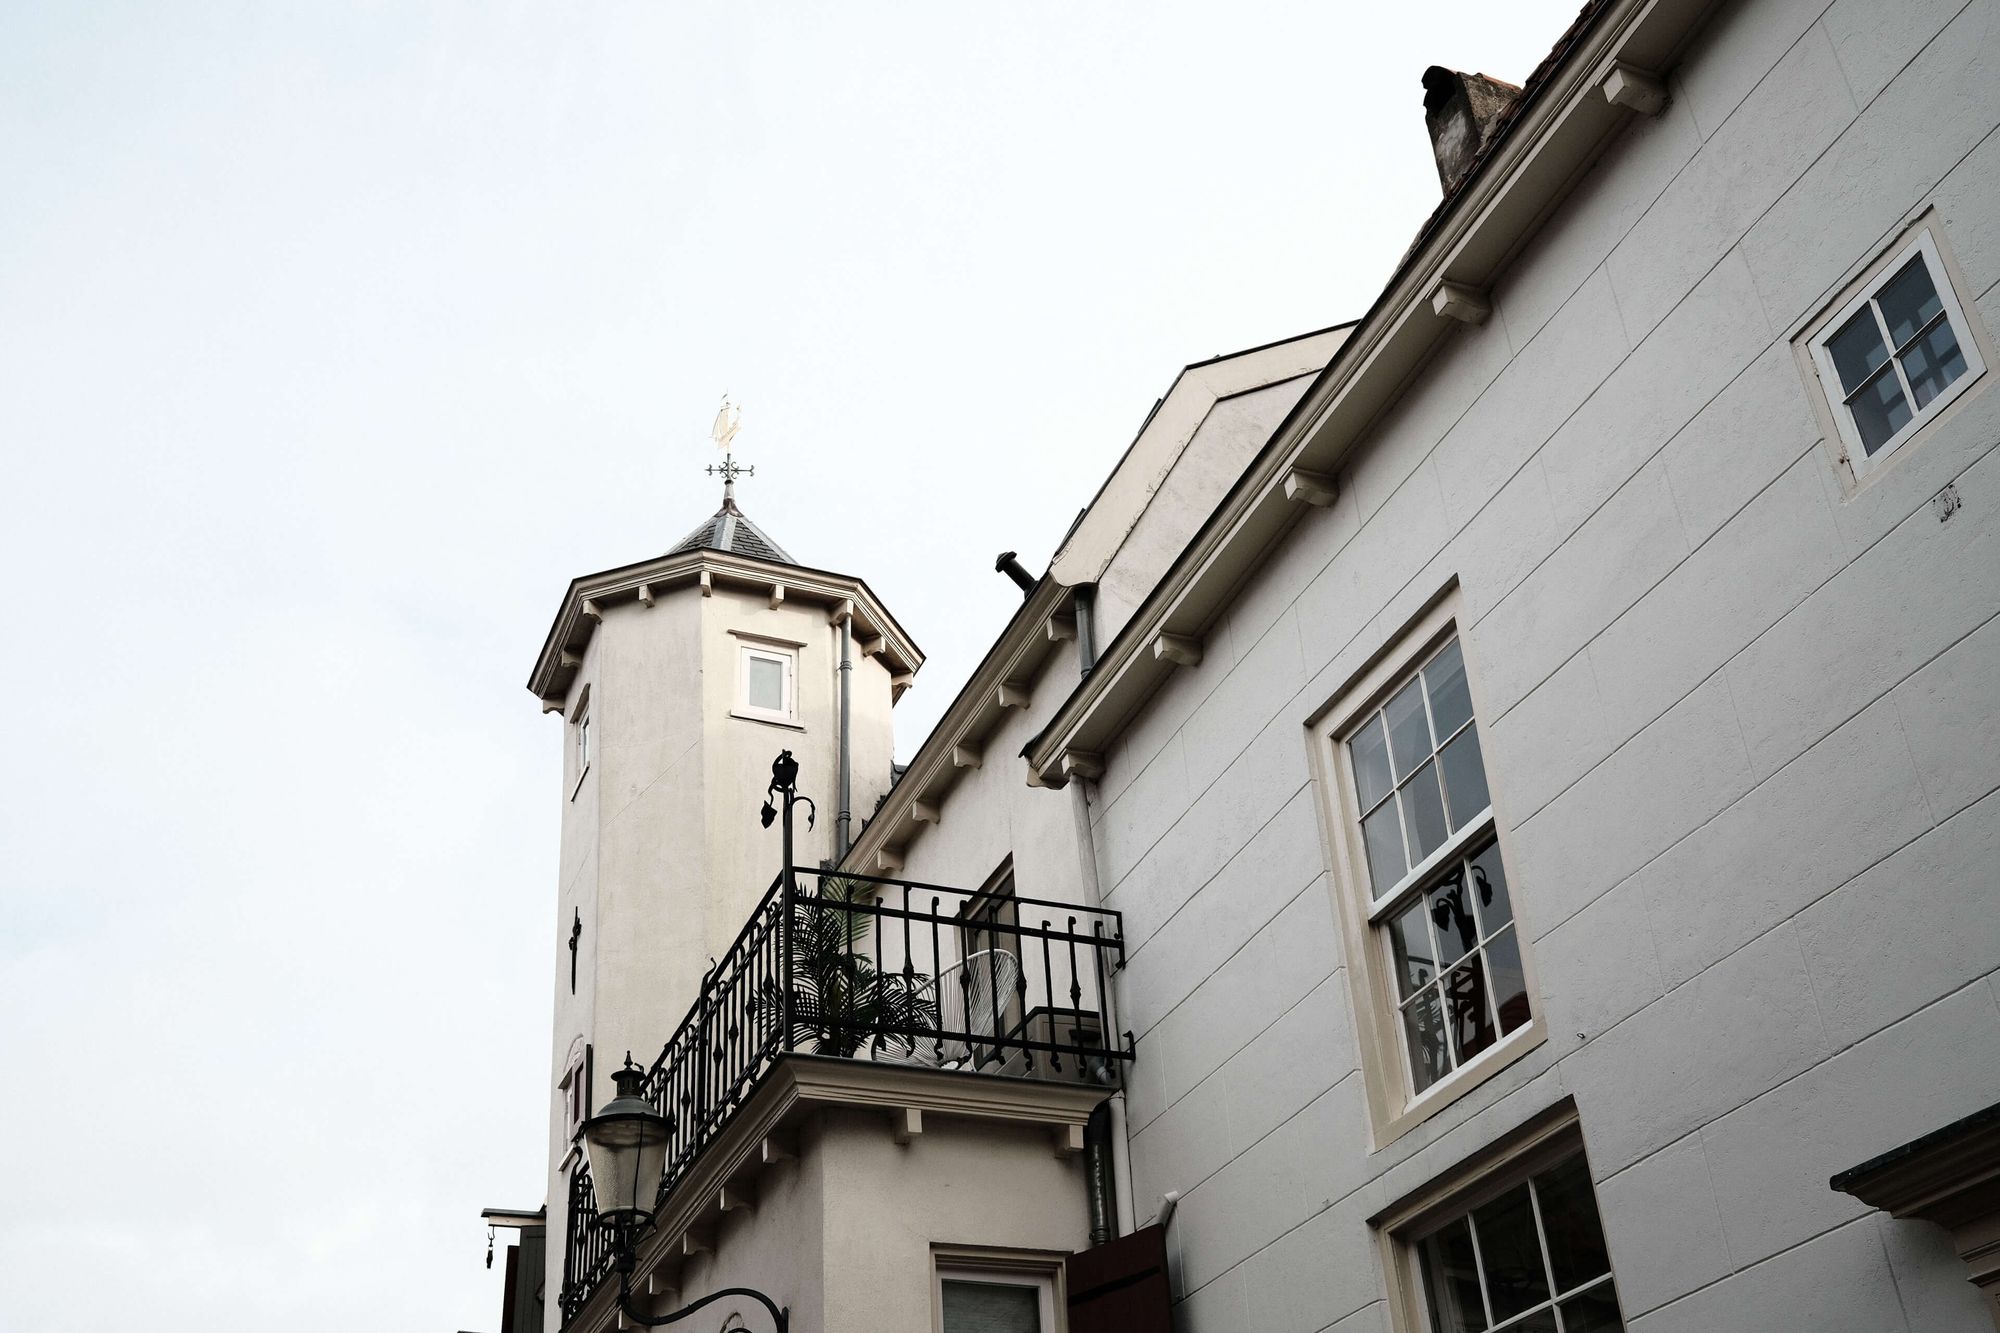
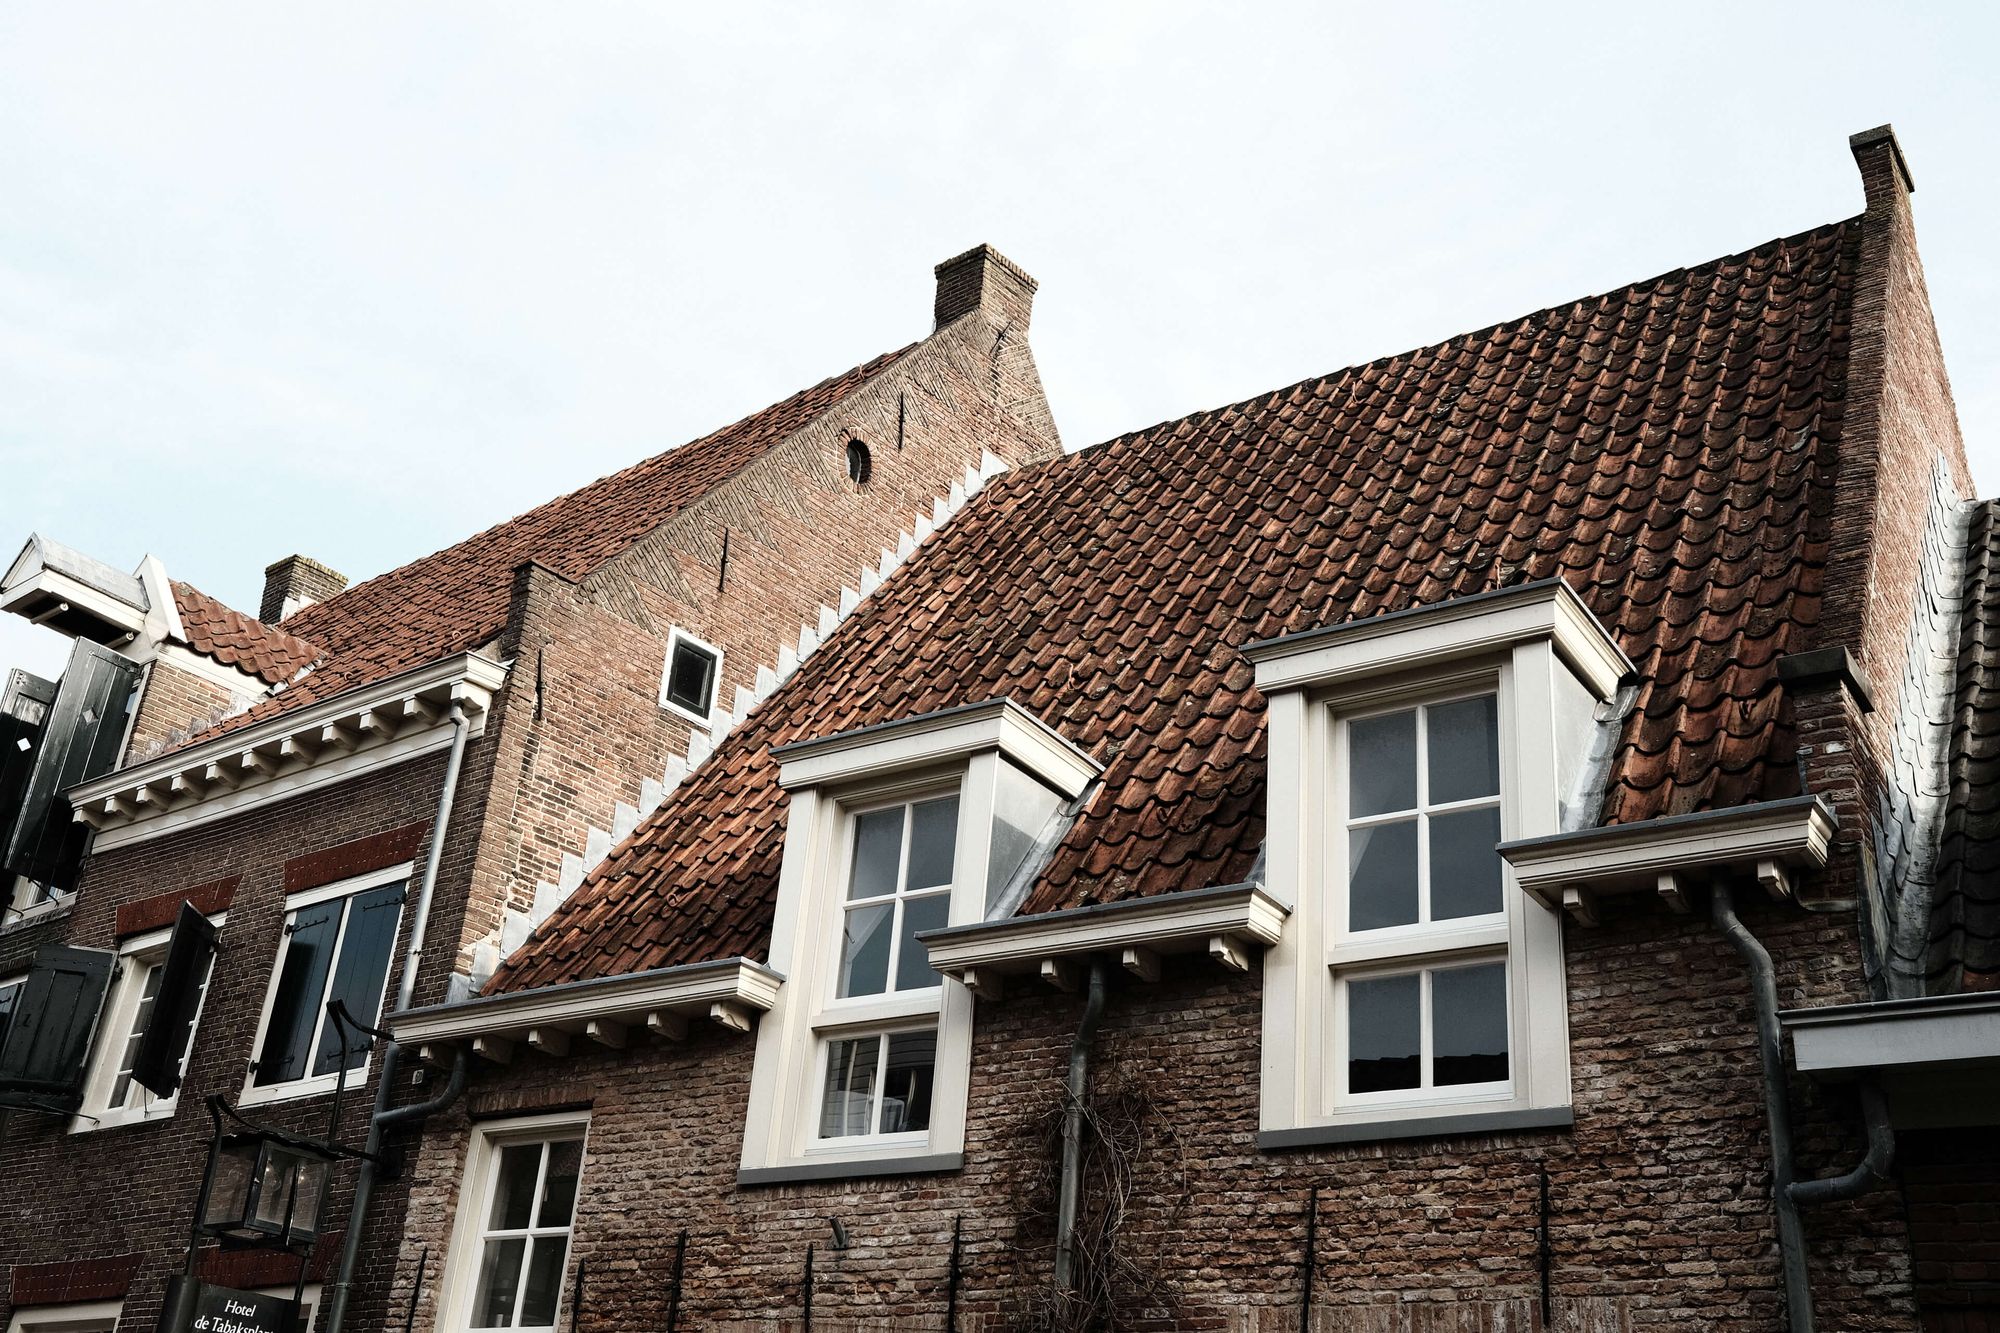
In addition, you can download the Lightroom preset as well. All you need to do is stick it in the correct folder on your computer and it should work straight away. You can normally find that folder under /Users/{you-username}/Library/Application Support/Adobe/CameraRaw/Settings, or just do quick online search on importing Lightroom presets. Oh and, I have to mention this, let the record show that all the images you find in this essay are all unedited to give you an accurate representation of the straight-out-of-camera results.
Closing thoughts
I think we can all agree that Fujifilm's film simulations are amazing. This applies to the ease and the degree of which you can customize them, but also to how Fujifilm's cameras have become synonymous with an amazing out of camera look. Even the Luddites among us can pick up a Fujifilm camera and produce a great looking image, without ever touching any of the settings.
With nearly a decade of experience in photography, I have slowly developed a preference for how I want my photos to look. Fujifilm cameras are an integral part of this. Even when I still shot in RAW only, Classic Chrome was always set as my in-camera preview. It gave me a good idea of what the final result might look like and has impressed many clients during shoots when reviewing the results on the rear display. Now that I no longer shoot client work but focus on personal projects instead, I have a little more room to experiment and the transition to a JPEG-based workflow is a result of that.
Shooting jpegs is interesting because you sacrifice having control over the final look after taking the photo. All the 'editing', so to speak, has to be done before firing the shutter. The lack of control also means you must be more aware and focused when taking your photos. Not every film simulation will work for every scenario, so you will always have to keep an eye on the light and use it to your advantage.
Finally, keen-eyed readers will have noticed I do have one vacant slot on my custom settings. This is where I allow any weird experiments to occur, and anything can happen. I still like to play around with different looks, so I change things up quite frequently. The selection of film simulation recipes I have shared above has served me well for quite a while already though. My personal taste is slowly stabilizing and I have a strong feeling I might stick to my current selection of film sims for a long time to come. Please do let me know how you use these film simulation recipes, and feel free to share any images you take with them. You can find me on most social media platforms or, even better, just send me an email. I'm quick to respond and always look forward to connecting with like-minded people. Thanks for reading, I hope my recipes serve you well.
Just you, me, and some occasional notes from the field. No spam.
Member discussion