The last Fujifilm X100V film simulation recipe you will ever need

Kodak-lovers and vintage vibe-catchers unite. Today, I present to you the last Fujifilm film simulation recipe you will ever need to program into your X100Vs, X-Pro3s, and other Fujifilm cameras alike. While there are many looks to be had and many styles to explore, if you want that warm, fuzzy feeling of the summer evenings from your youth, the one you might find in old family photos, then look no further. My Classic Chrome-based recipe, simply called CC because I am a simple man, is the recipe for you. That's probably a slight exaggeration because there is definitely a modern twist to it that favors a sharper image over maximum vintage-ness, but that's for good reasons. This film simulation will make you want to shoot more photos because the images look so nice at all times. I don't think there's much more you can want from a film simulation recipe.
One film simulation to rule them all
I wrote about my six favorite film simulation recipes a while ago and how I have basically not used any other recipes on my Fujifilm X100V and X-Pro3 since first developing them. I truly mean it when I say that sixpack is all I ever need to get the looks I want for my photos. What I didn’t tell you though, is that specifically my CC recipe is the one I use 80 percent of the time. Maybe even 90 percent. That film sim can, in my opinion, be used for everything. And so I do.
A significant factor in creating 'one film simulation recipe to rule them all' is having a balanced look that's stylized but still understated. I've seen some amazing recipes on the internet that people make for their Fuji cameras, and it's always tempting to give them a try for a while. Usually, I quickly learn that these recipes work very well in particular situations and not so much when you try to use them for other things. This is obviously fine, Fujifilm has made it possible to pre-program seven custom functions for this exact reason, and it's easy to cycle through them. But I'm also looking for consistency in my work. To get this consistency, I need a film simulation recipe that is evenly balanced between providing me with a certain look but also doesn't overdo it. This way, I can use it for many different scenarios and in many different lighting conditions.
A significant factor in creating 'one film simulation recipe to rule them all', is having a balanced look that's stylized but still understated.
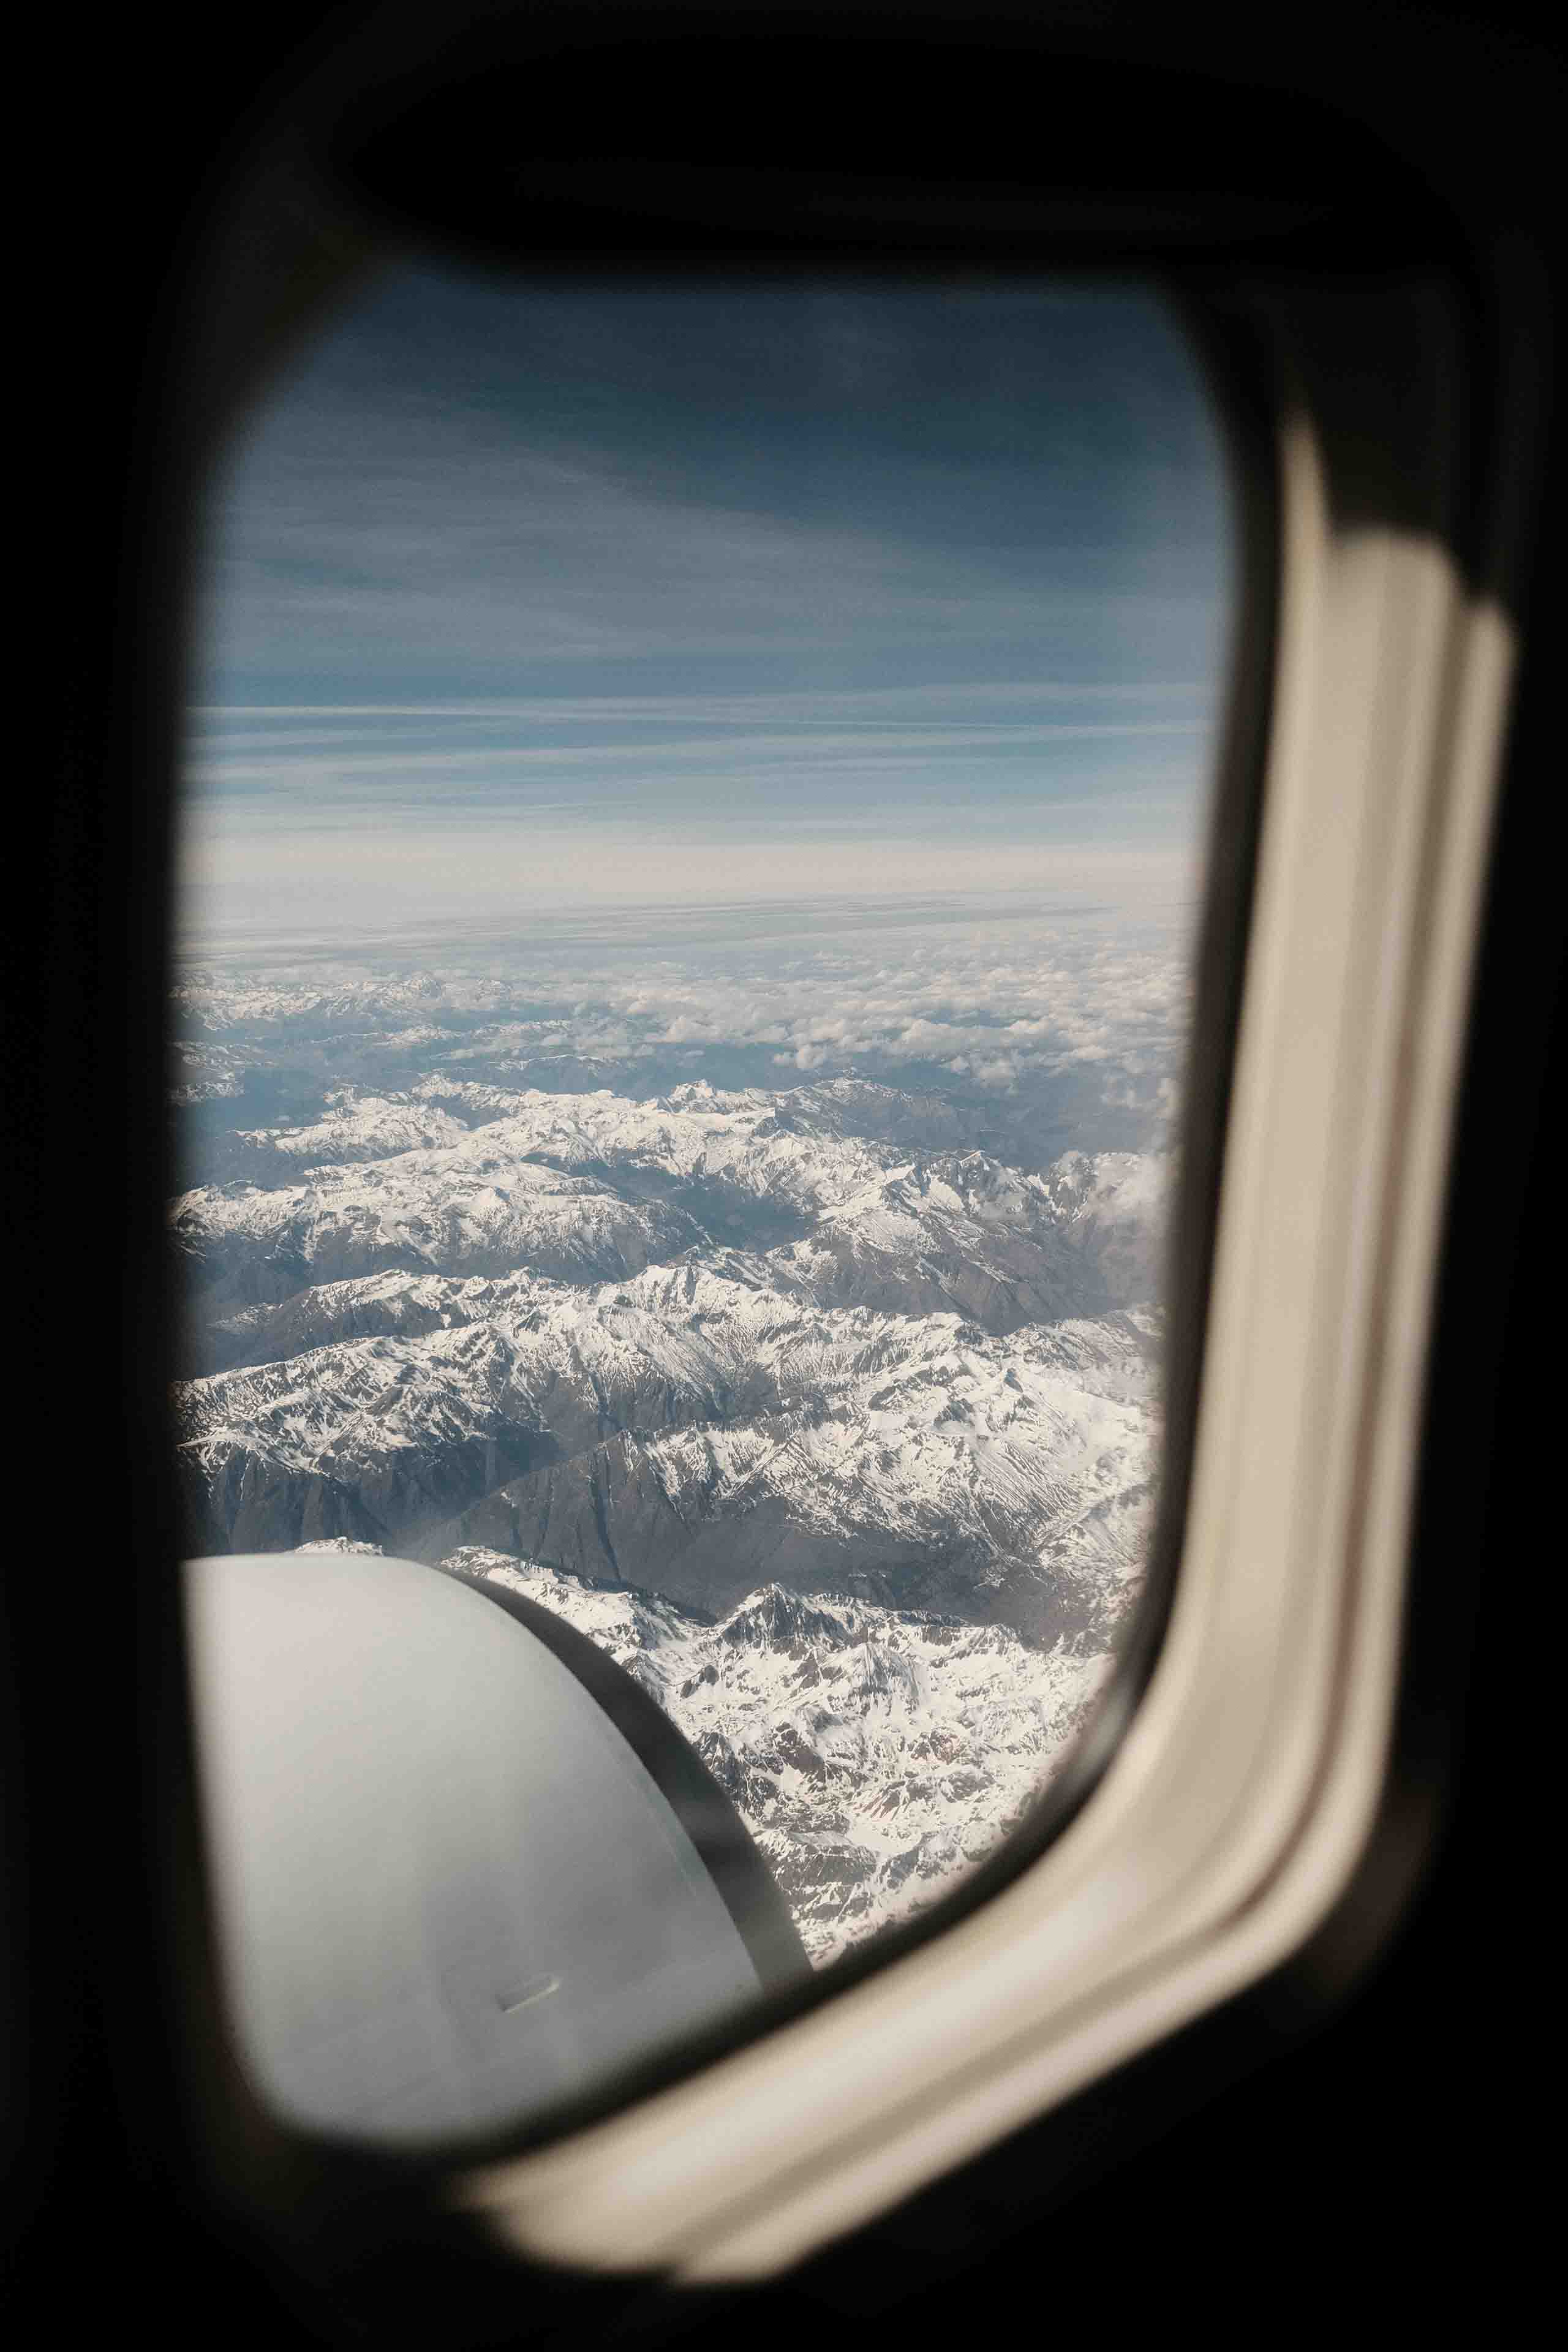
I use my CC film simulation recipe when I’m out shooting street photography, when I take portraits, or even when I’m shooting landscapes. I've used it on trips to Greece, Barcelona, and Berlin, each sporting very different subjects, lighting, and weather conditions. It has never disappointed me. So without further ado, you can find the recipe below.
CC film simulation recipe
Dynamic Range: DR400
Highlight: +1Shadow: +2
Color: -3
Noise Reduction: -4
Sharpening: +3
Clarity: 0
Grain Effect: Weak, Small
Color Chrome Effect: Strong
Color Chrome Effect Blue: Off
White Balance: Auto, +2 Red & -3 Blue
ISO: Manual, 640 and up
While most of these parameters speak for themselves, I think some background can be useful for understanding how this film simulation recipe works. The most important aspects of this recipe are Dynamic Range, Color Chrome, the White Balance shift, and the minimum ISO of 640. Dynamic Range DR400 is important because it allows for a more balanced exposure between the highlights and the shadows. It gives you a little more detail in the darker areas of your images while also making sure your highlights don't overexpose as quickly. For that function to work though you need that minimum ISO of 640, which is true for newer cameras but is a little higher on older models. The same logic applies though. The Color Chrome Effect makes sure you have rich colors with a little less luminance, which perhaps is a bigger part of the analog aesthetic than some people might imagine. Finally, the White Balance shift takes all the colors in the image and shifts them slightly toward the warmer end of the spectrum. This really completes the overall analog feeling you get with this recipe.
Fujifilm secretly went the Kodak route
The main reason I developed my CC recipe is that I was looking for those gorgeous warm Kodak-like tones that I enjoy so much. You know, the type of colors you see in those 15x10 cm (6x4 inches, for my American friends) printouts from your youth that your parents shot on little point-and-shoot cameras. Images that are taken in a time when Kodak was still the leading supplier of the medium your images were captured on, before digital photography came in a scooped the whole thing up.Fujifilm probably won't admit it, being one of Kodak's biggest competitors when it comes to 35mm photographic film, but their Classic Chrome film simulation is heavily inspired by this Kodak look. There's a slight desaturation in that simulation that combines beautifully with a warmer color cast. It does remind me a lot of Portra 400 in some way but I think Fuji's real aim was to create a look that approaches the famed Kodachrome from the 20th century. This is supported by the fact that there is no real-life 35mm film equivalent of Classic Chrome like there is with almost all of Fuji's other film simulations. If the name of the film simulation isn't enough of a hint already, Fujifilm themselves also claim the film simulation is "designed to reproduce a look that is similar to documentary magazines of the 20th century. Its low saturation and hard tonal gradation in shadows make it a perfect choice for documentary photography with a touch of realism." If that's not a way to describe Kodachrome without literally naming it, then I don't know what is.

If you like this post, you might also want to give my monthly newsletter Dialogue a read. It's about photography, walking and exploration. Sometimes about other things as well.
Real life results
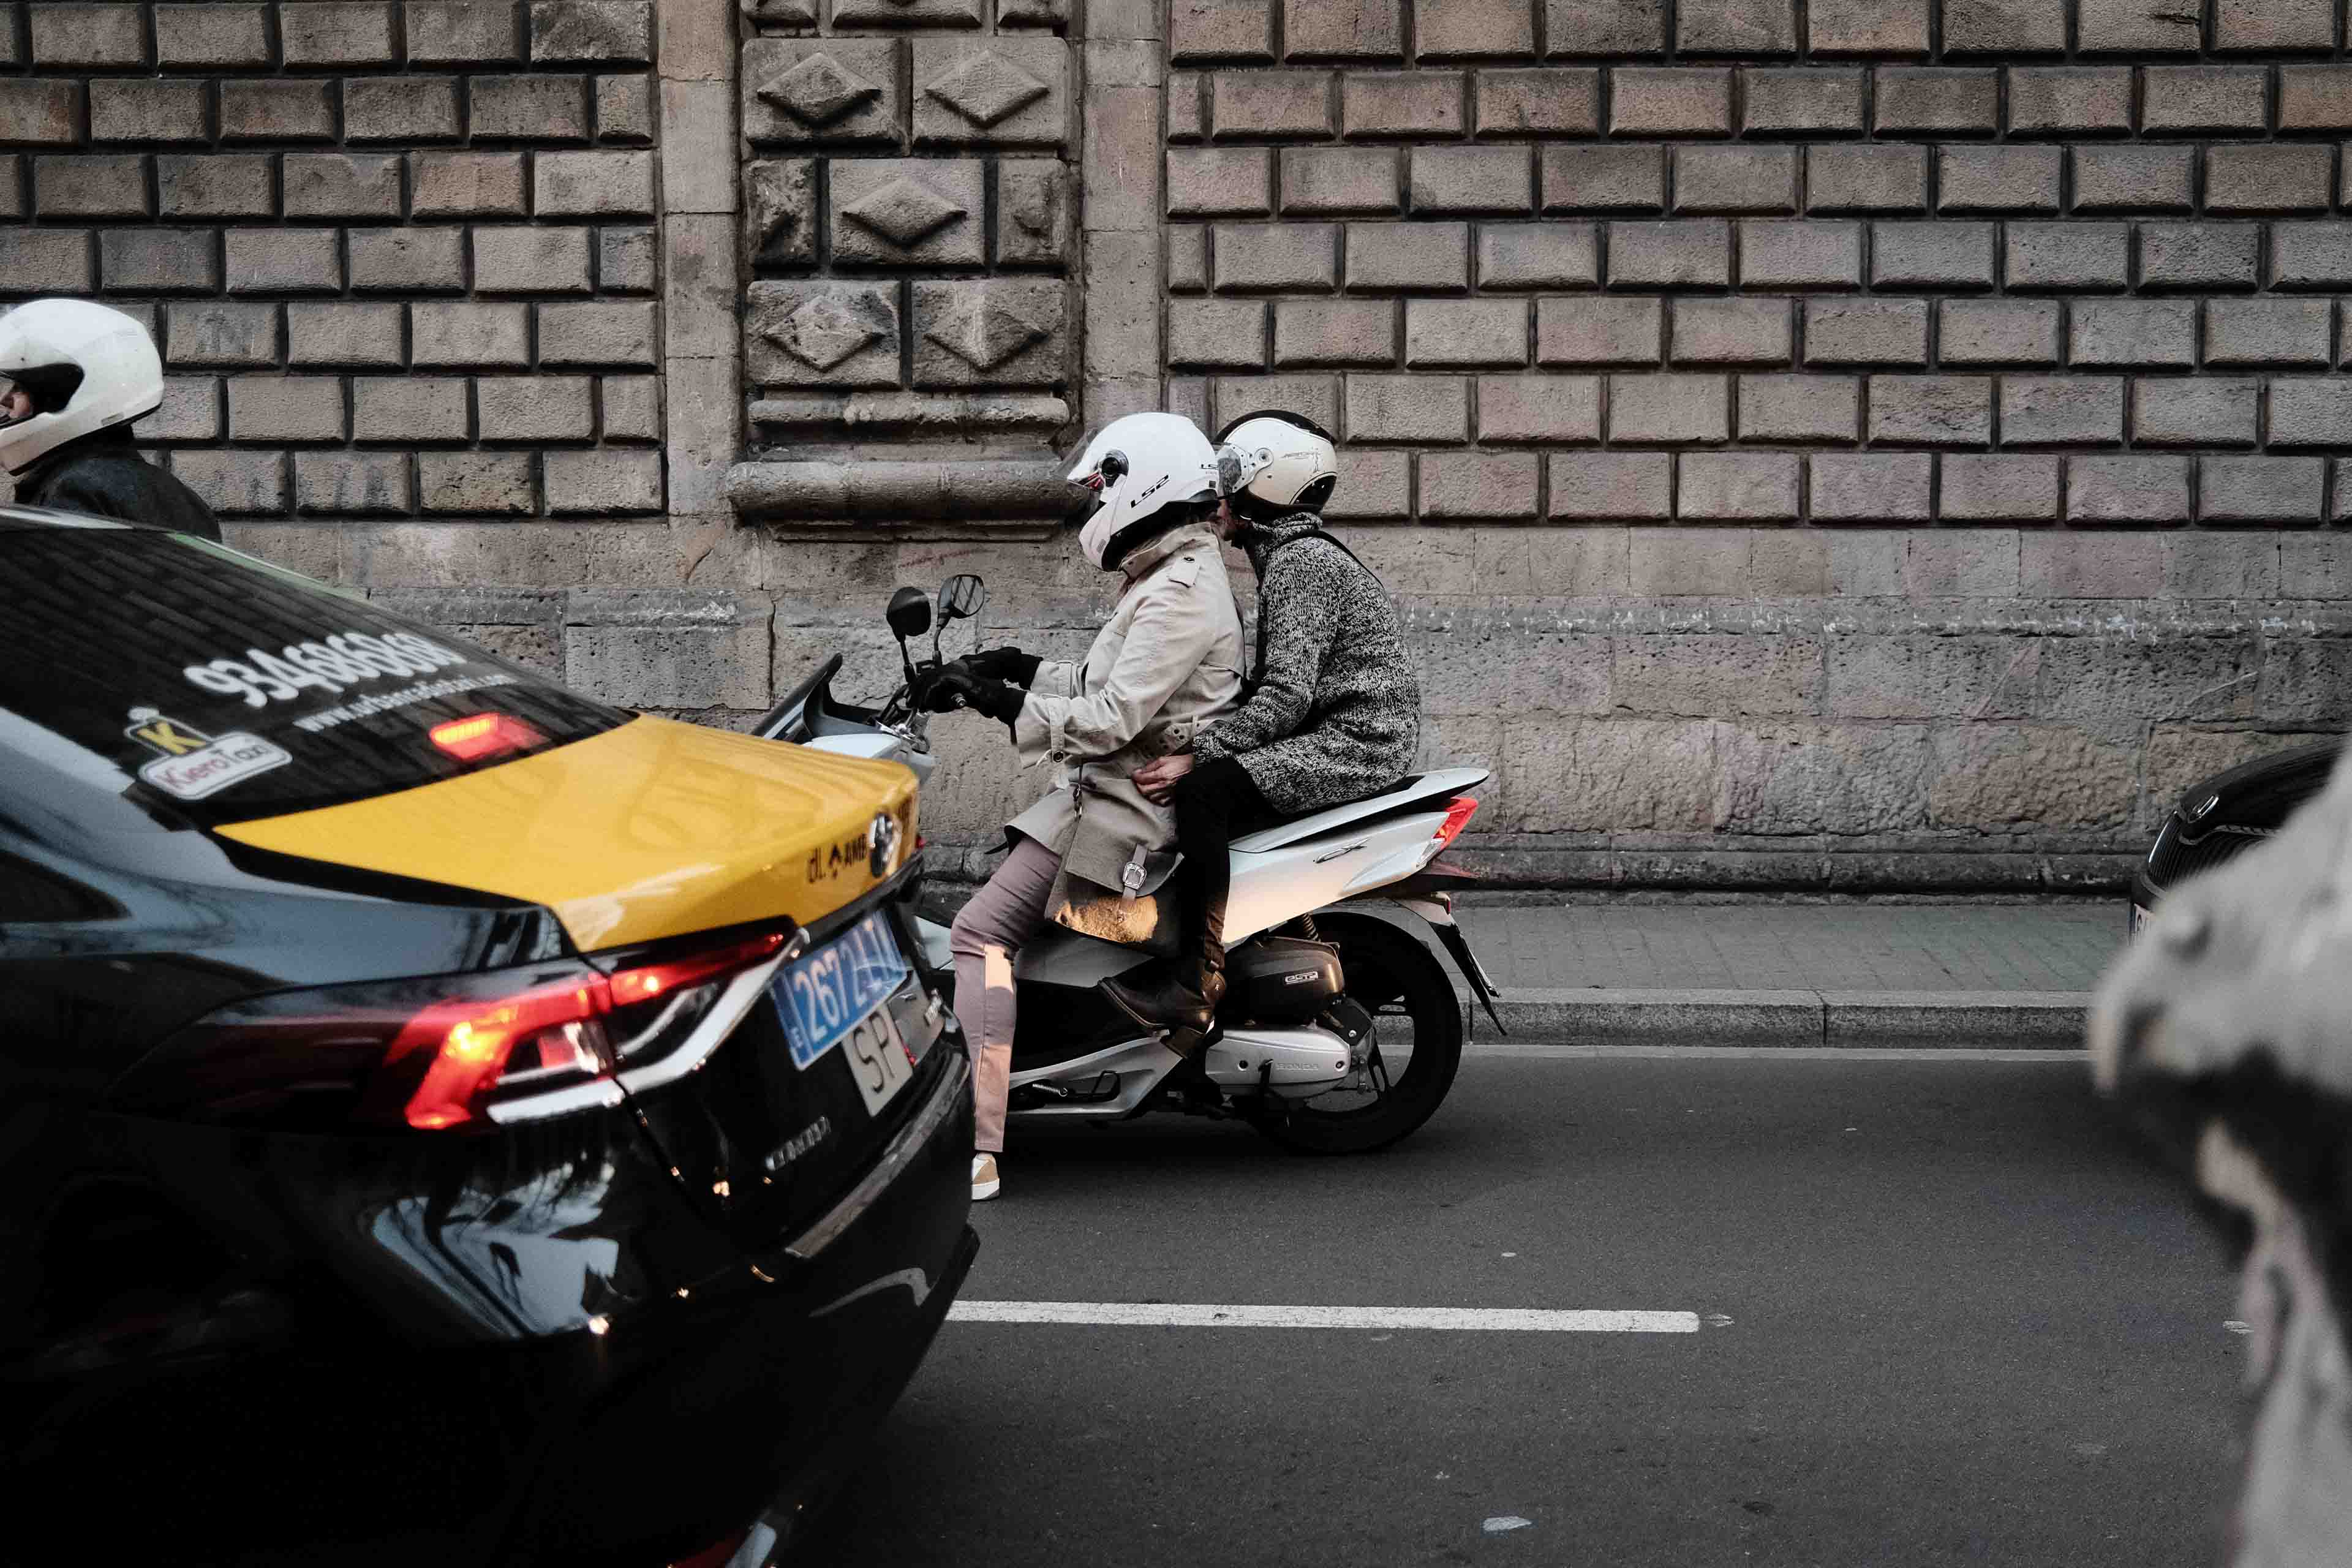
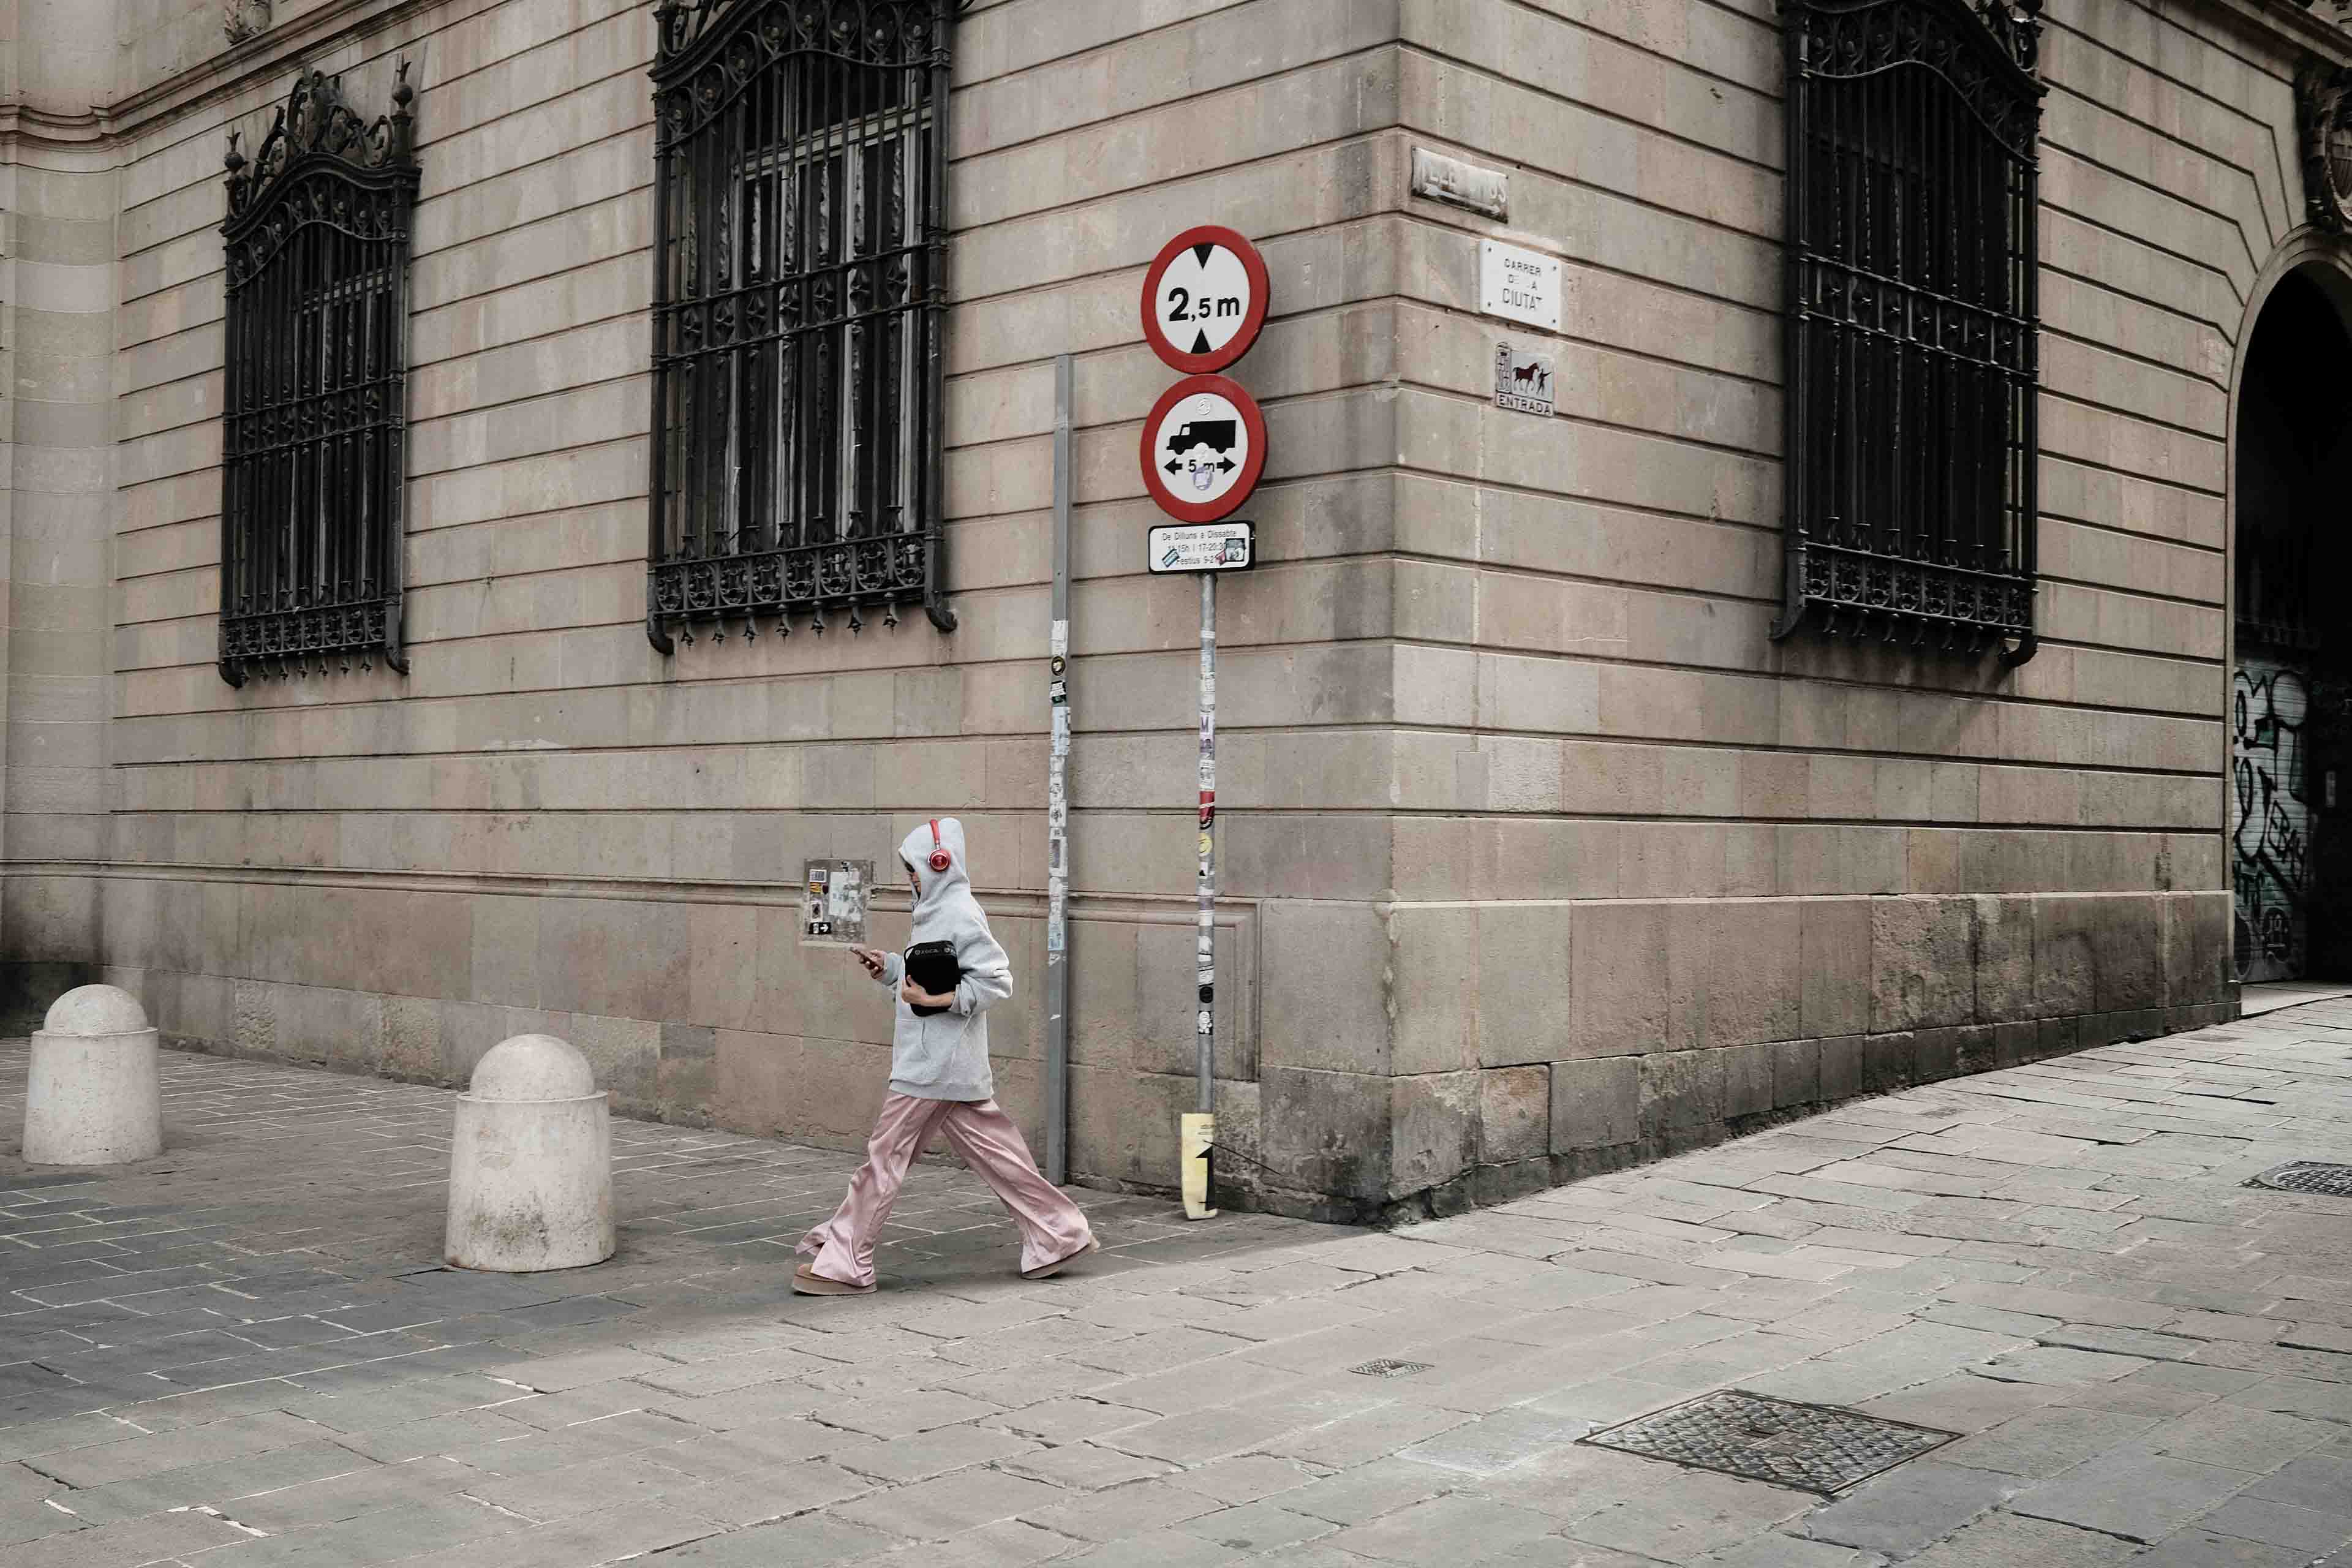
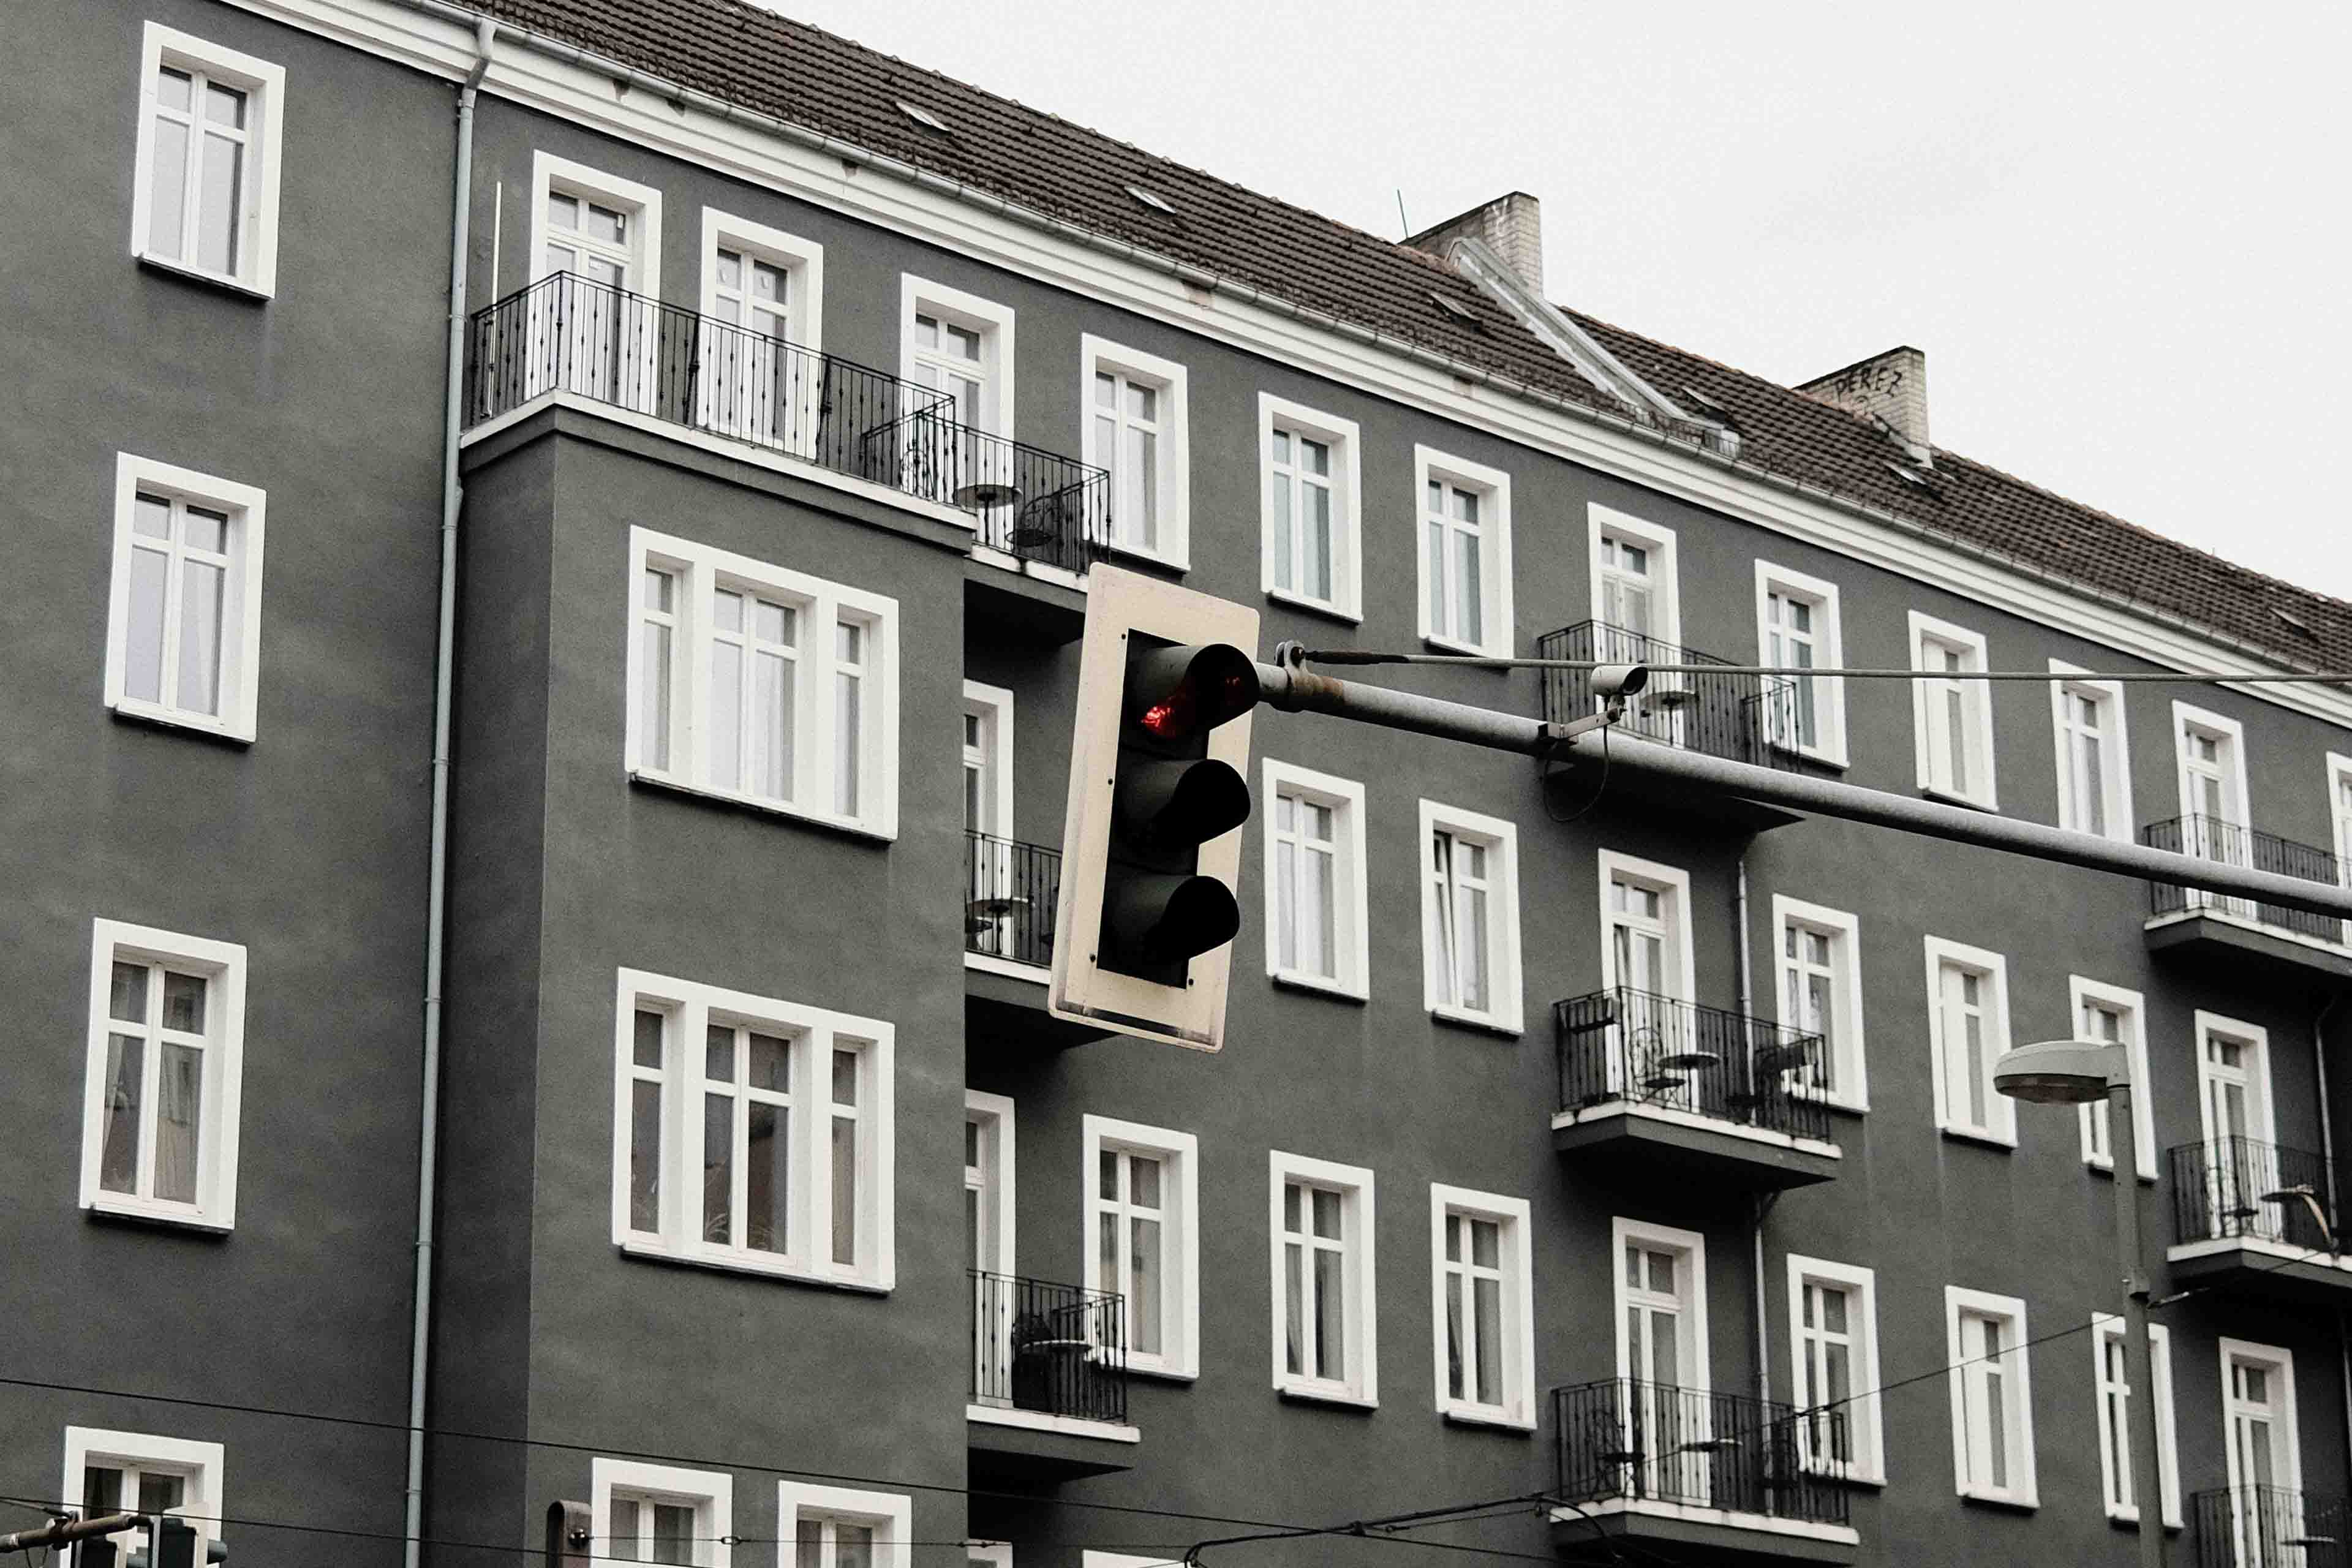
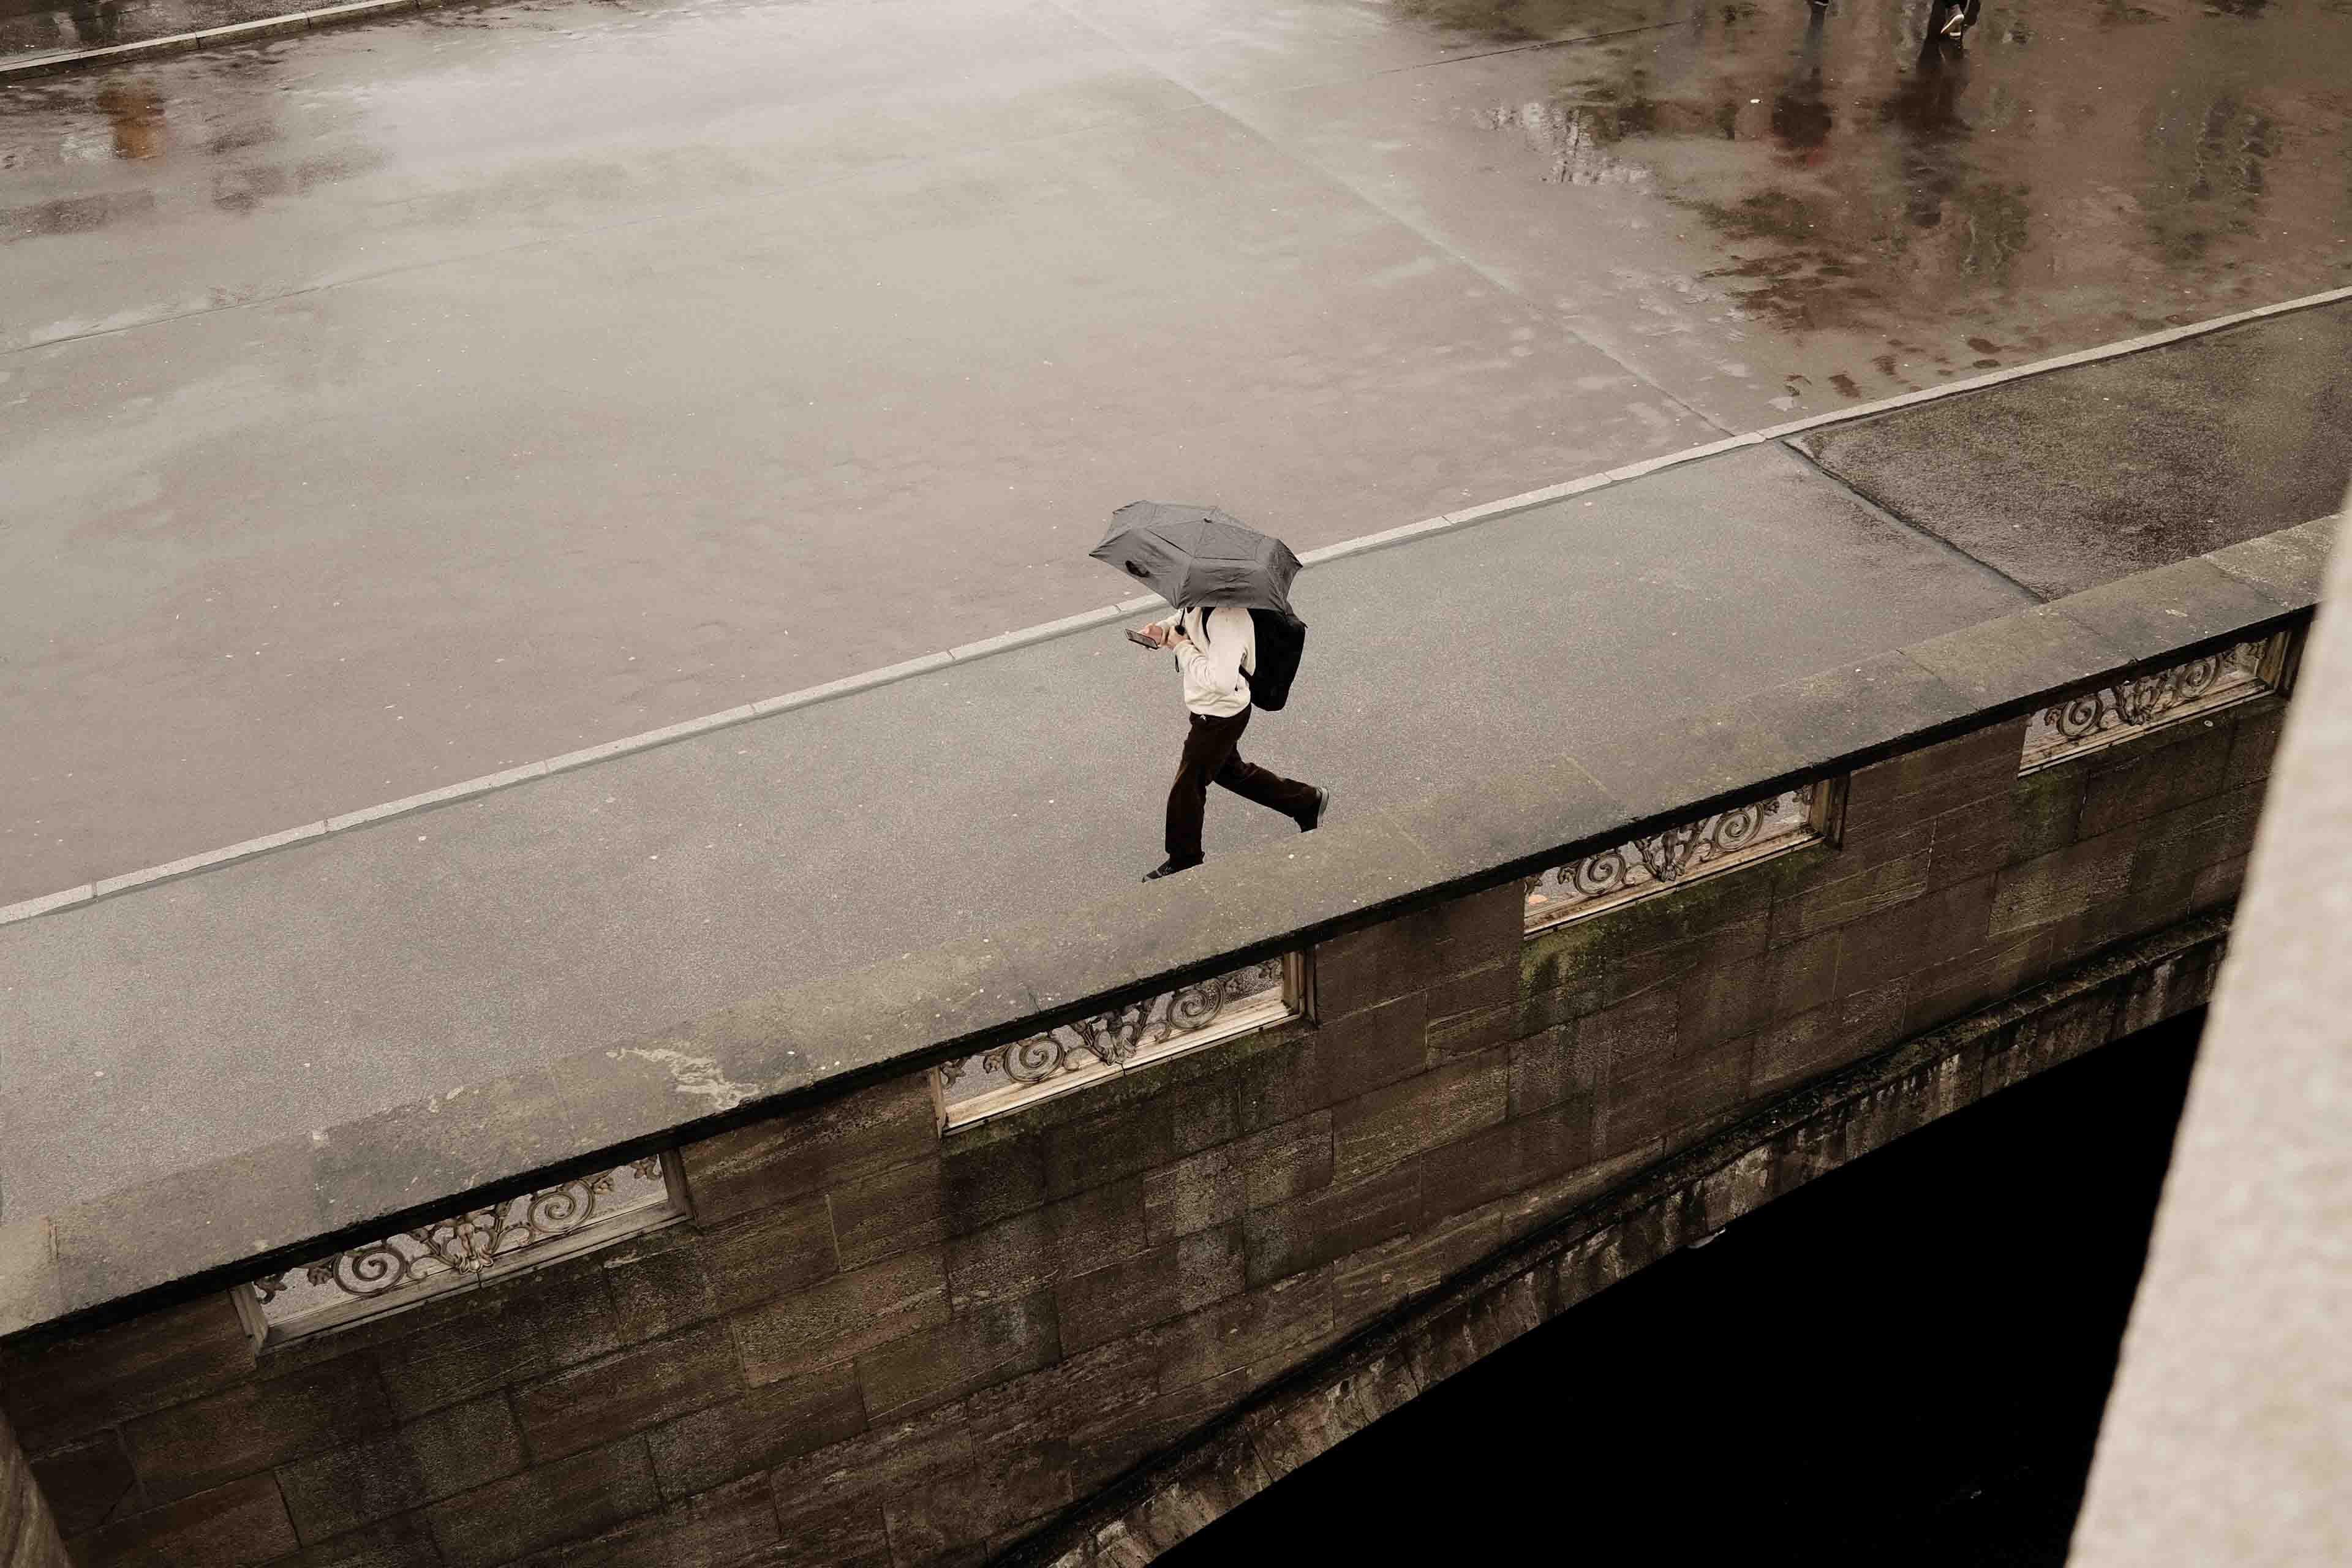
If there's anything in the pudding, then it's probably the proof. So to support my claims that this film simulation works for pretty much any scenario, the best thing I can do is show you some of the images I've made with this film sim. I particularly enjoy the skin tones Classic Chrome produces, and with the enhanced warm color cast and added contrast, CC really delivers in this area.
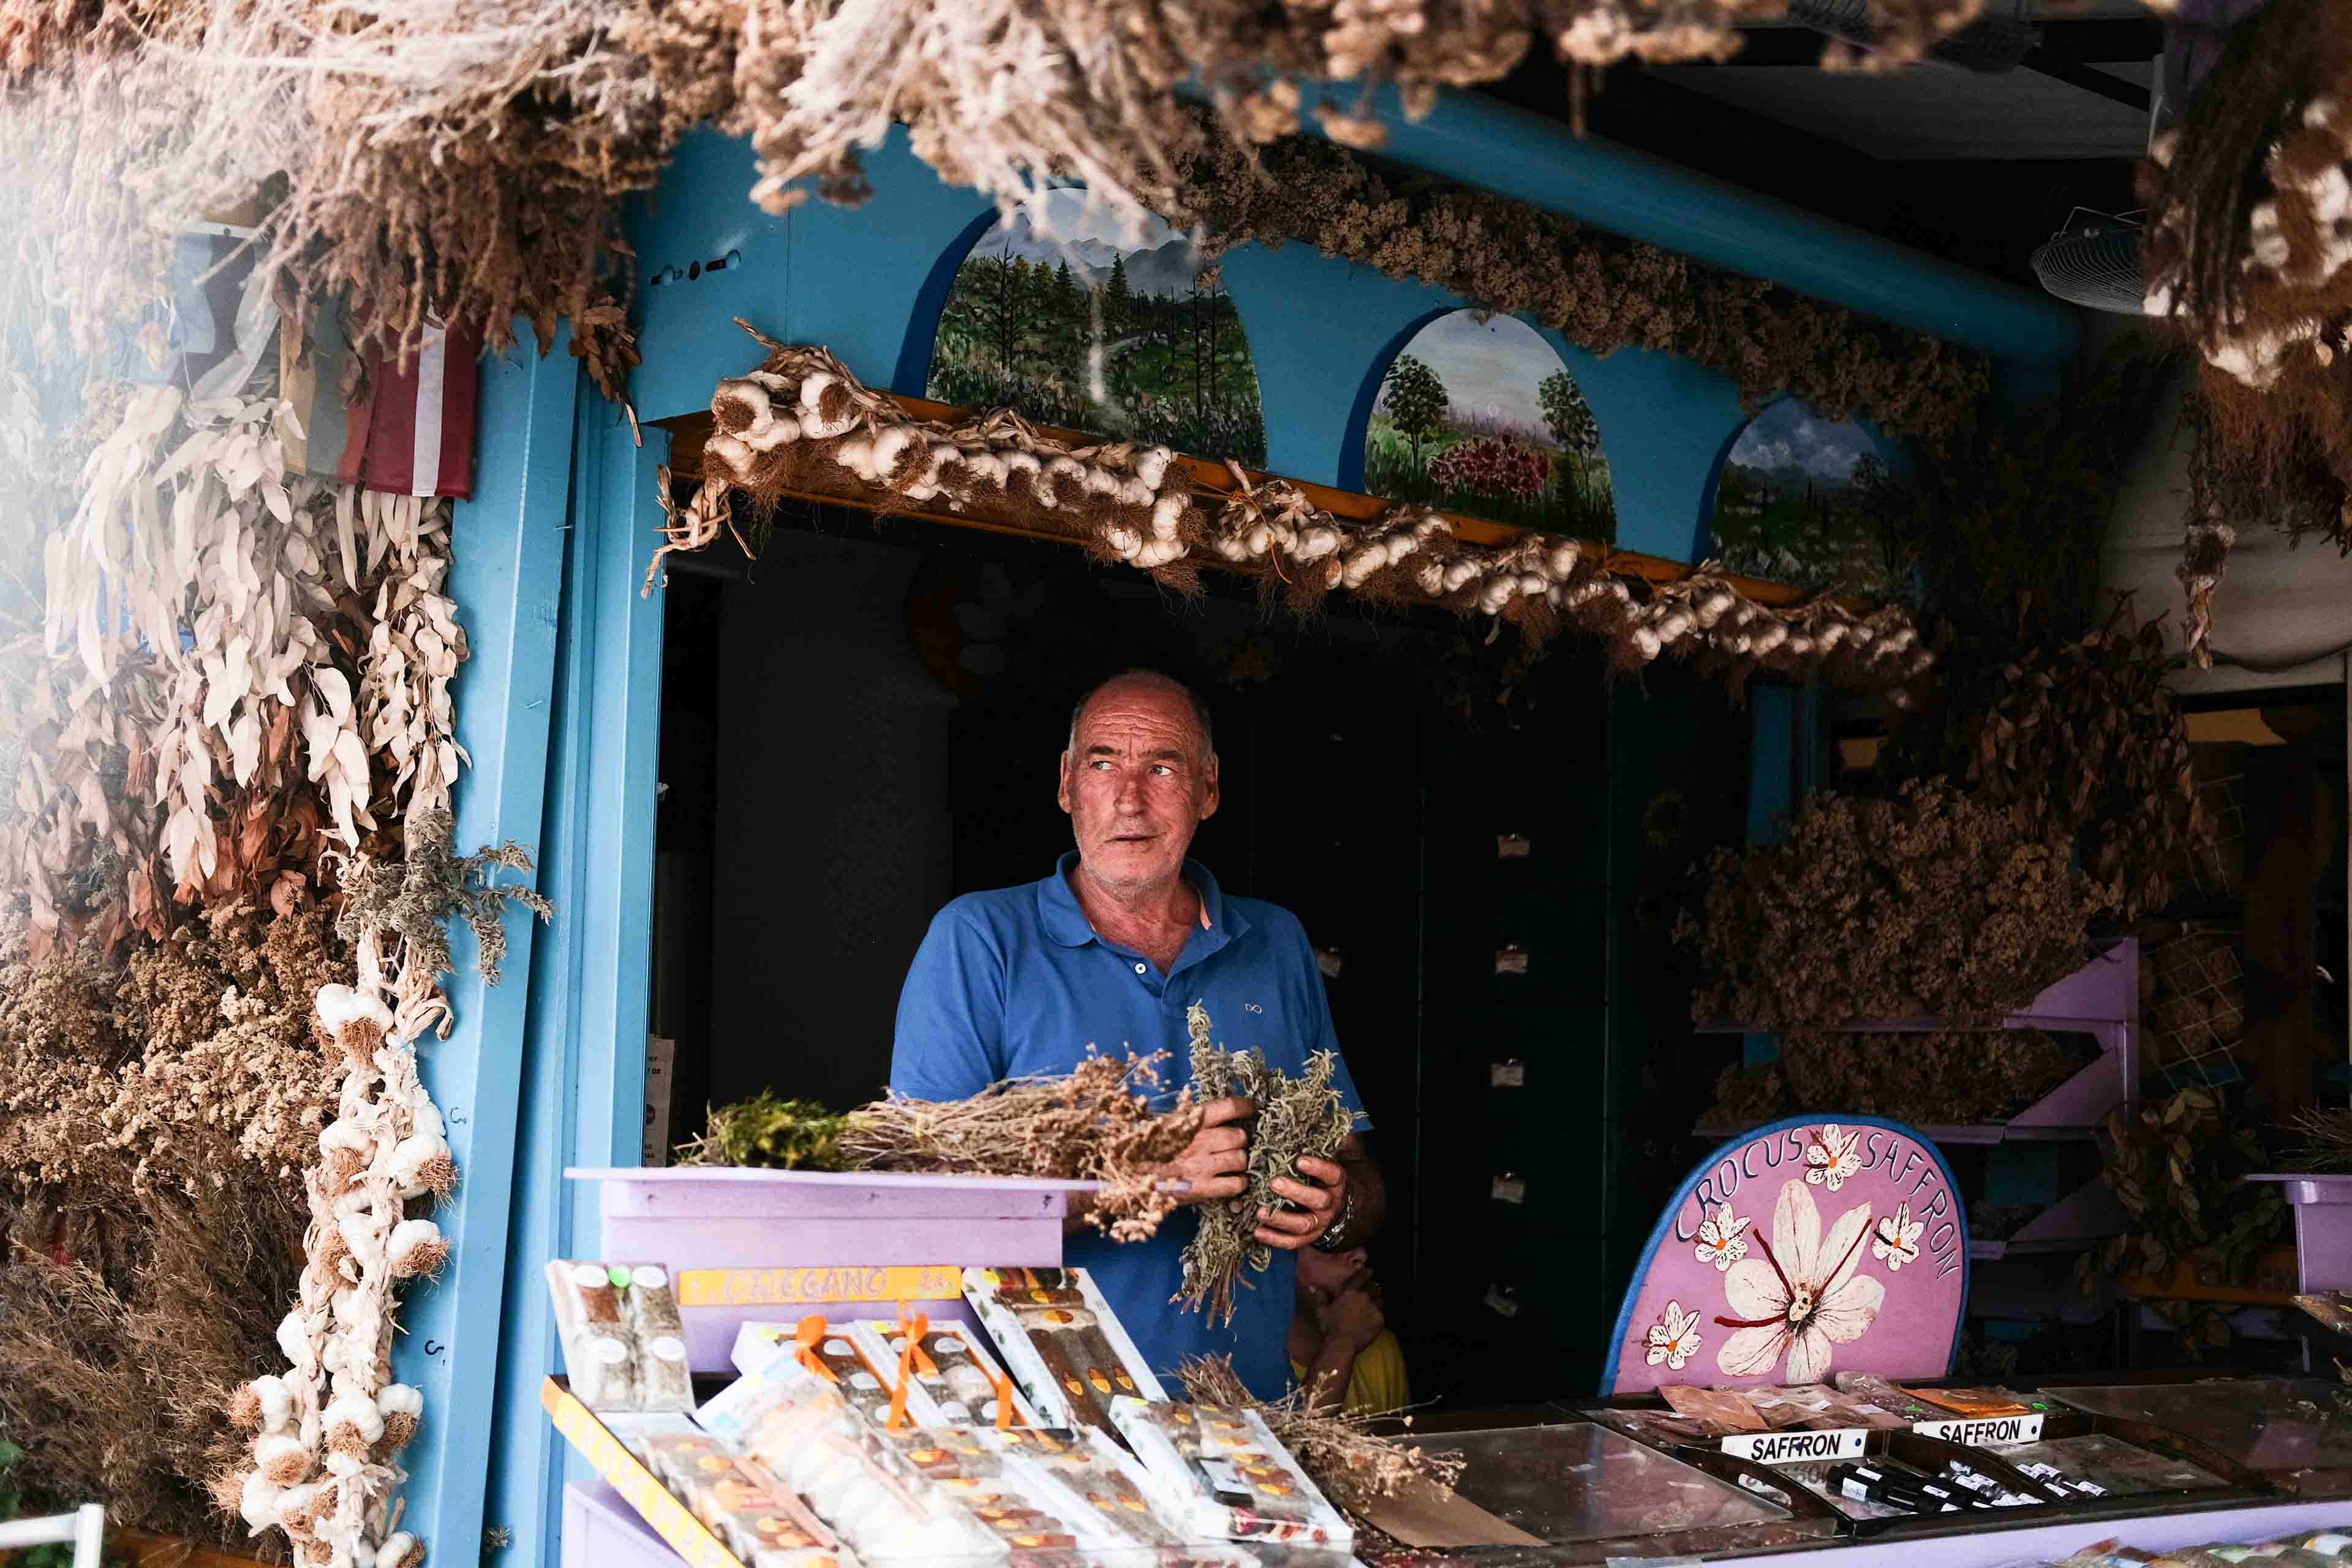
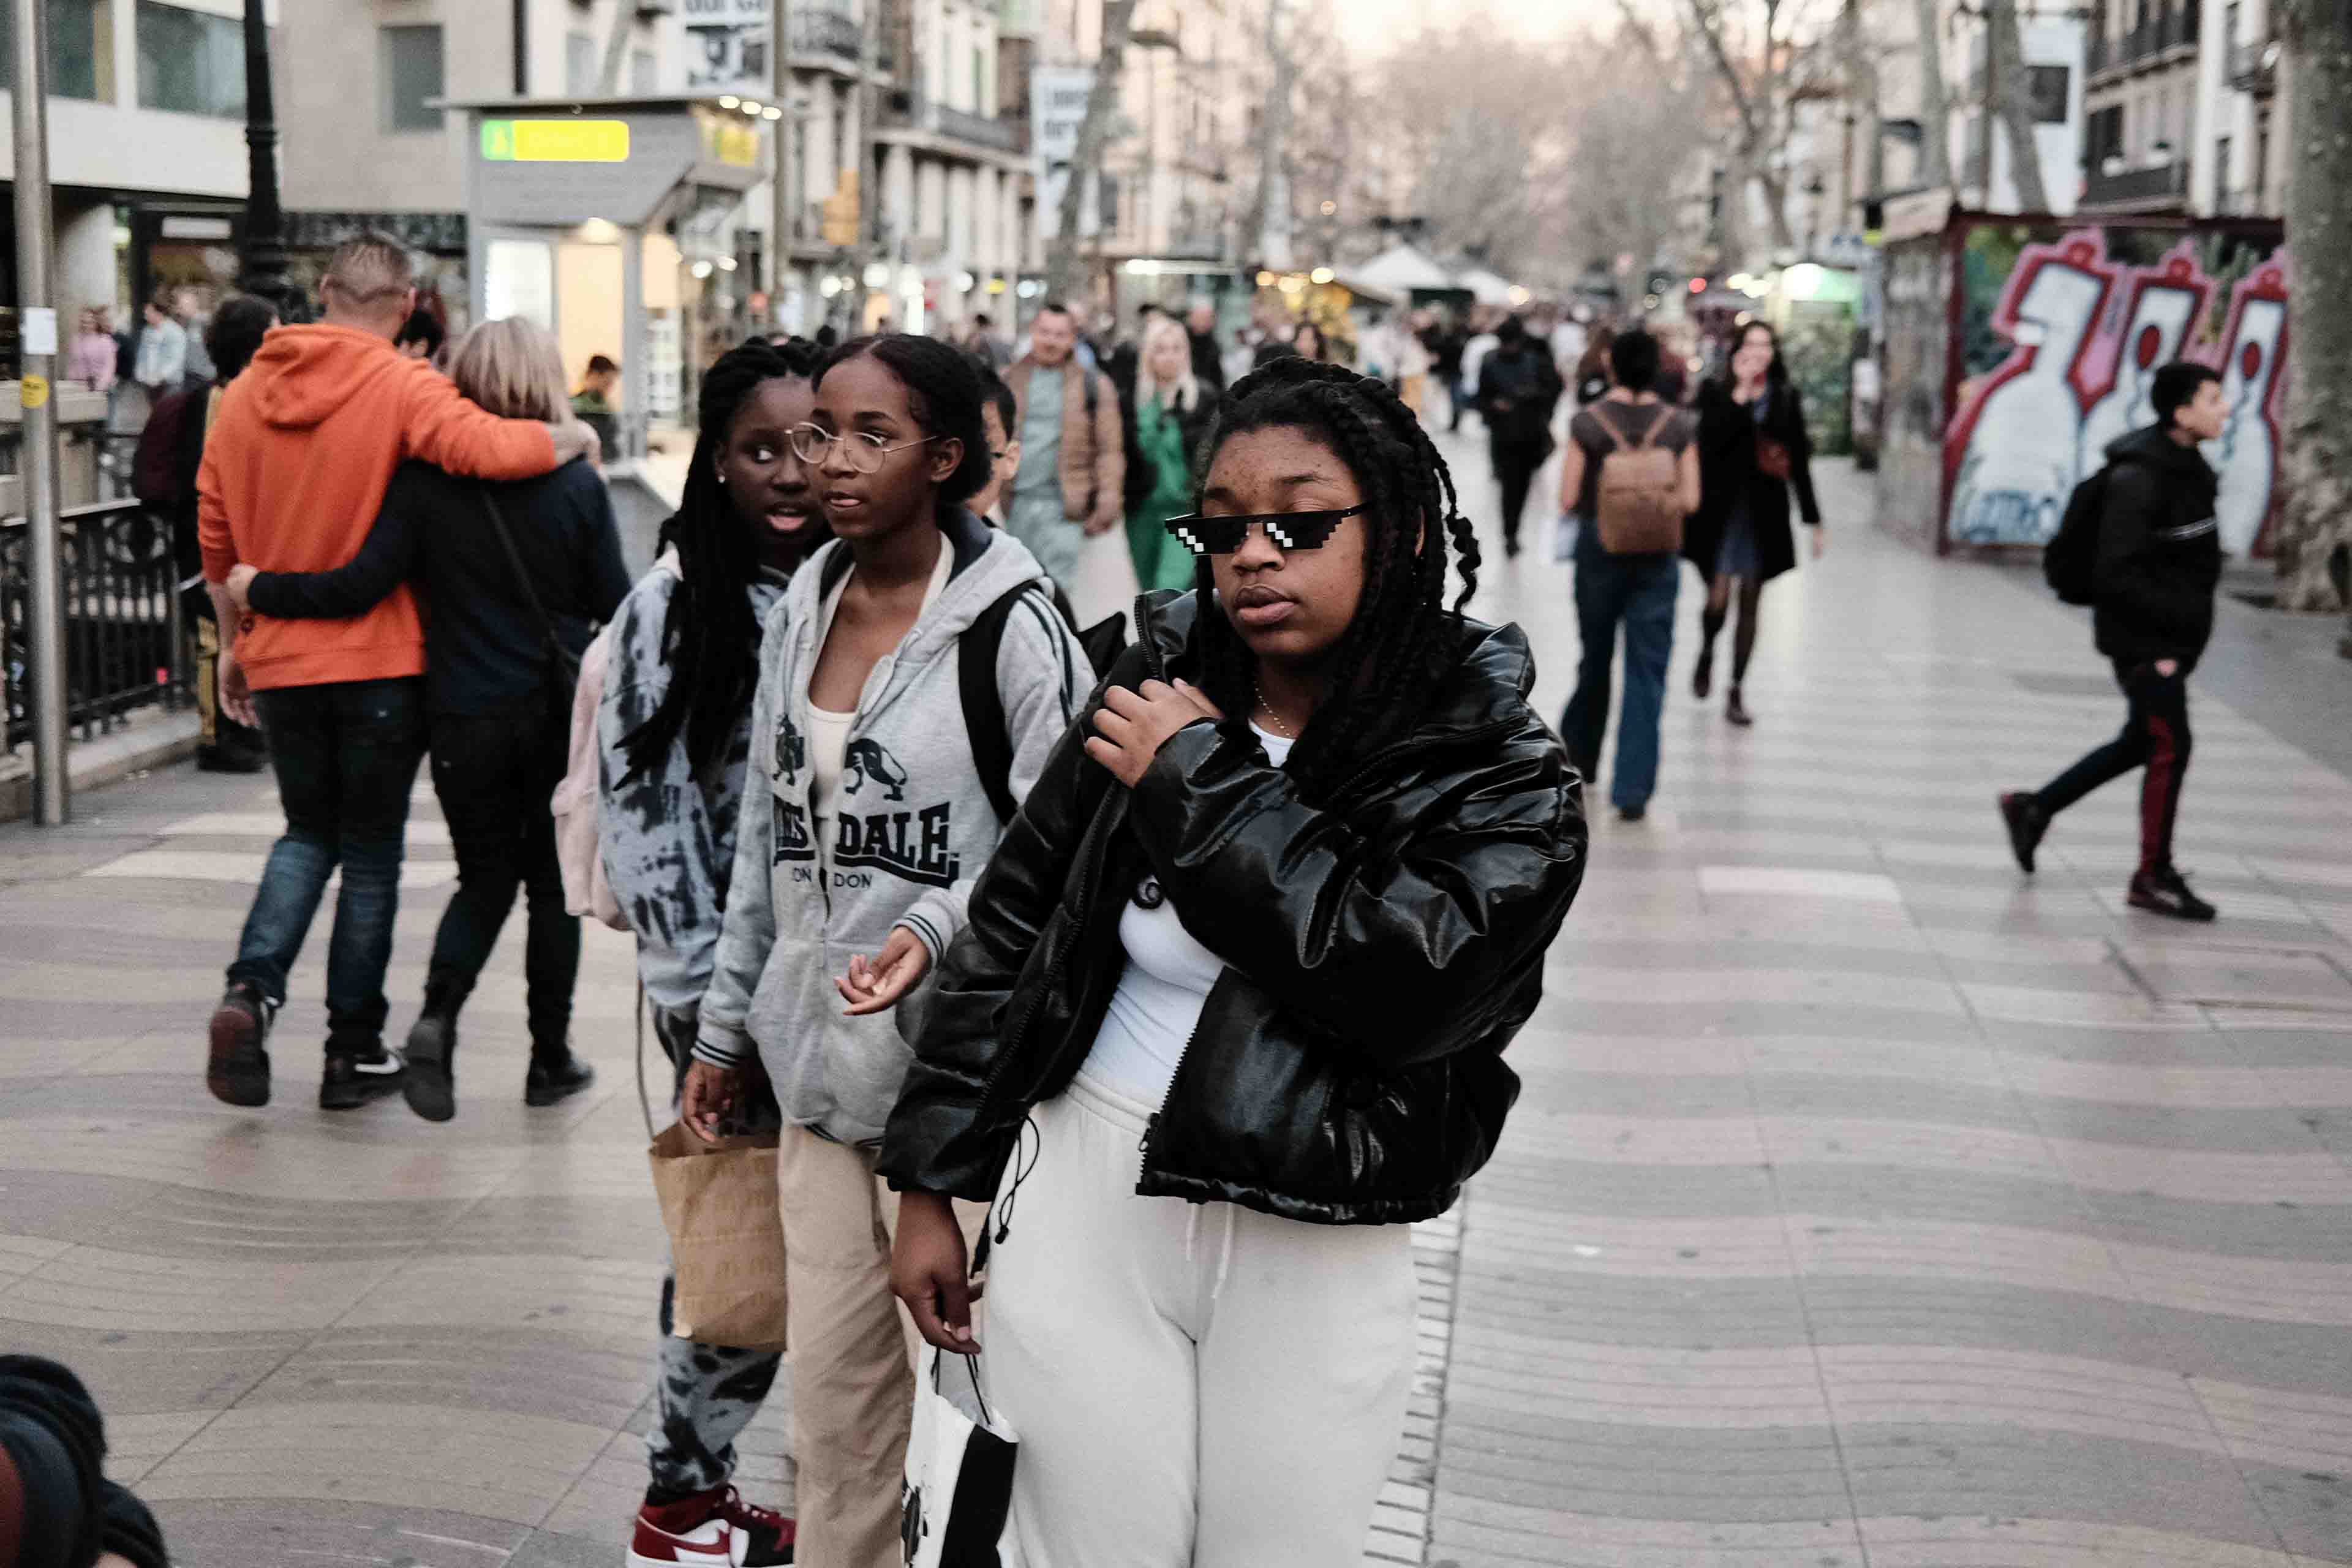


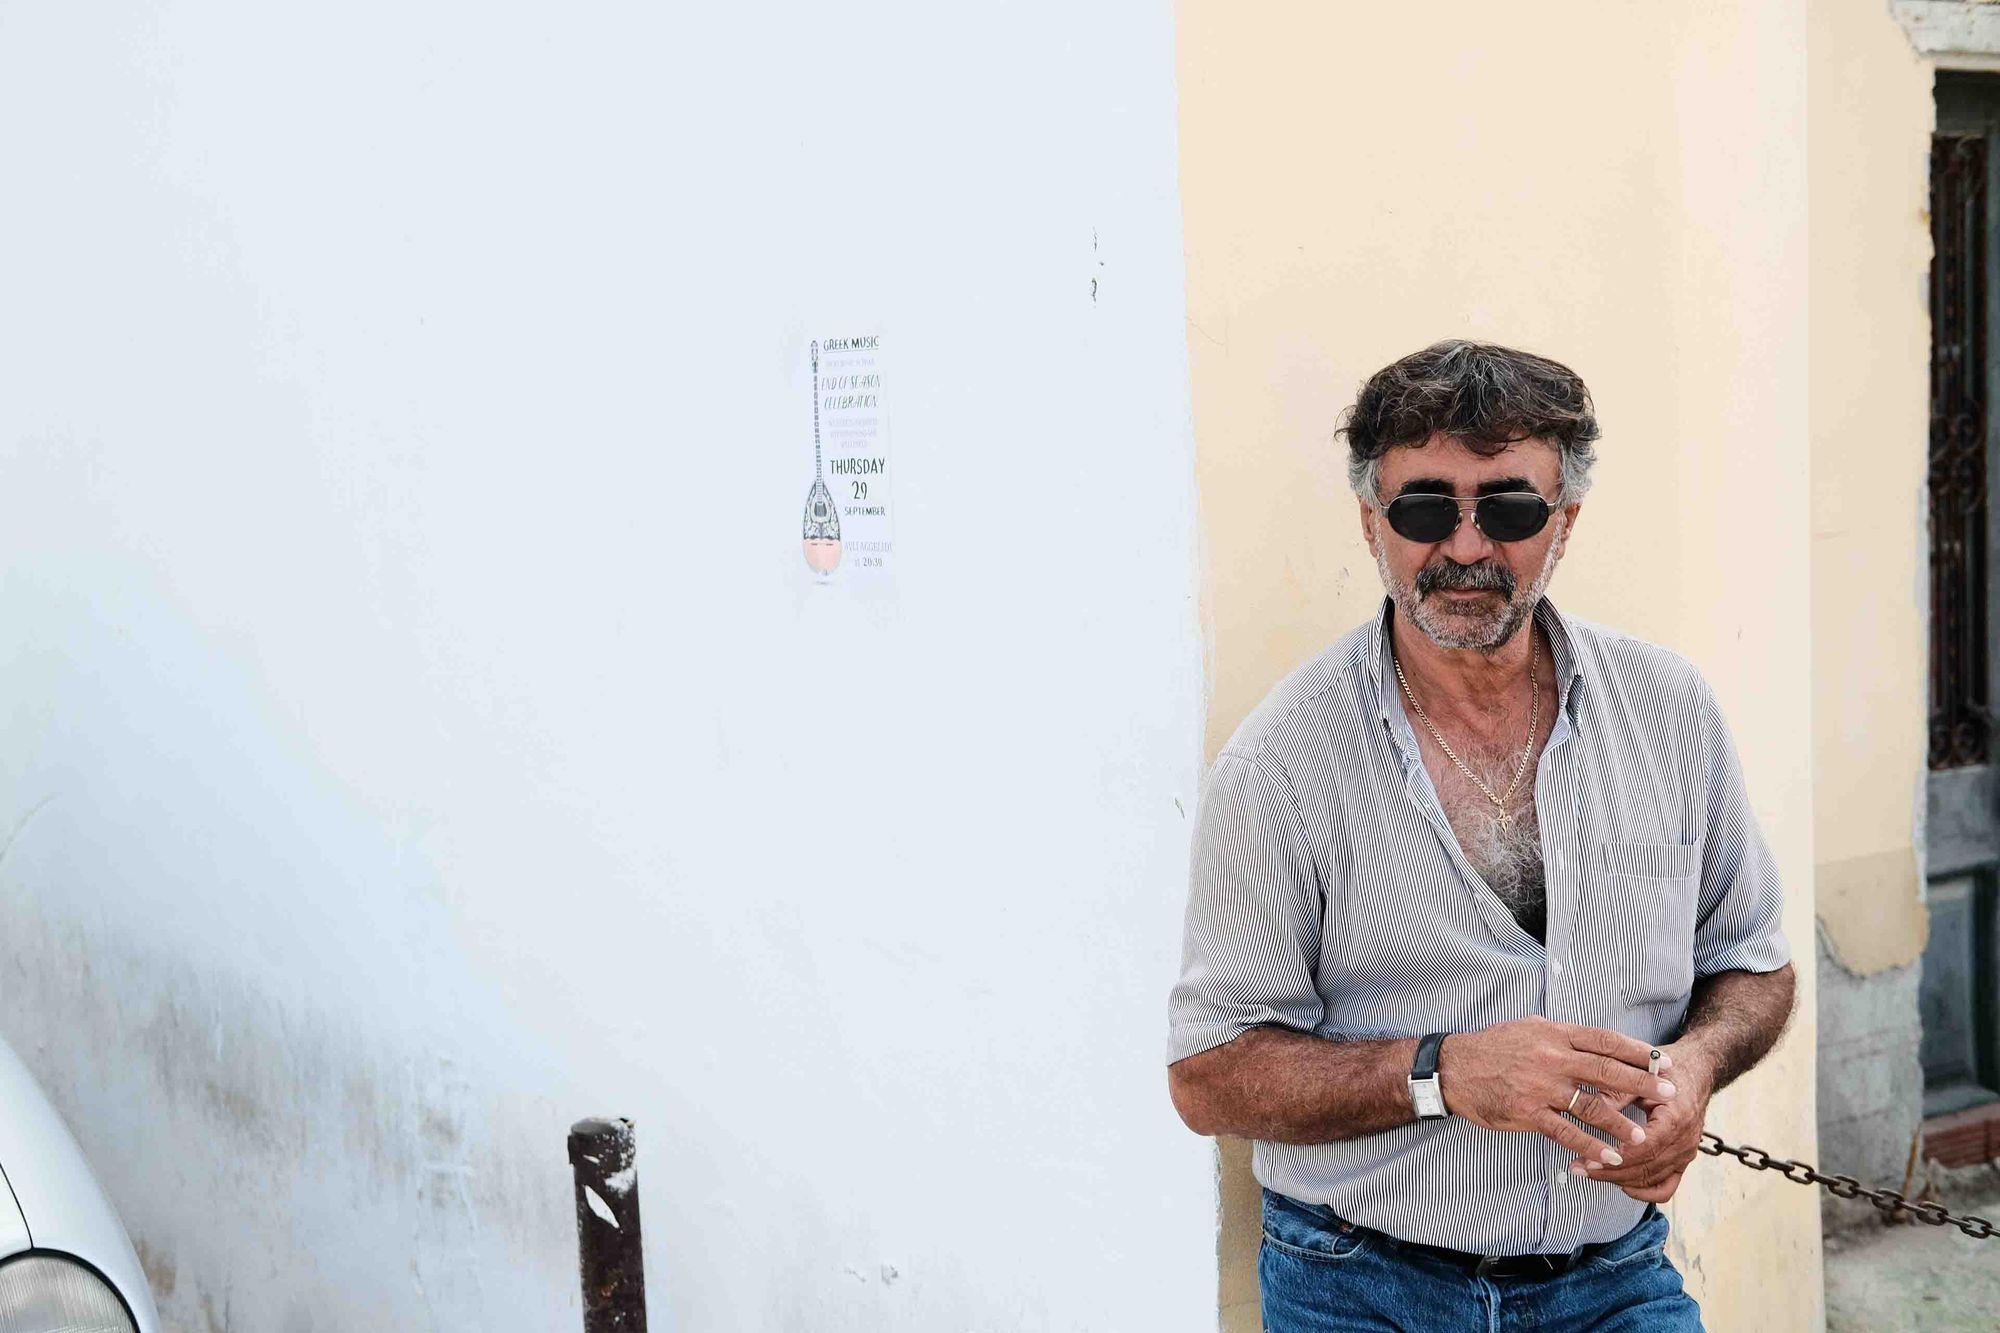
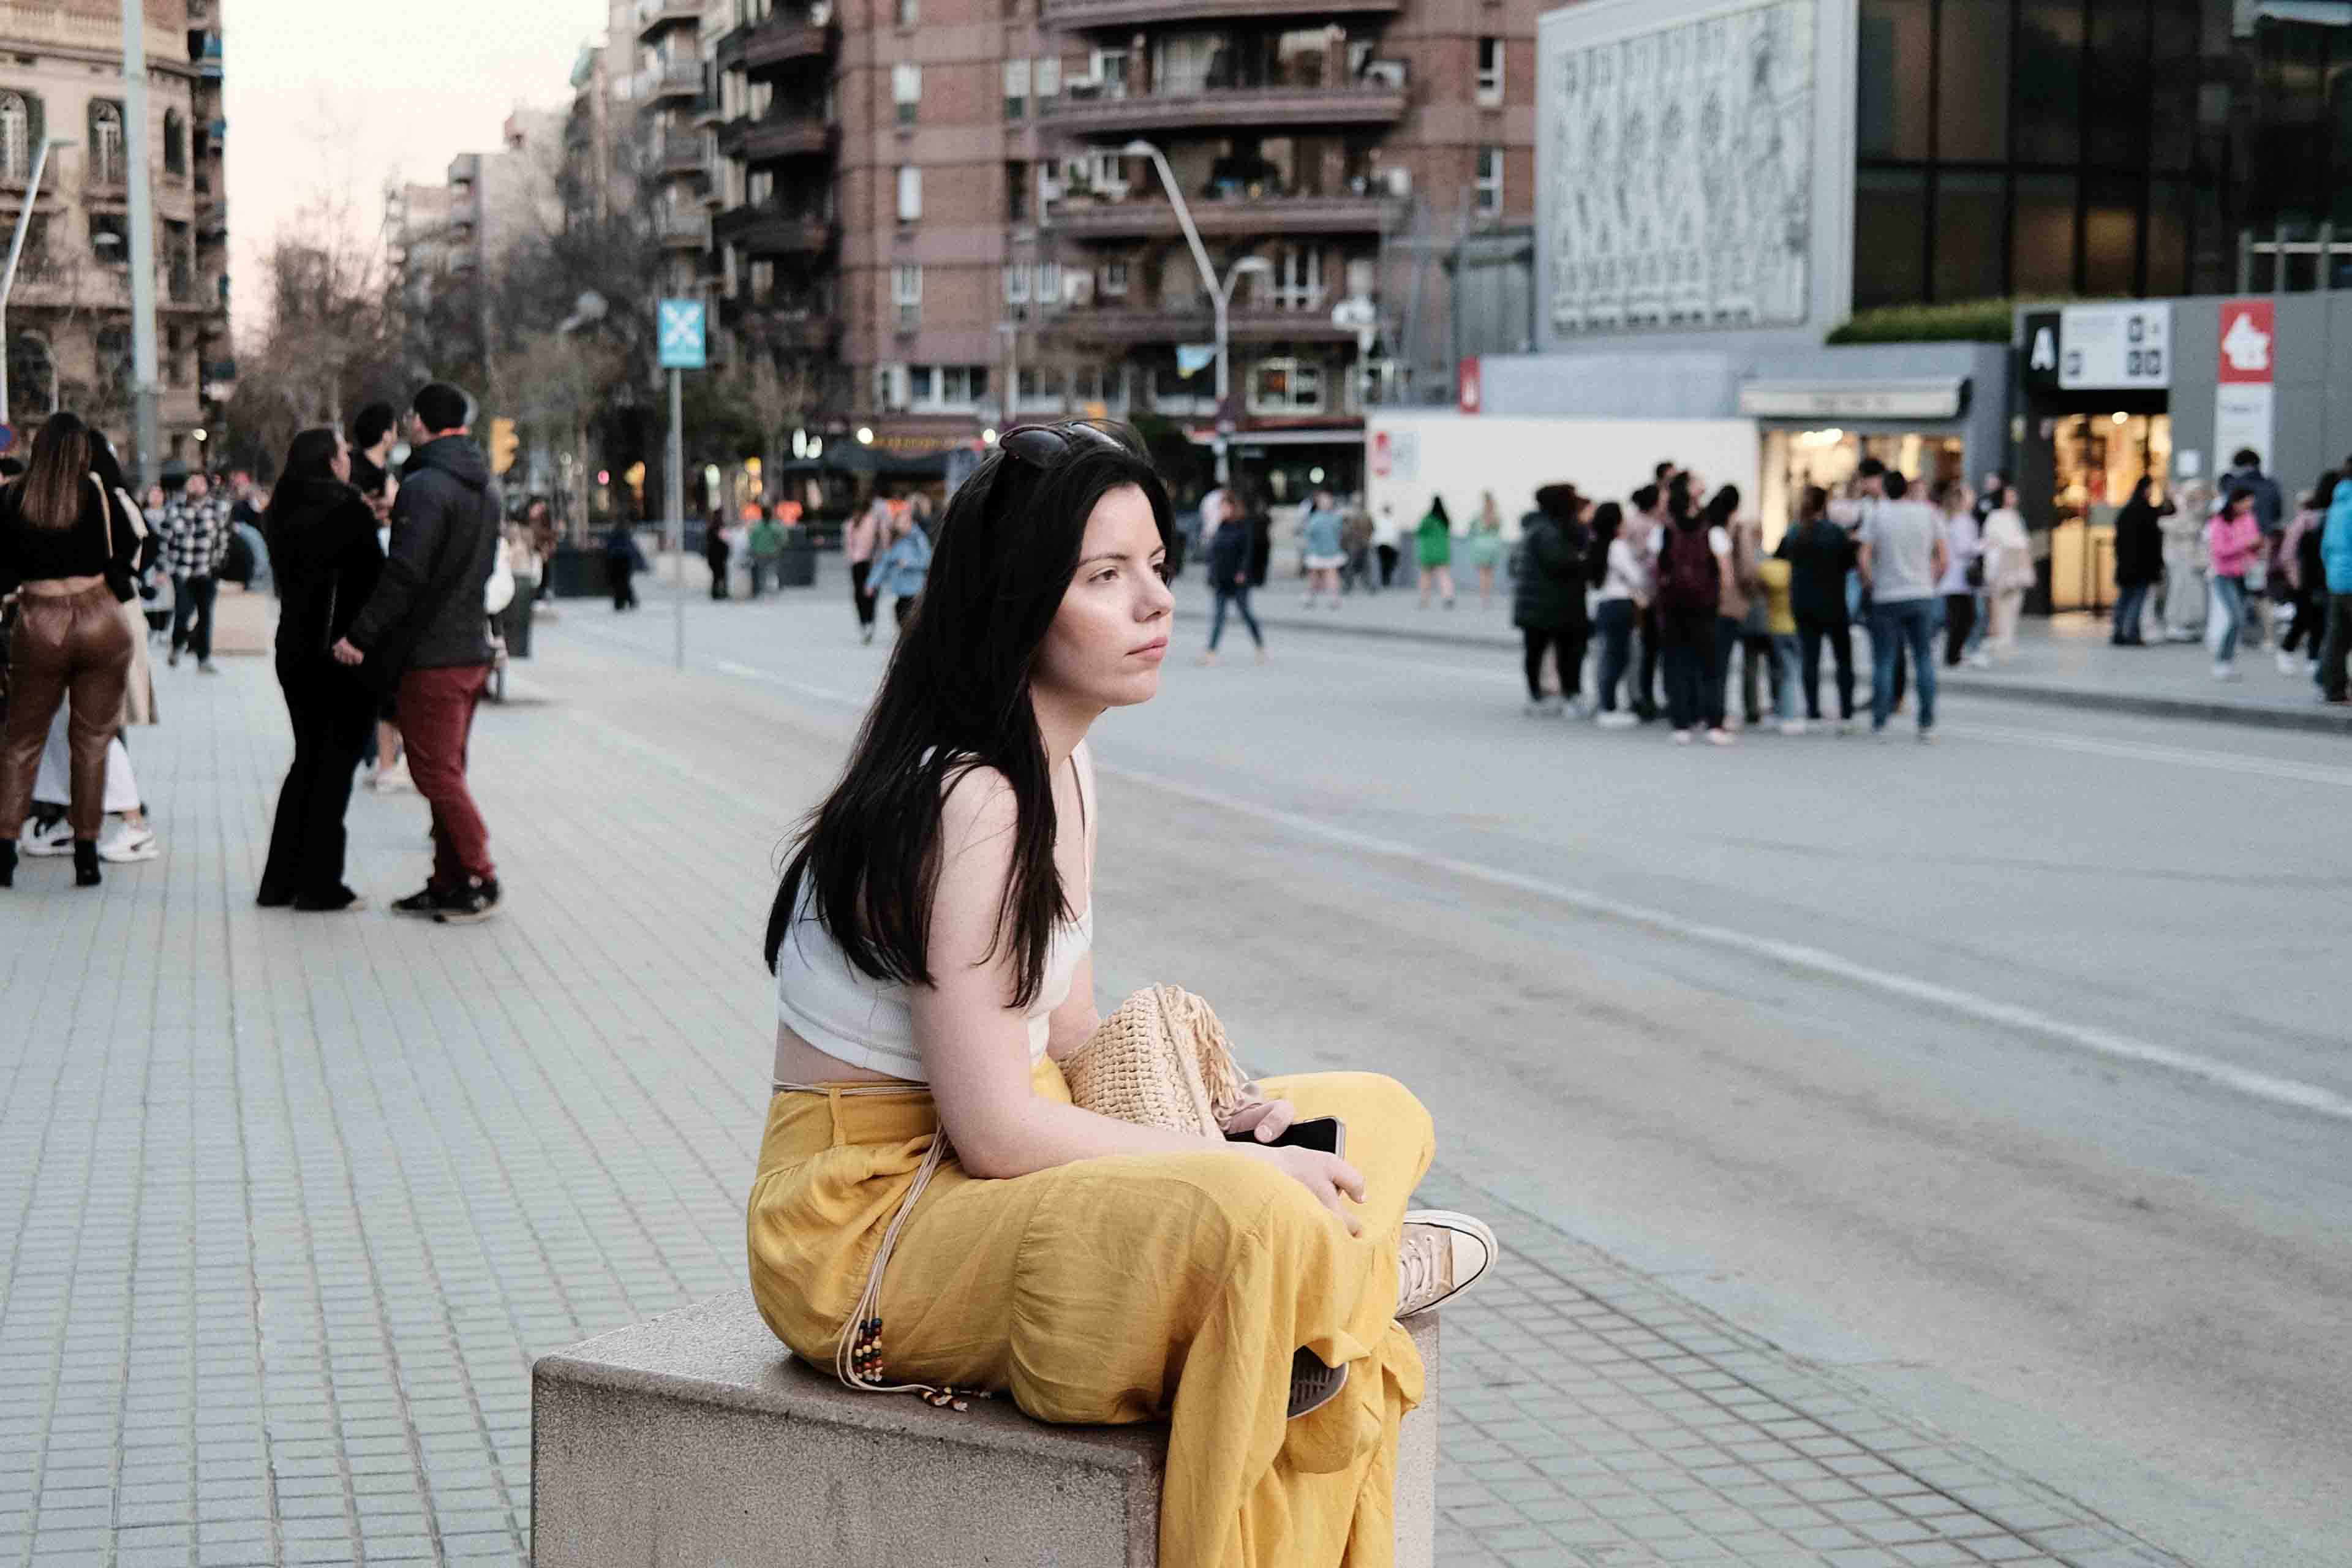
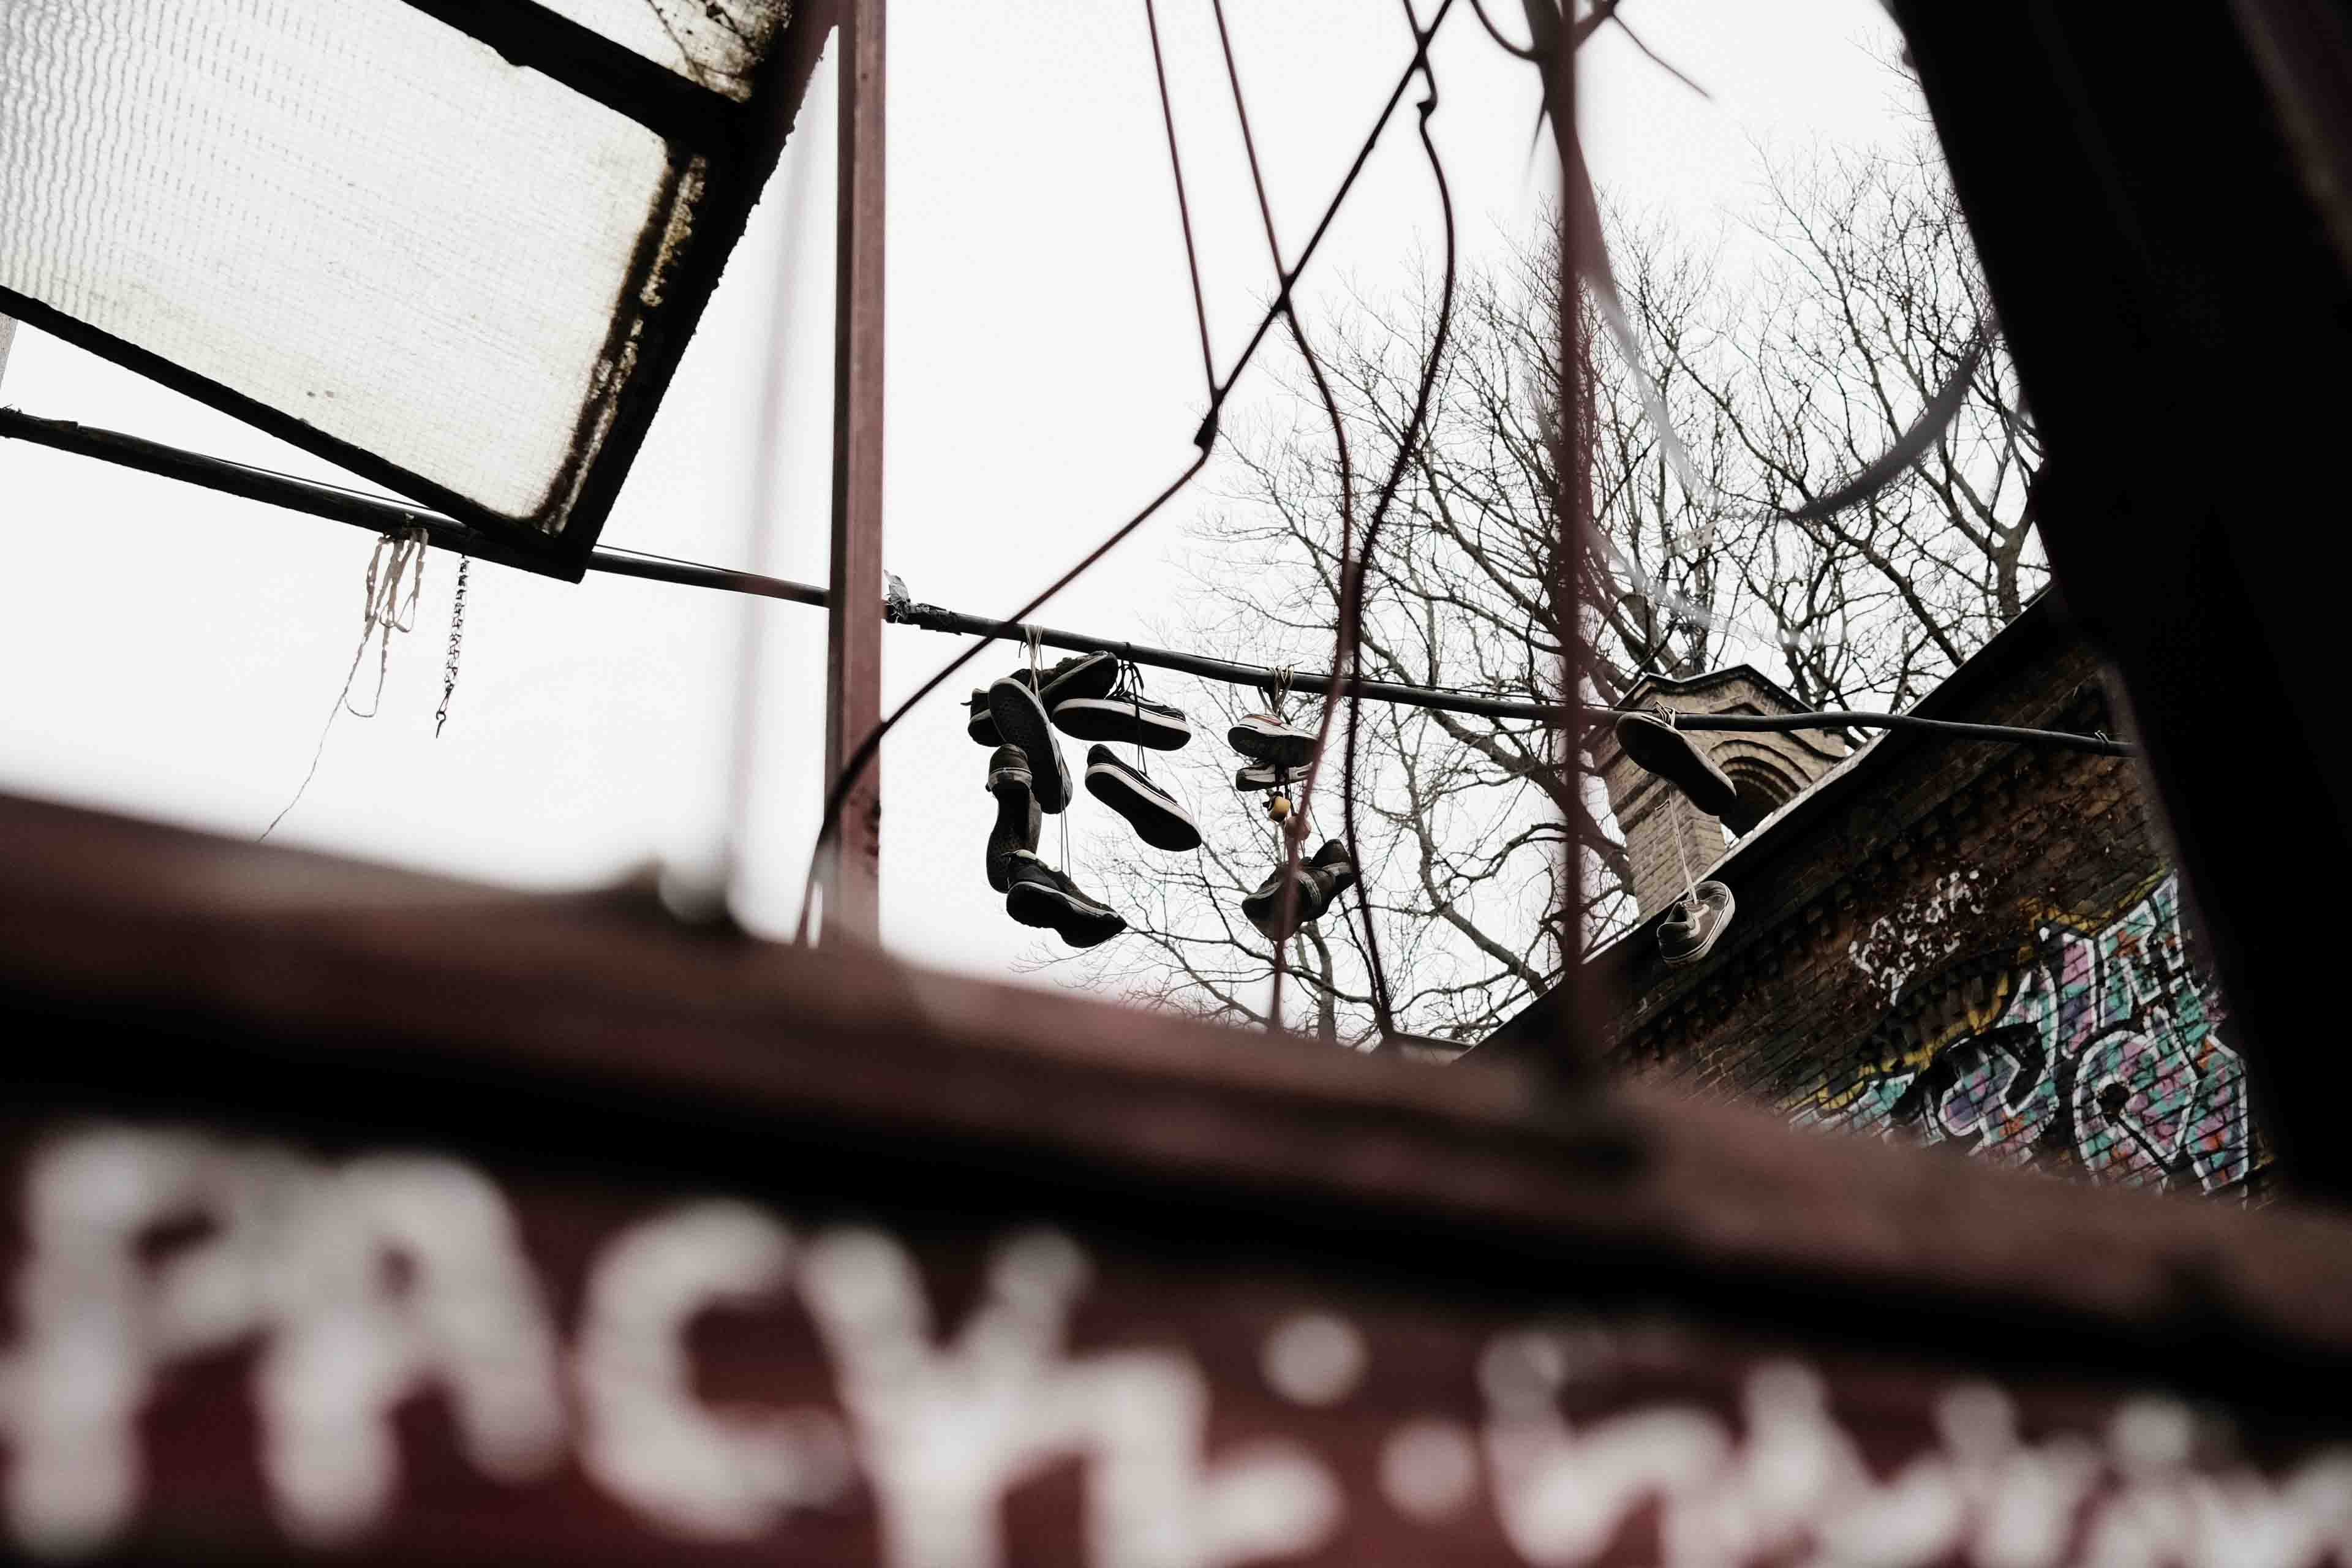
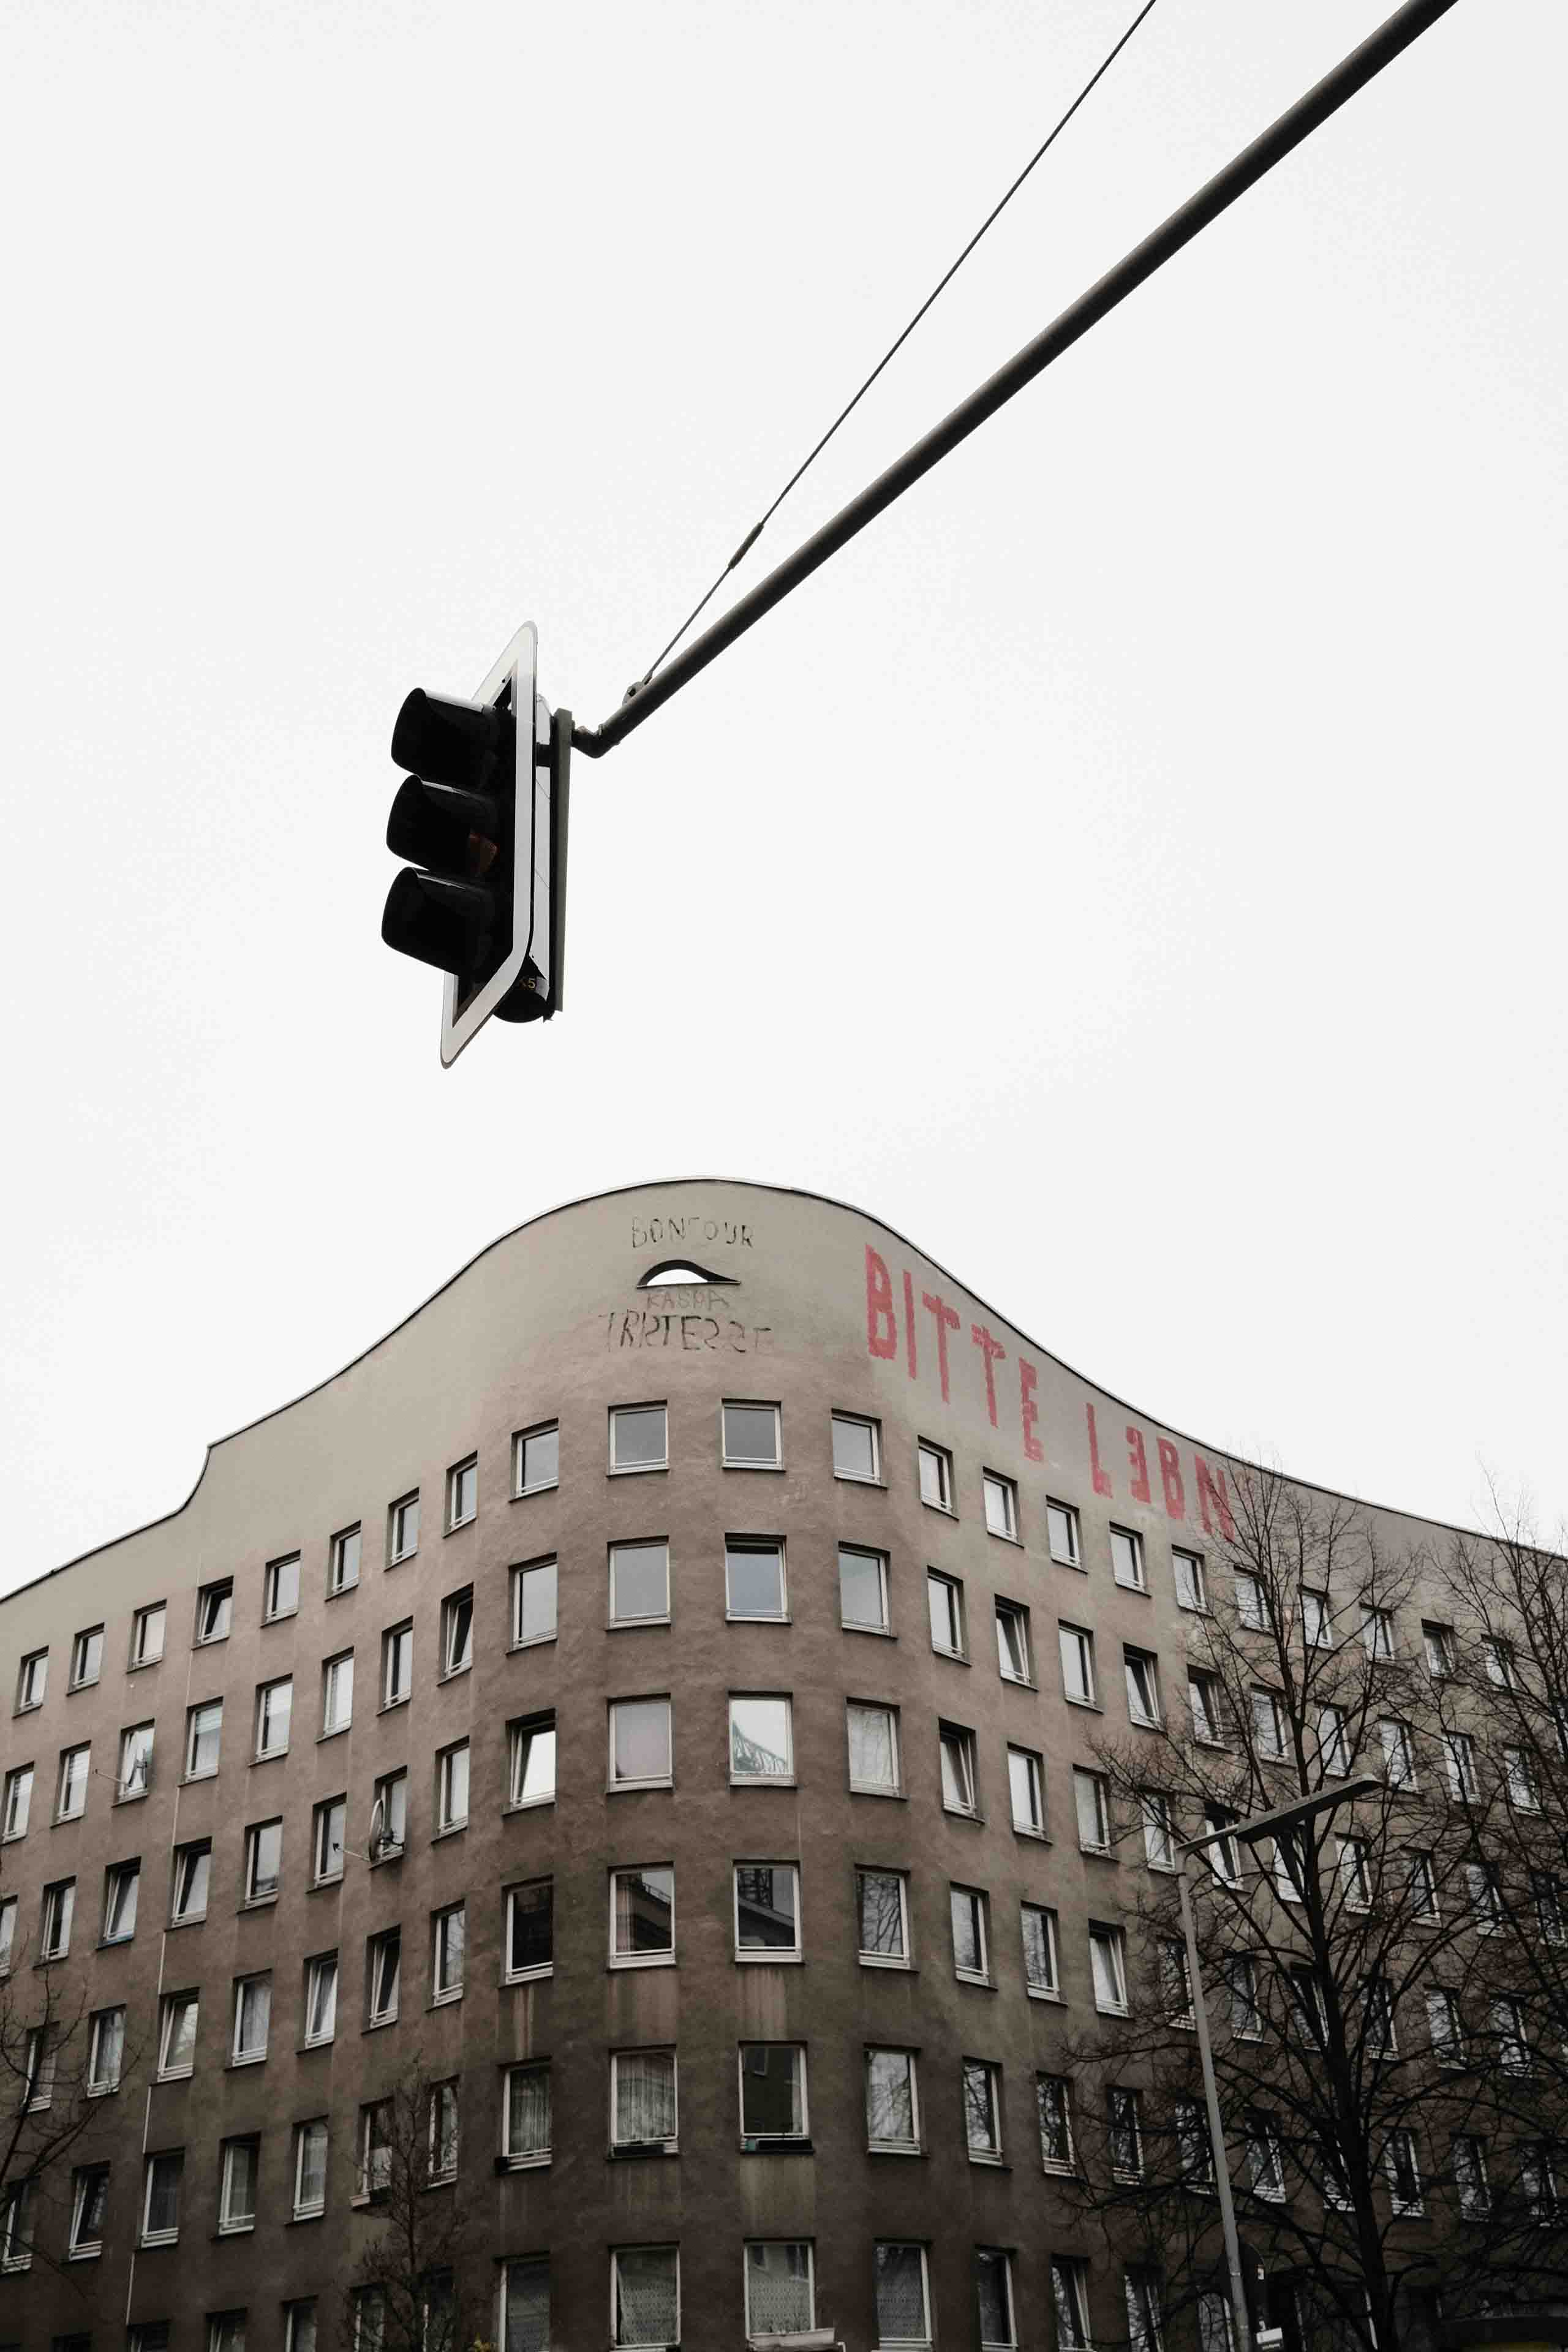
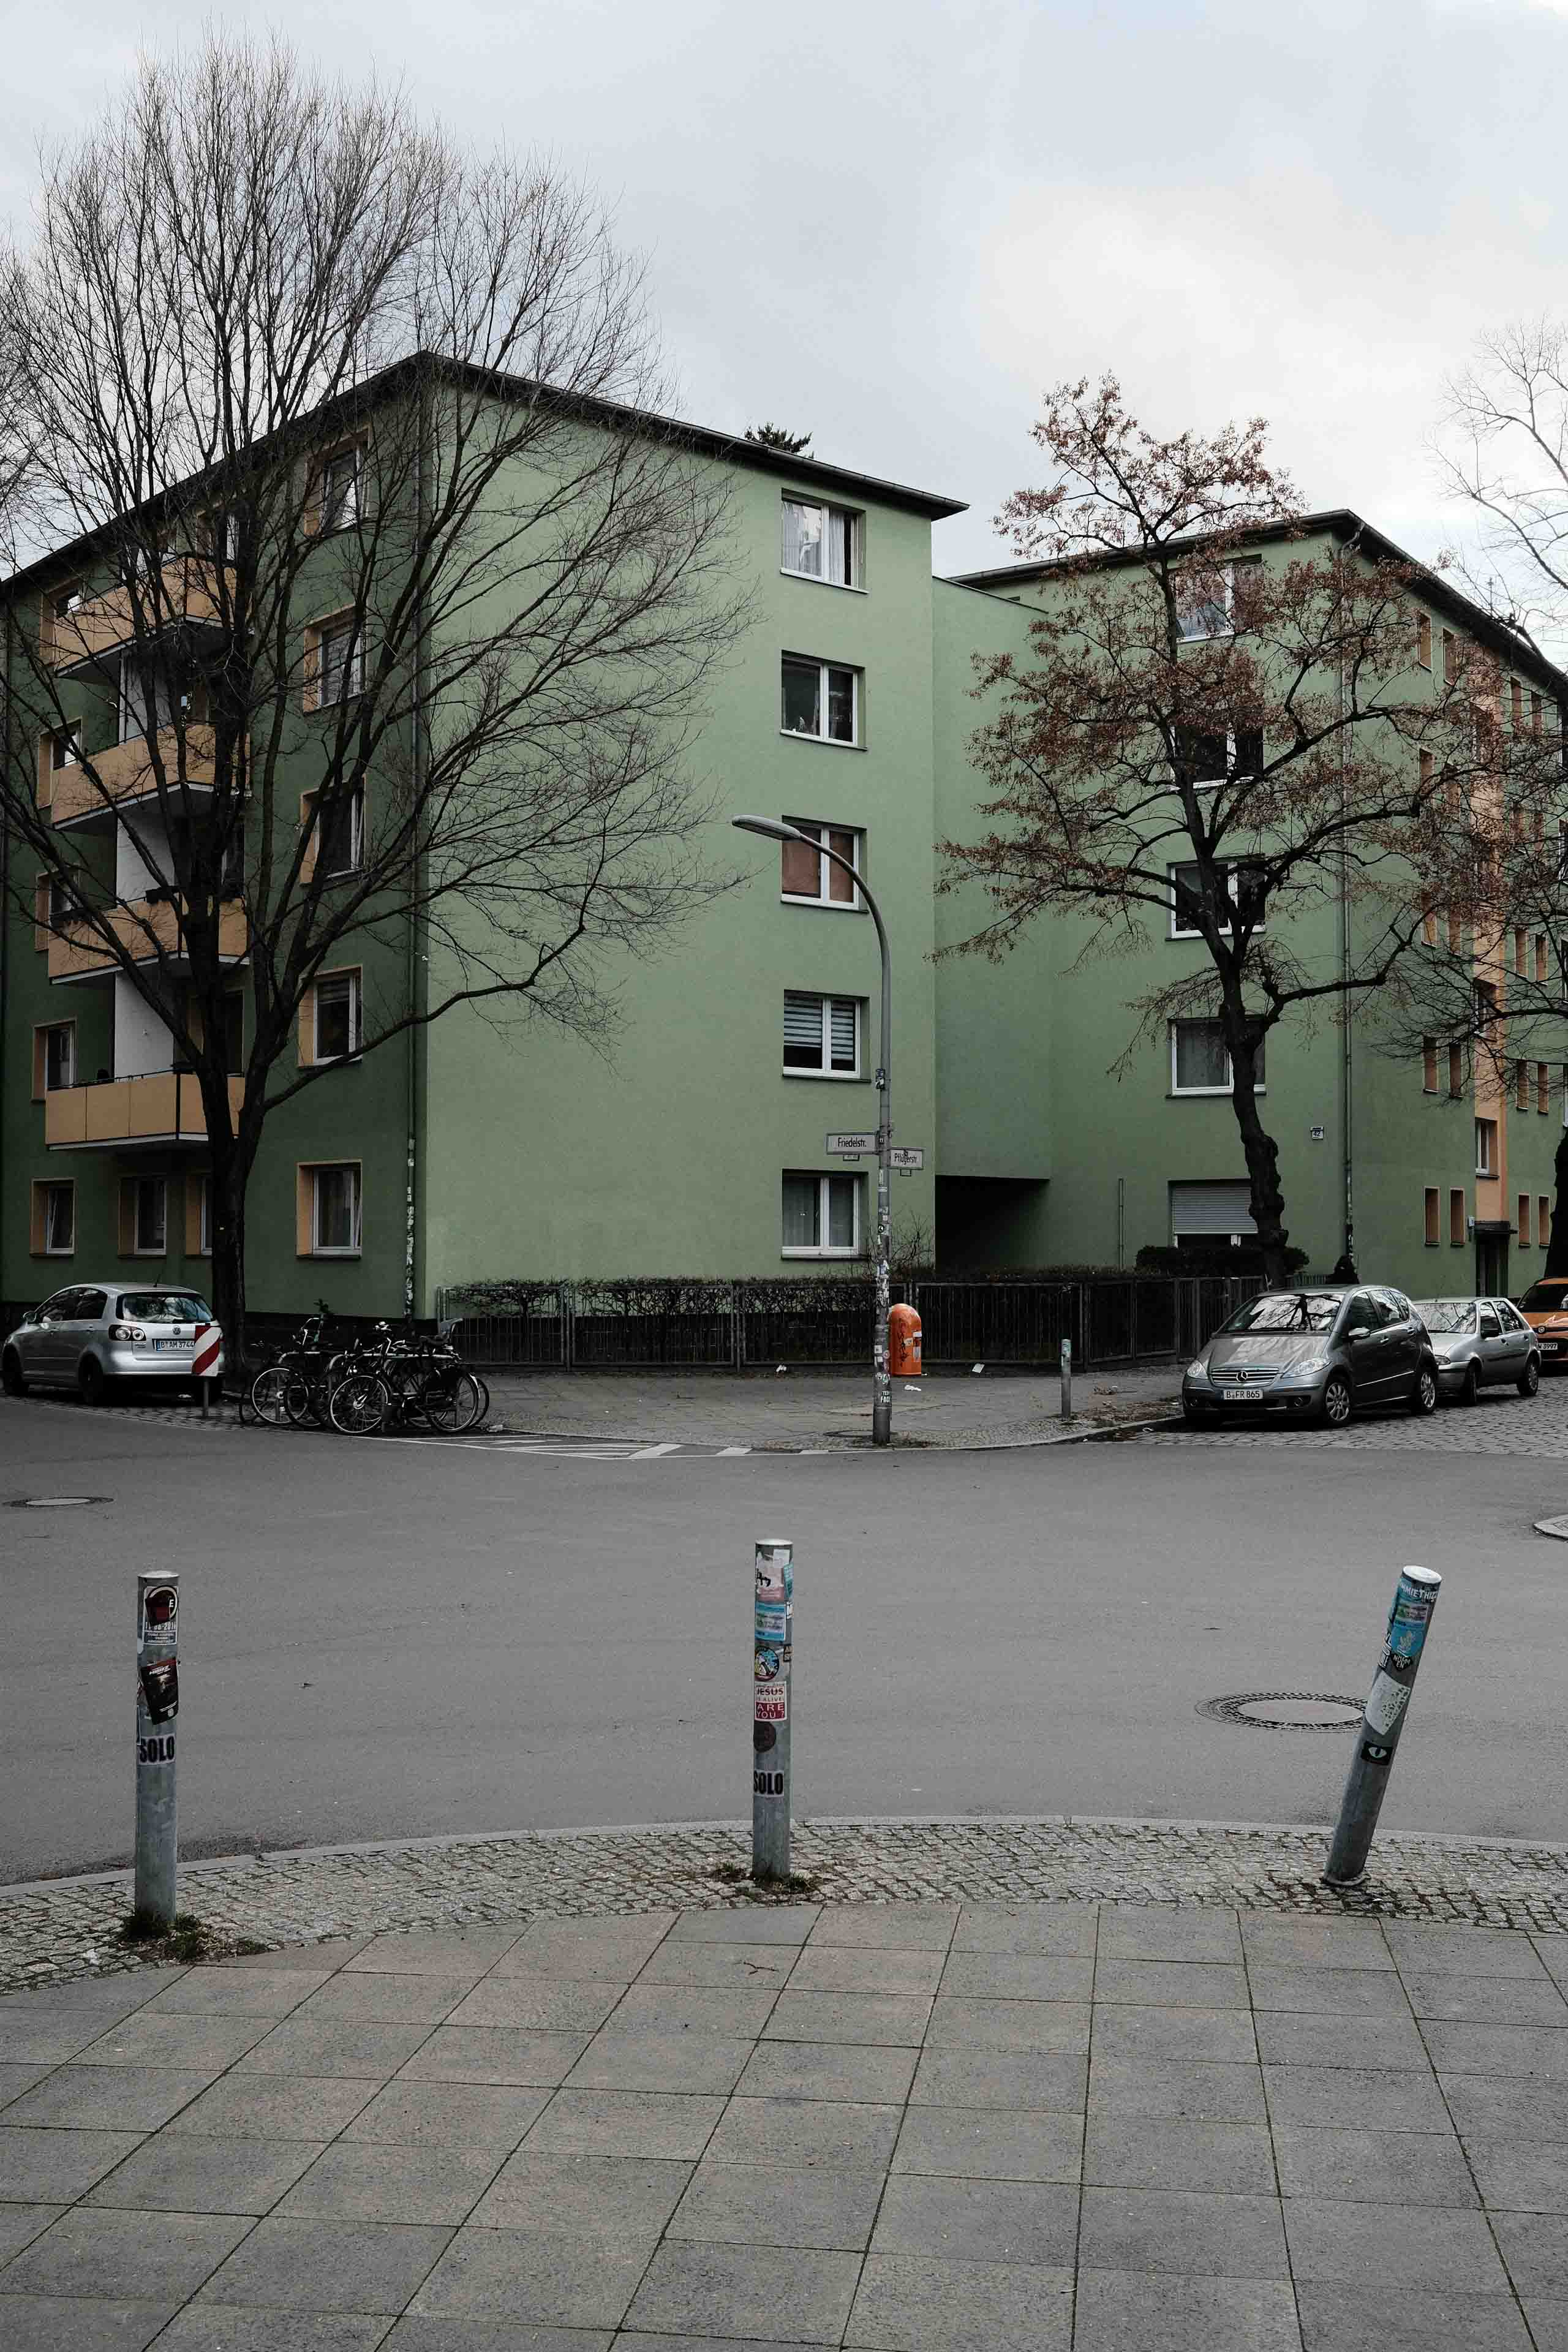
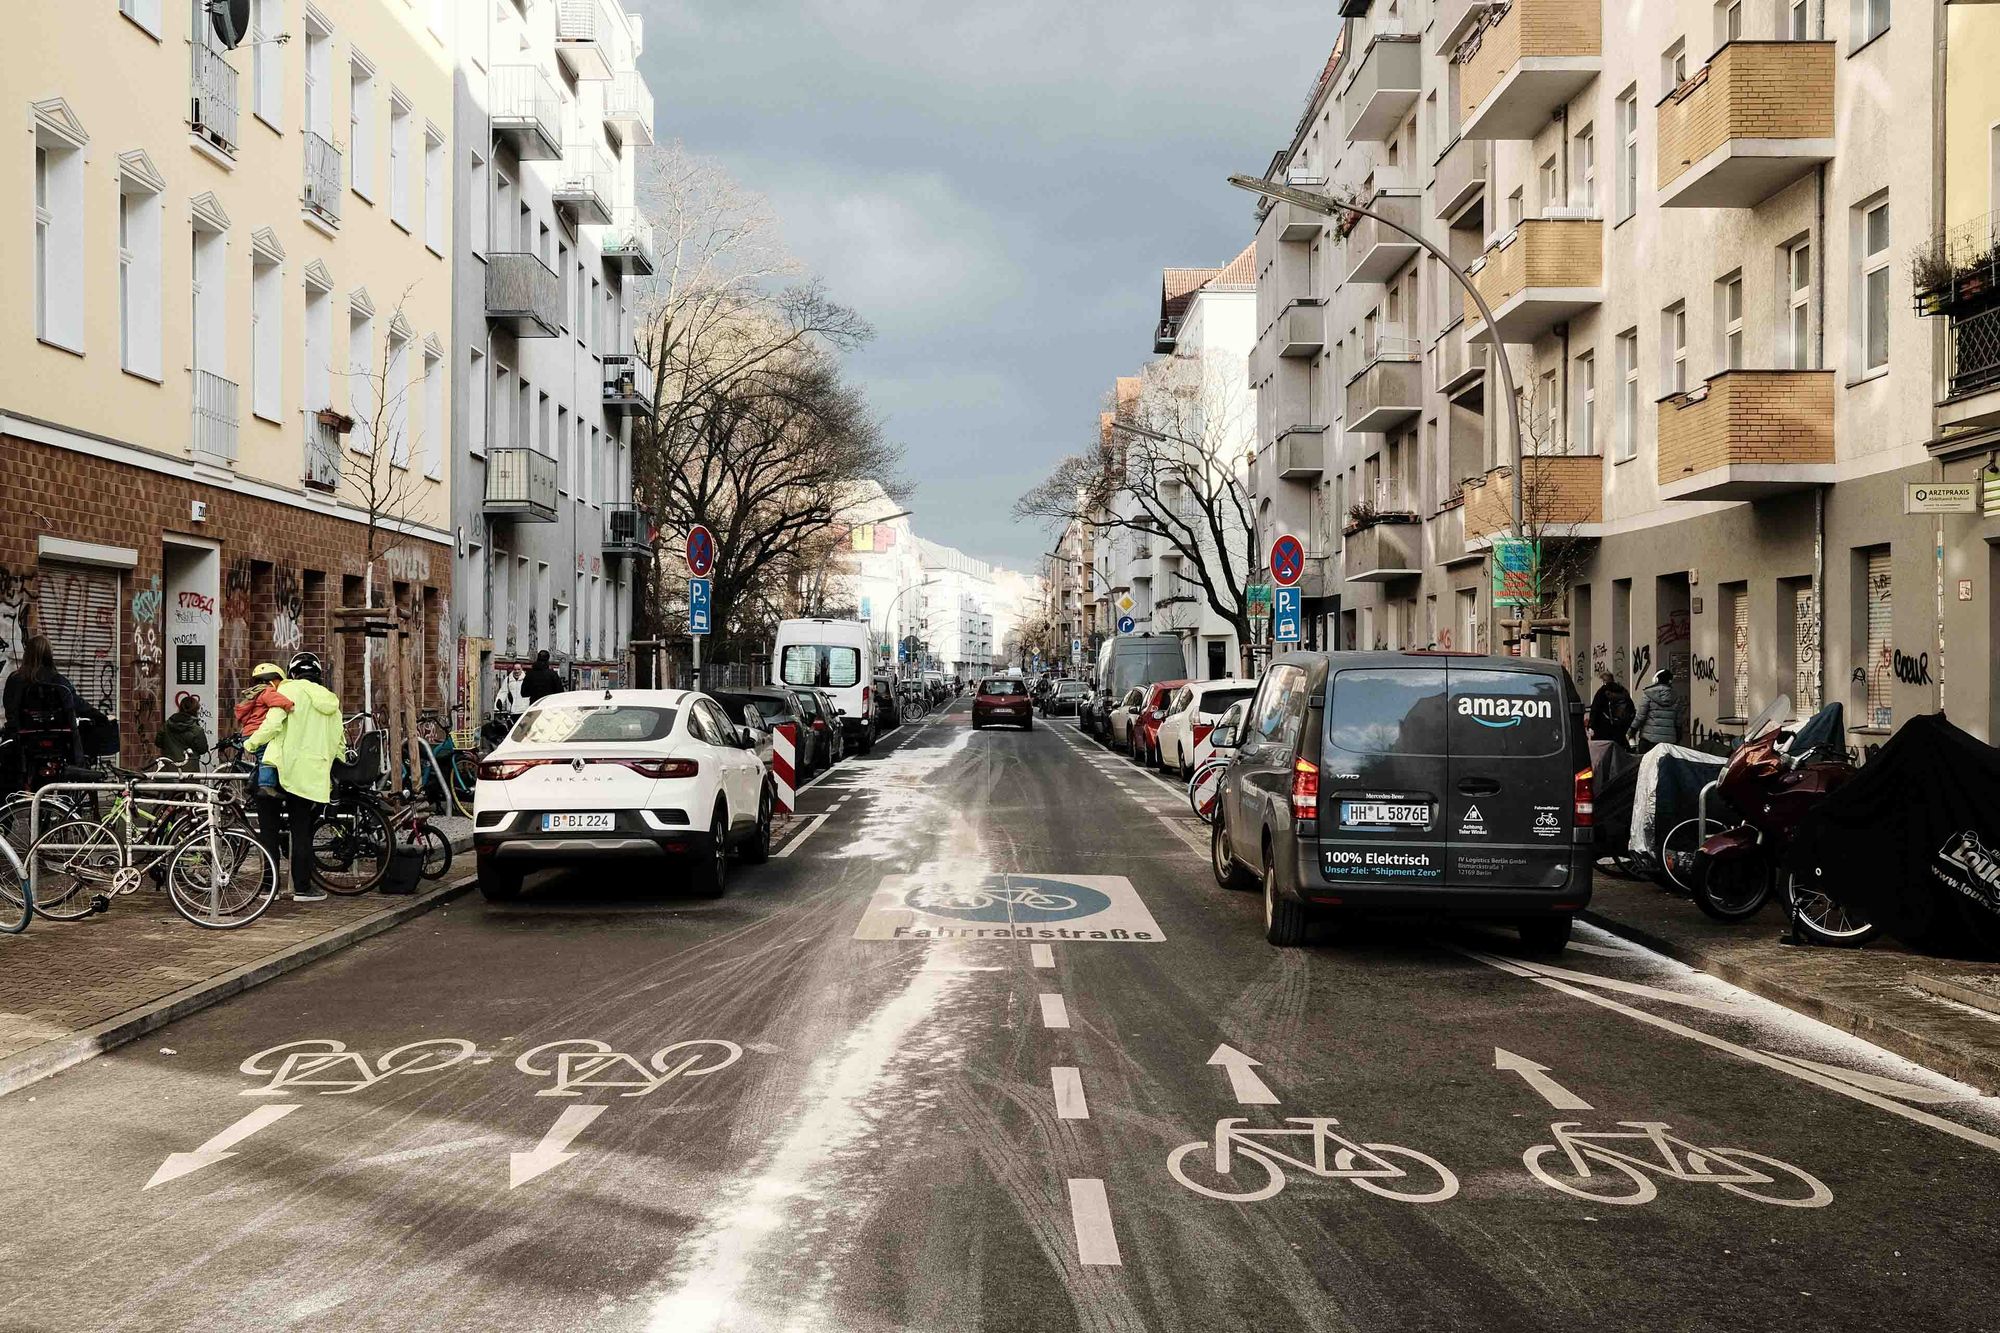
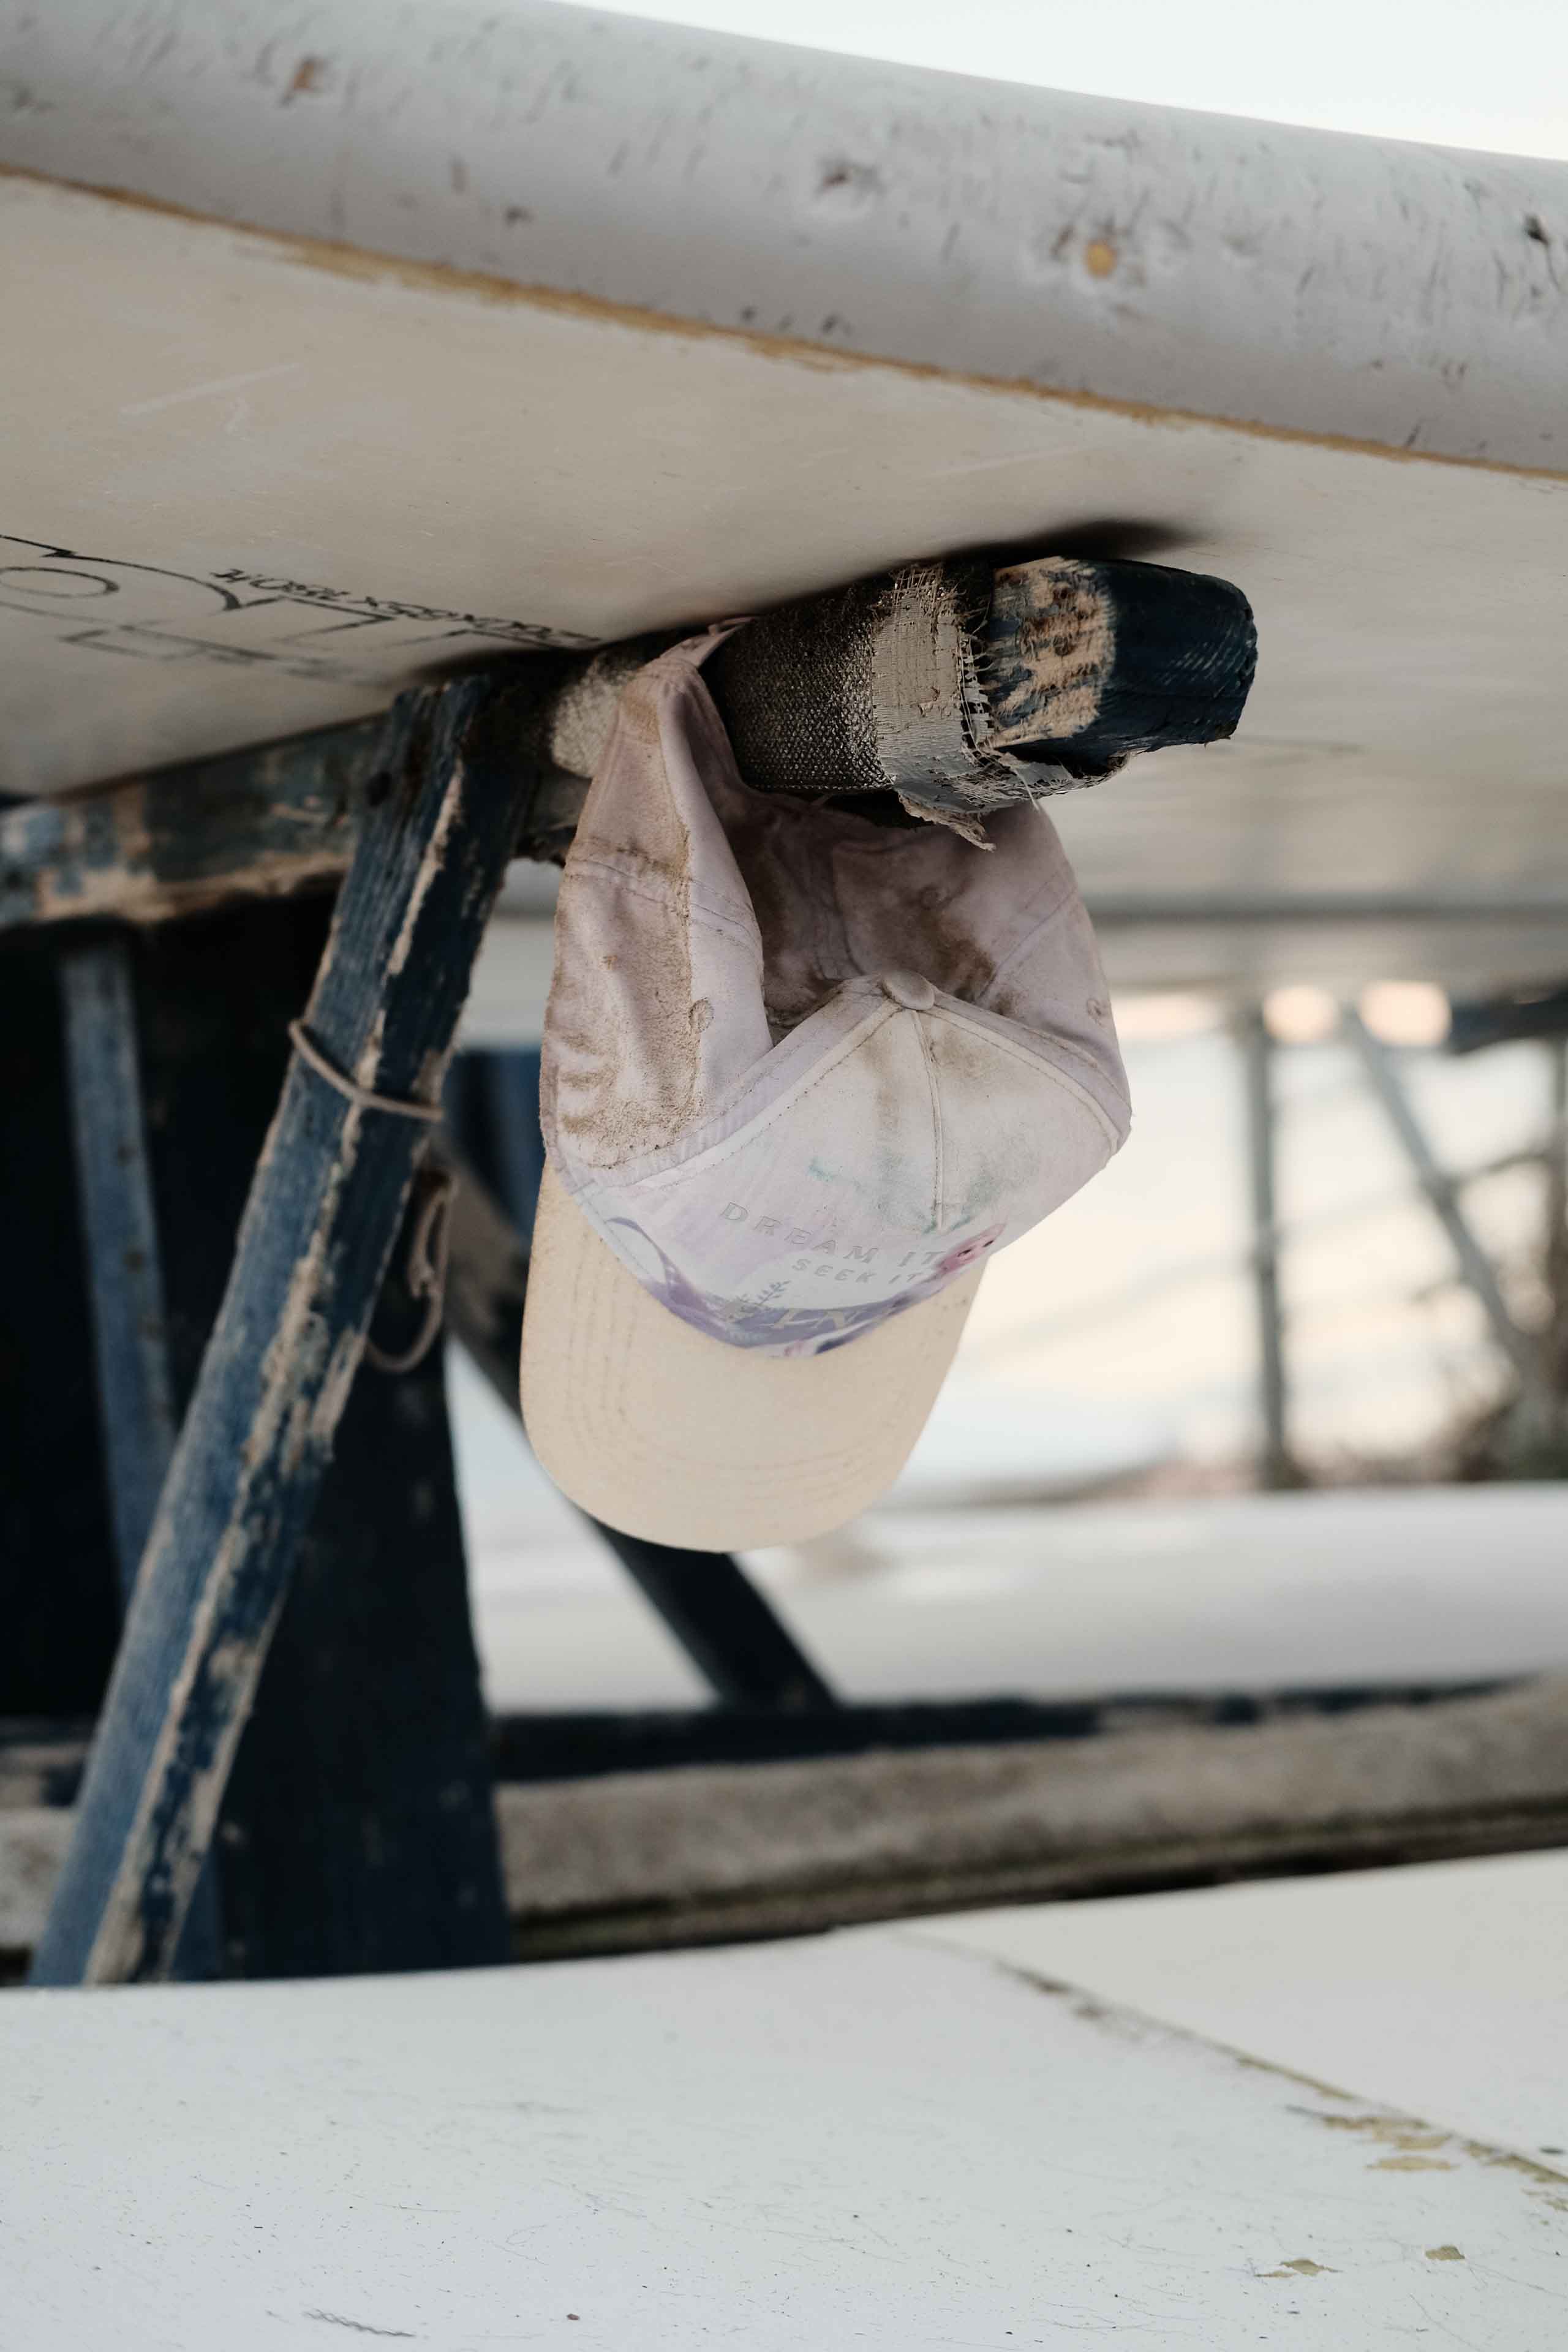
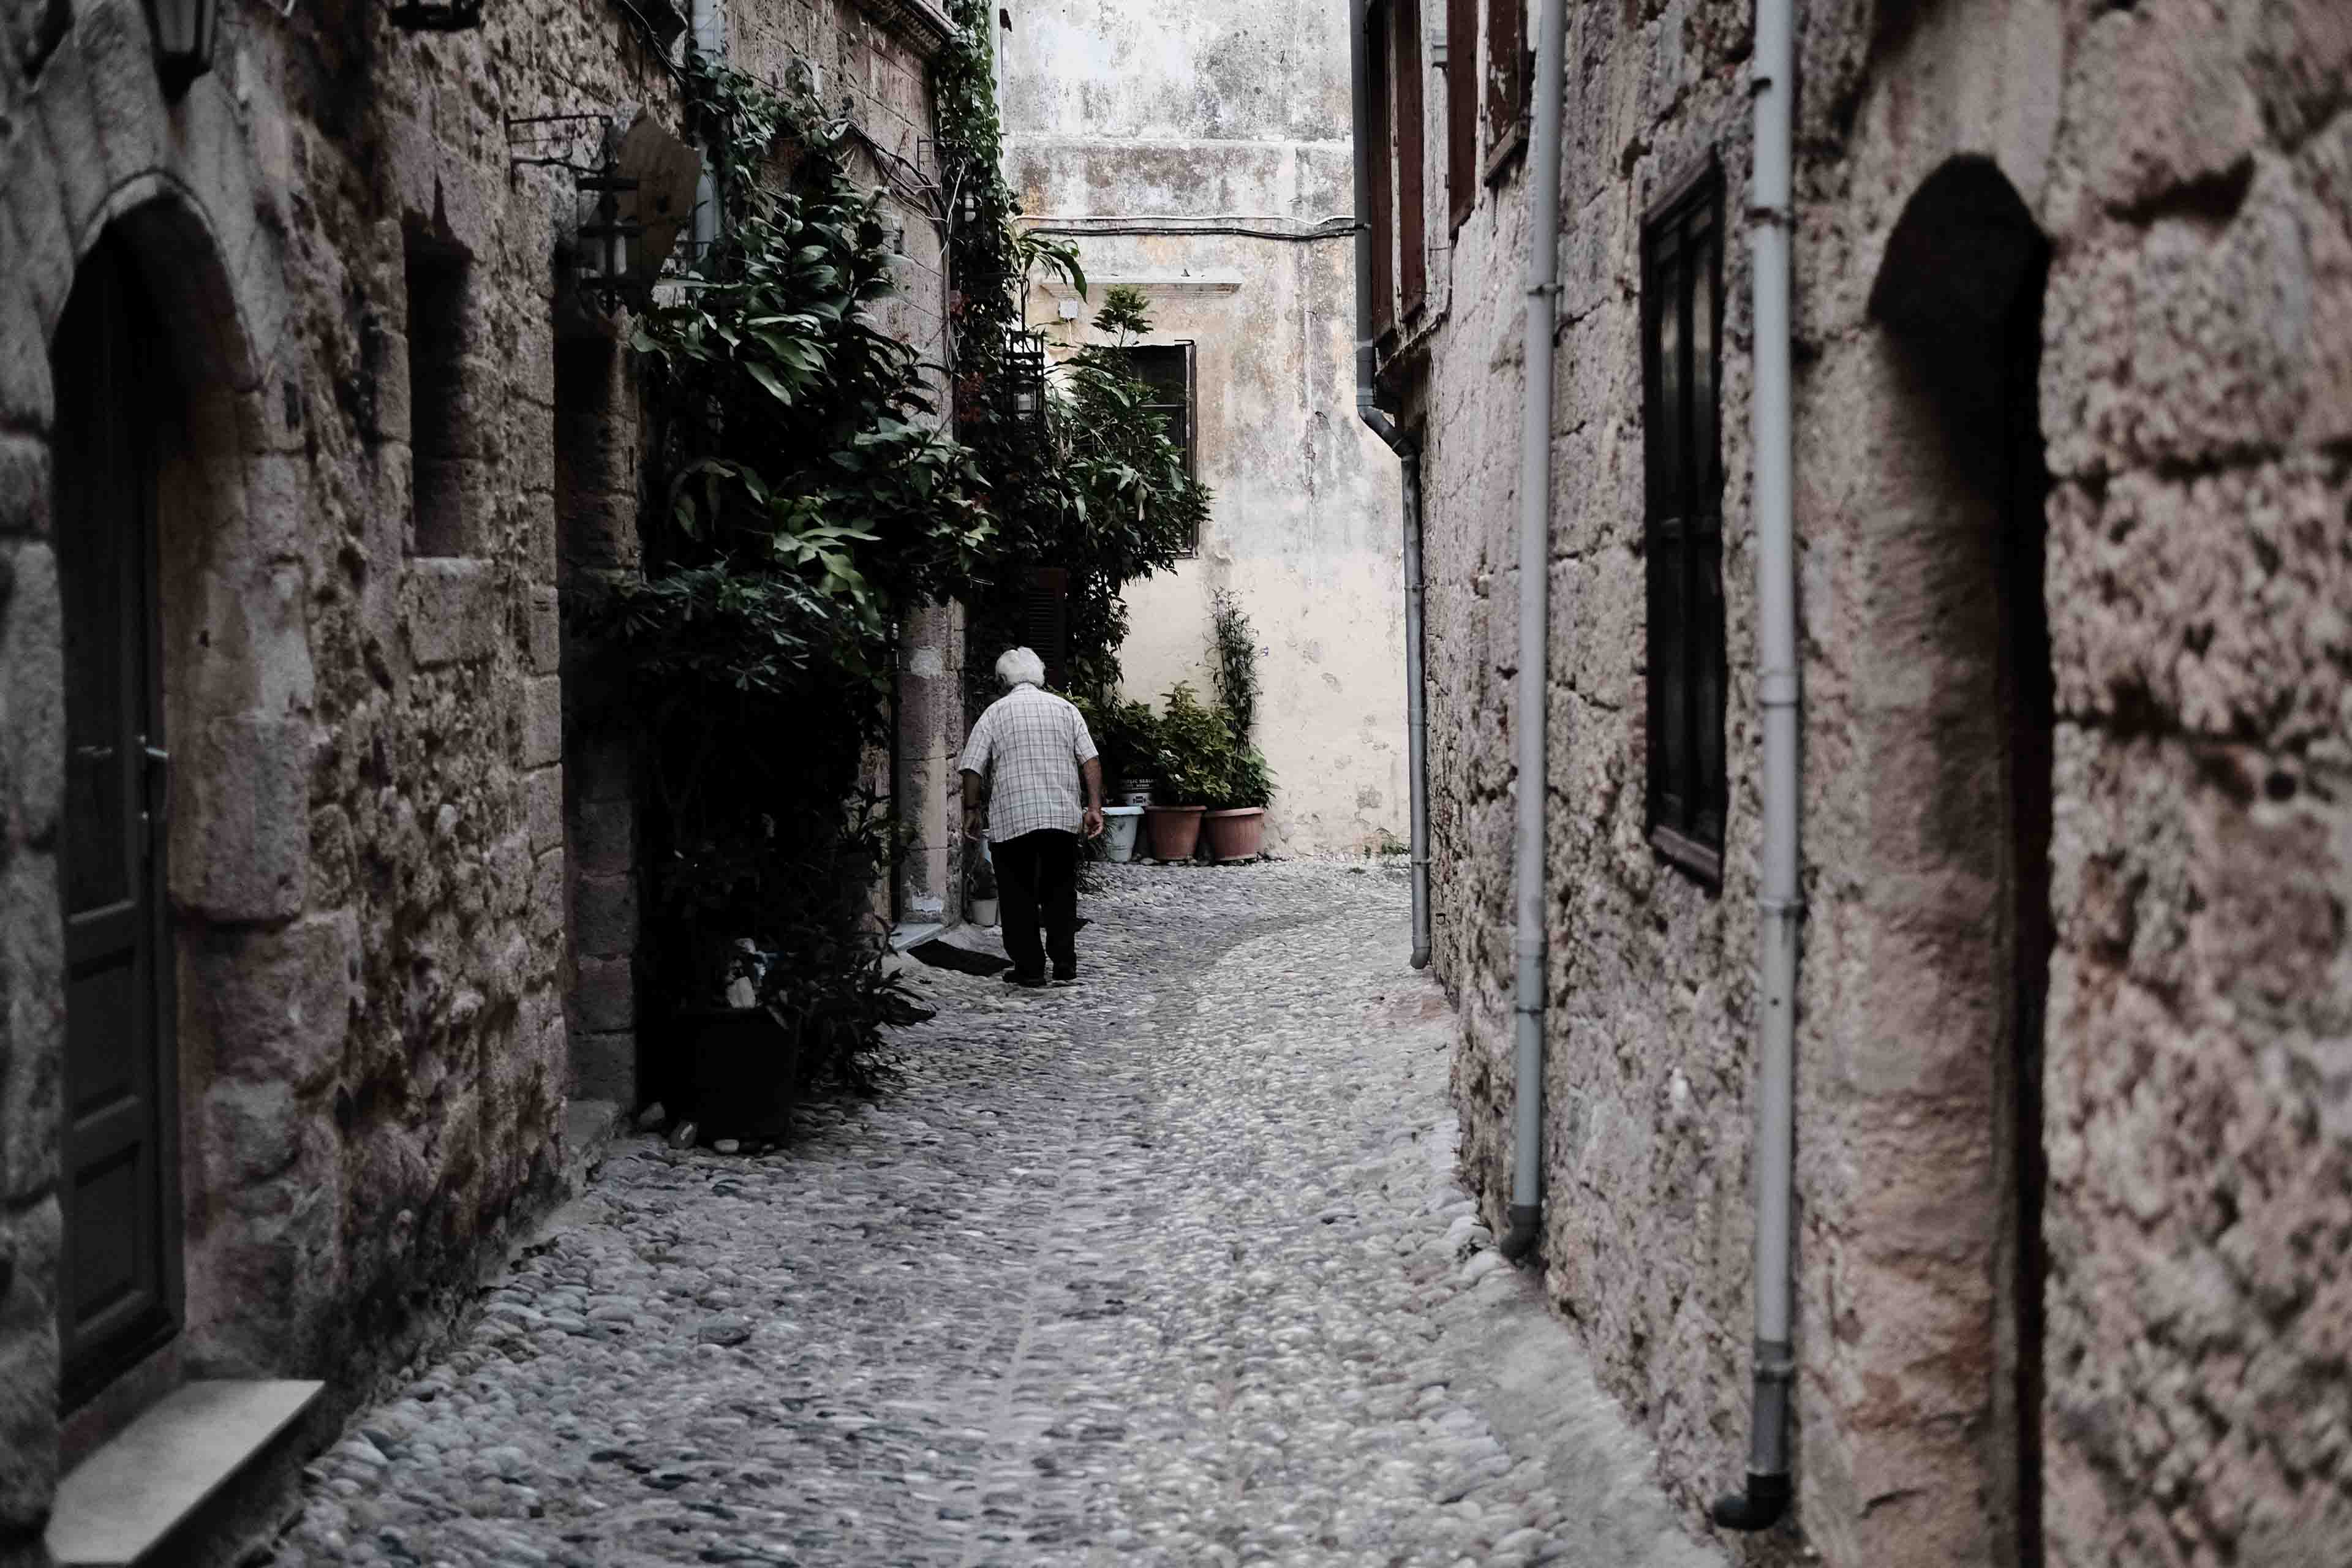
Street photography
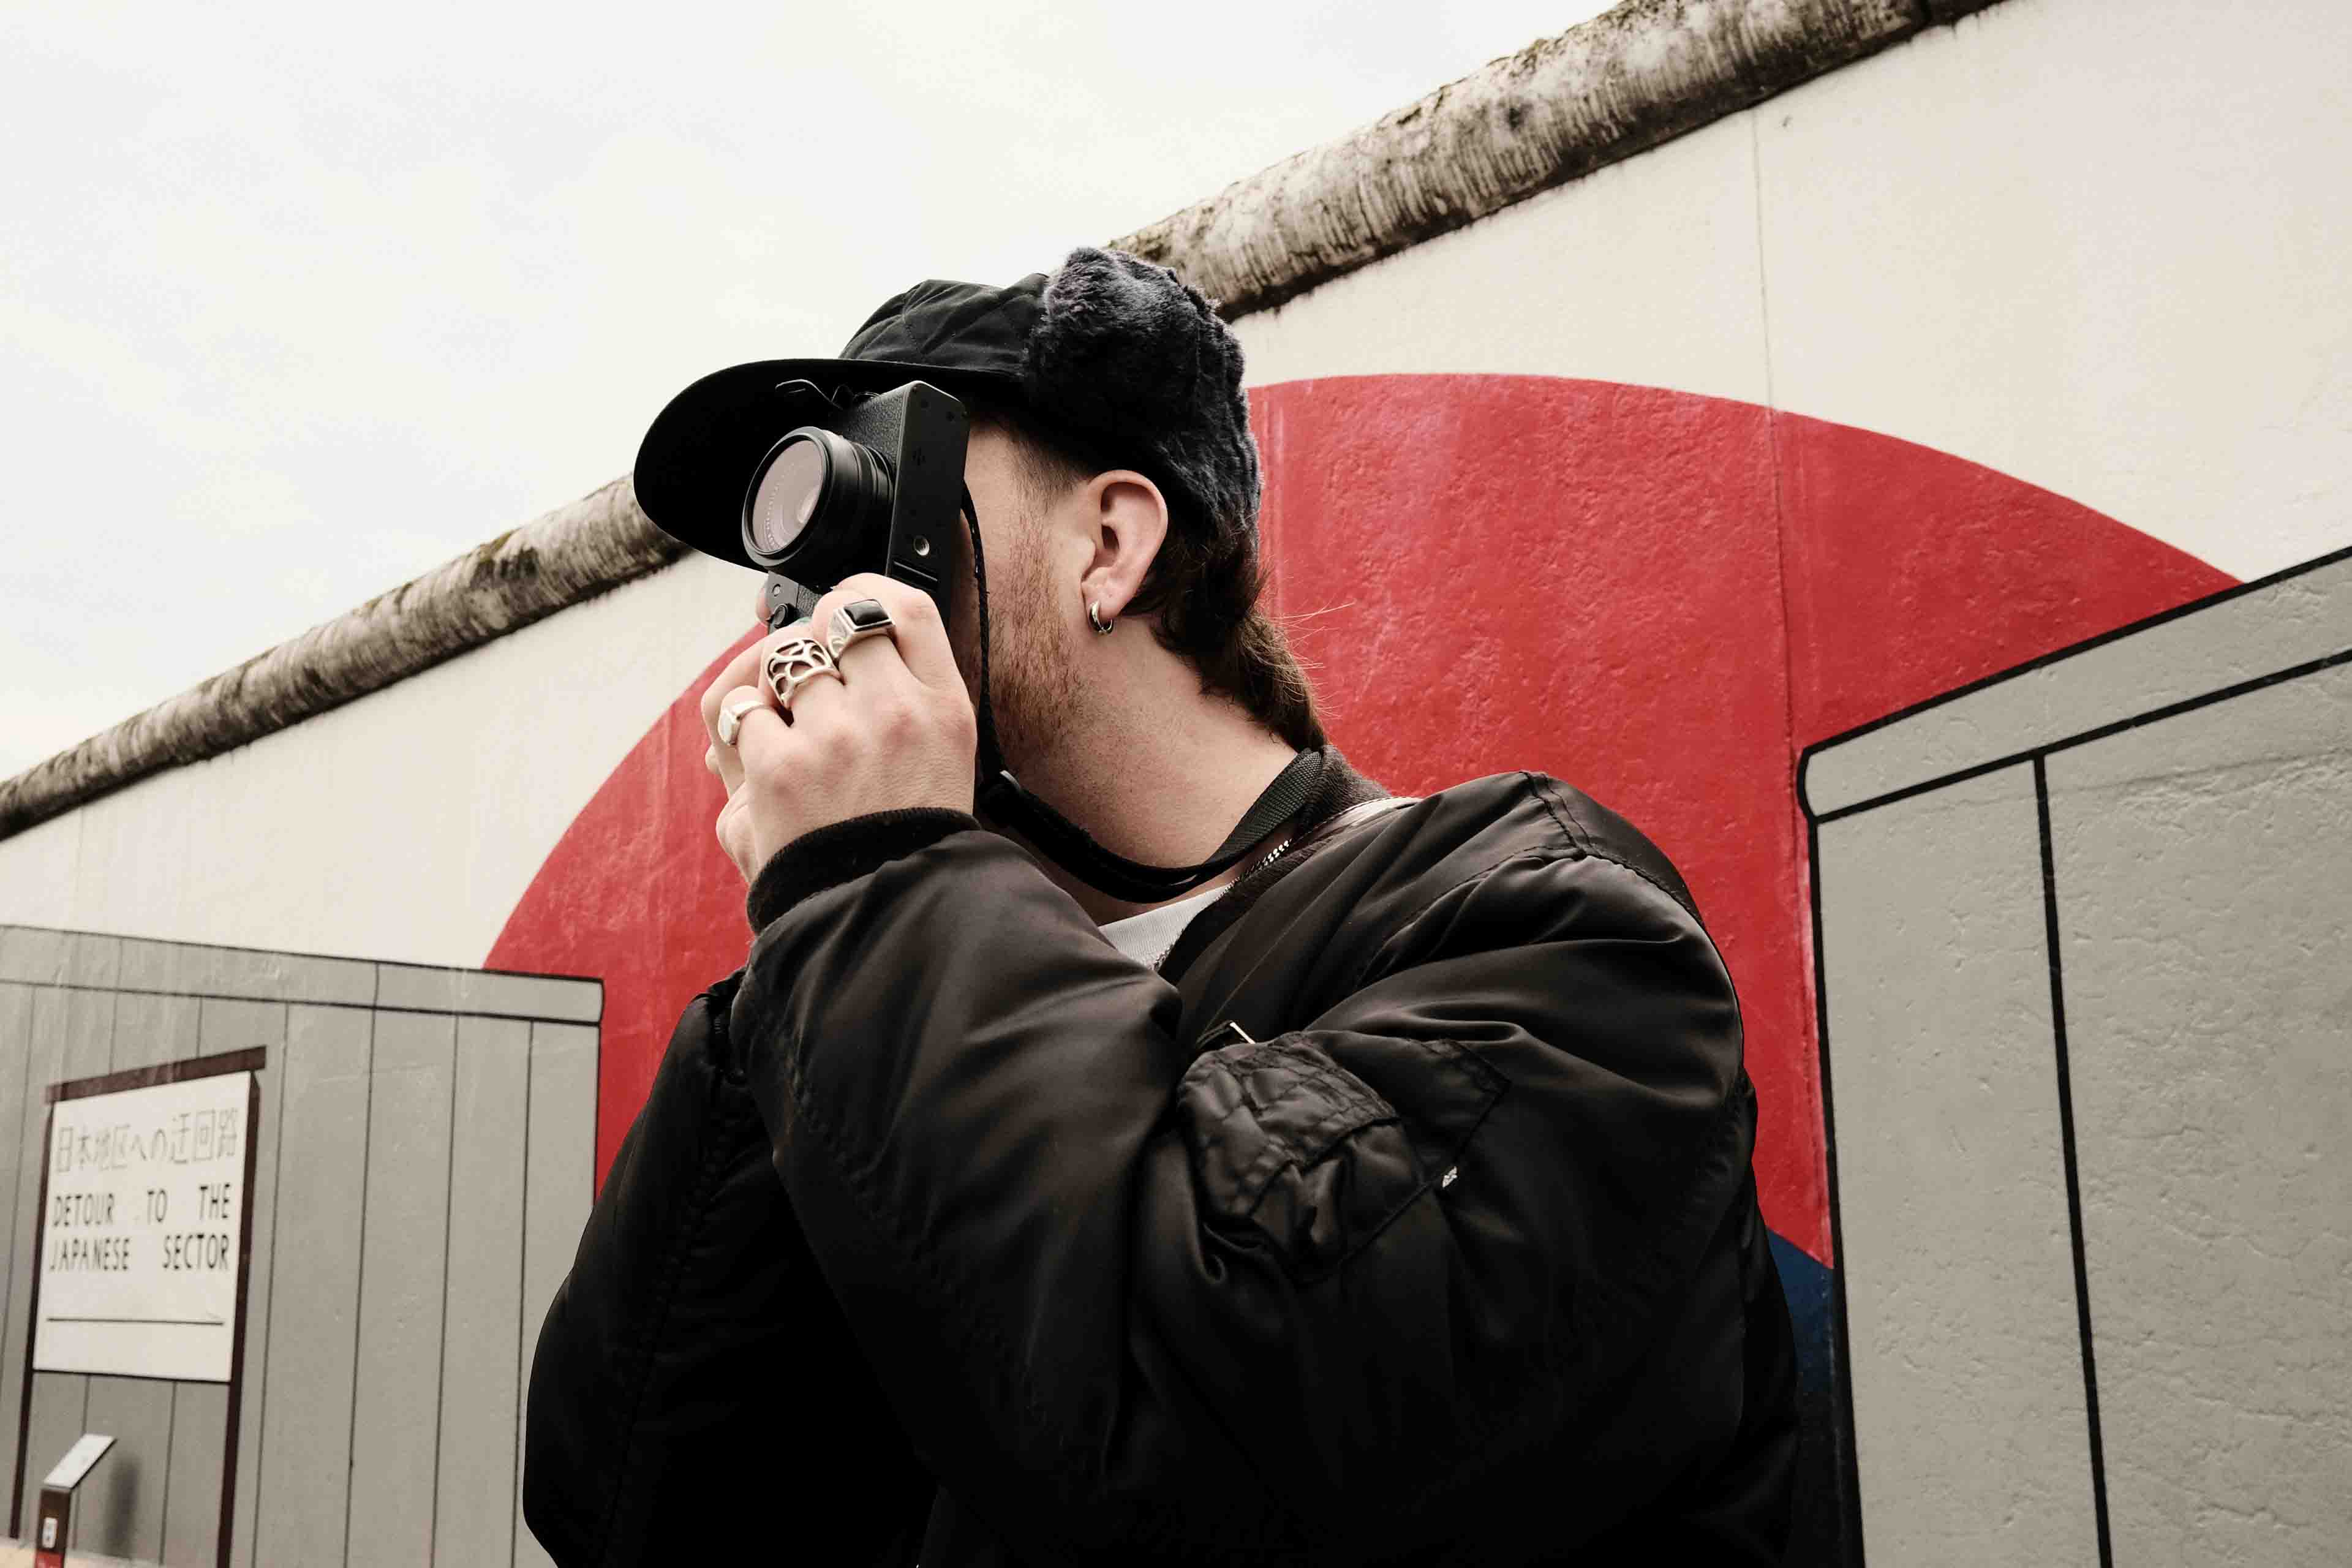
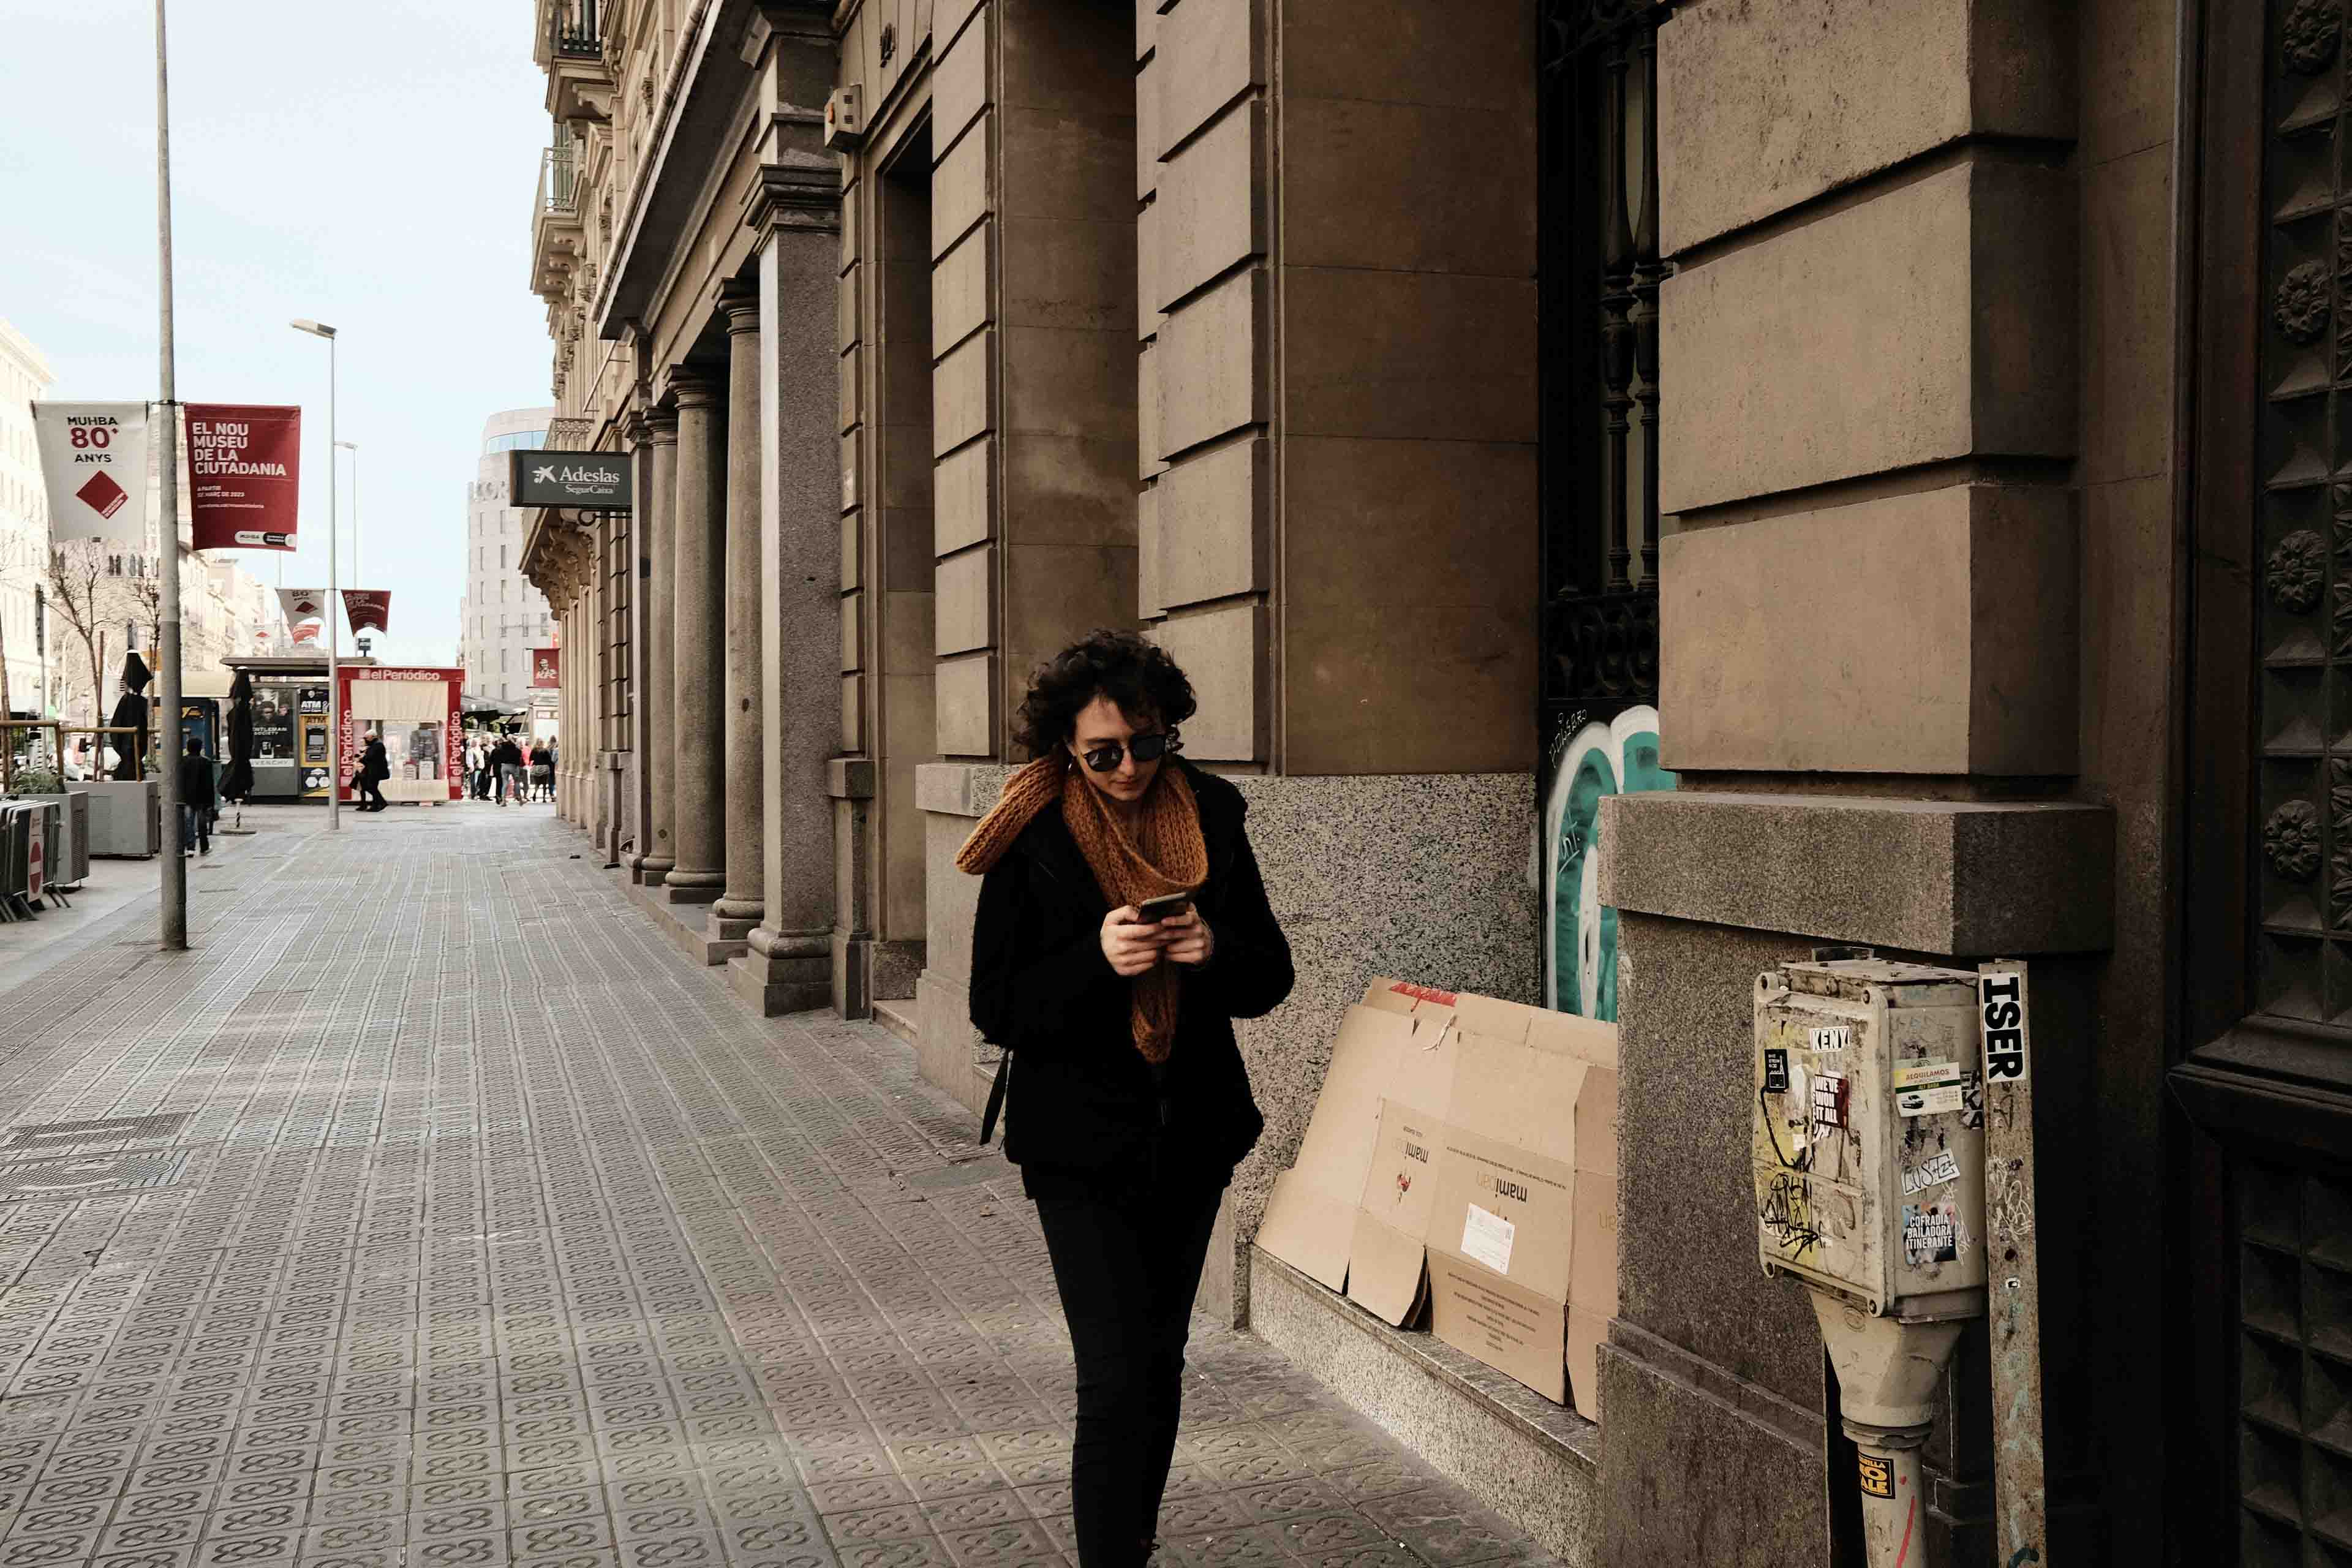
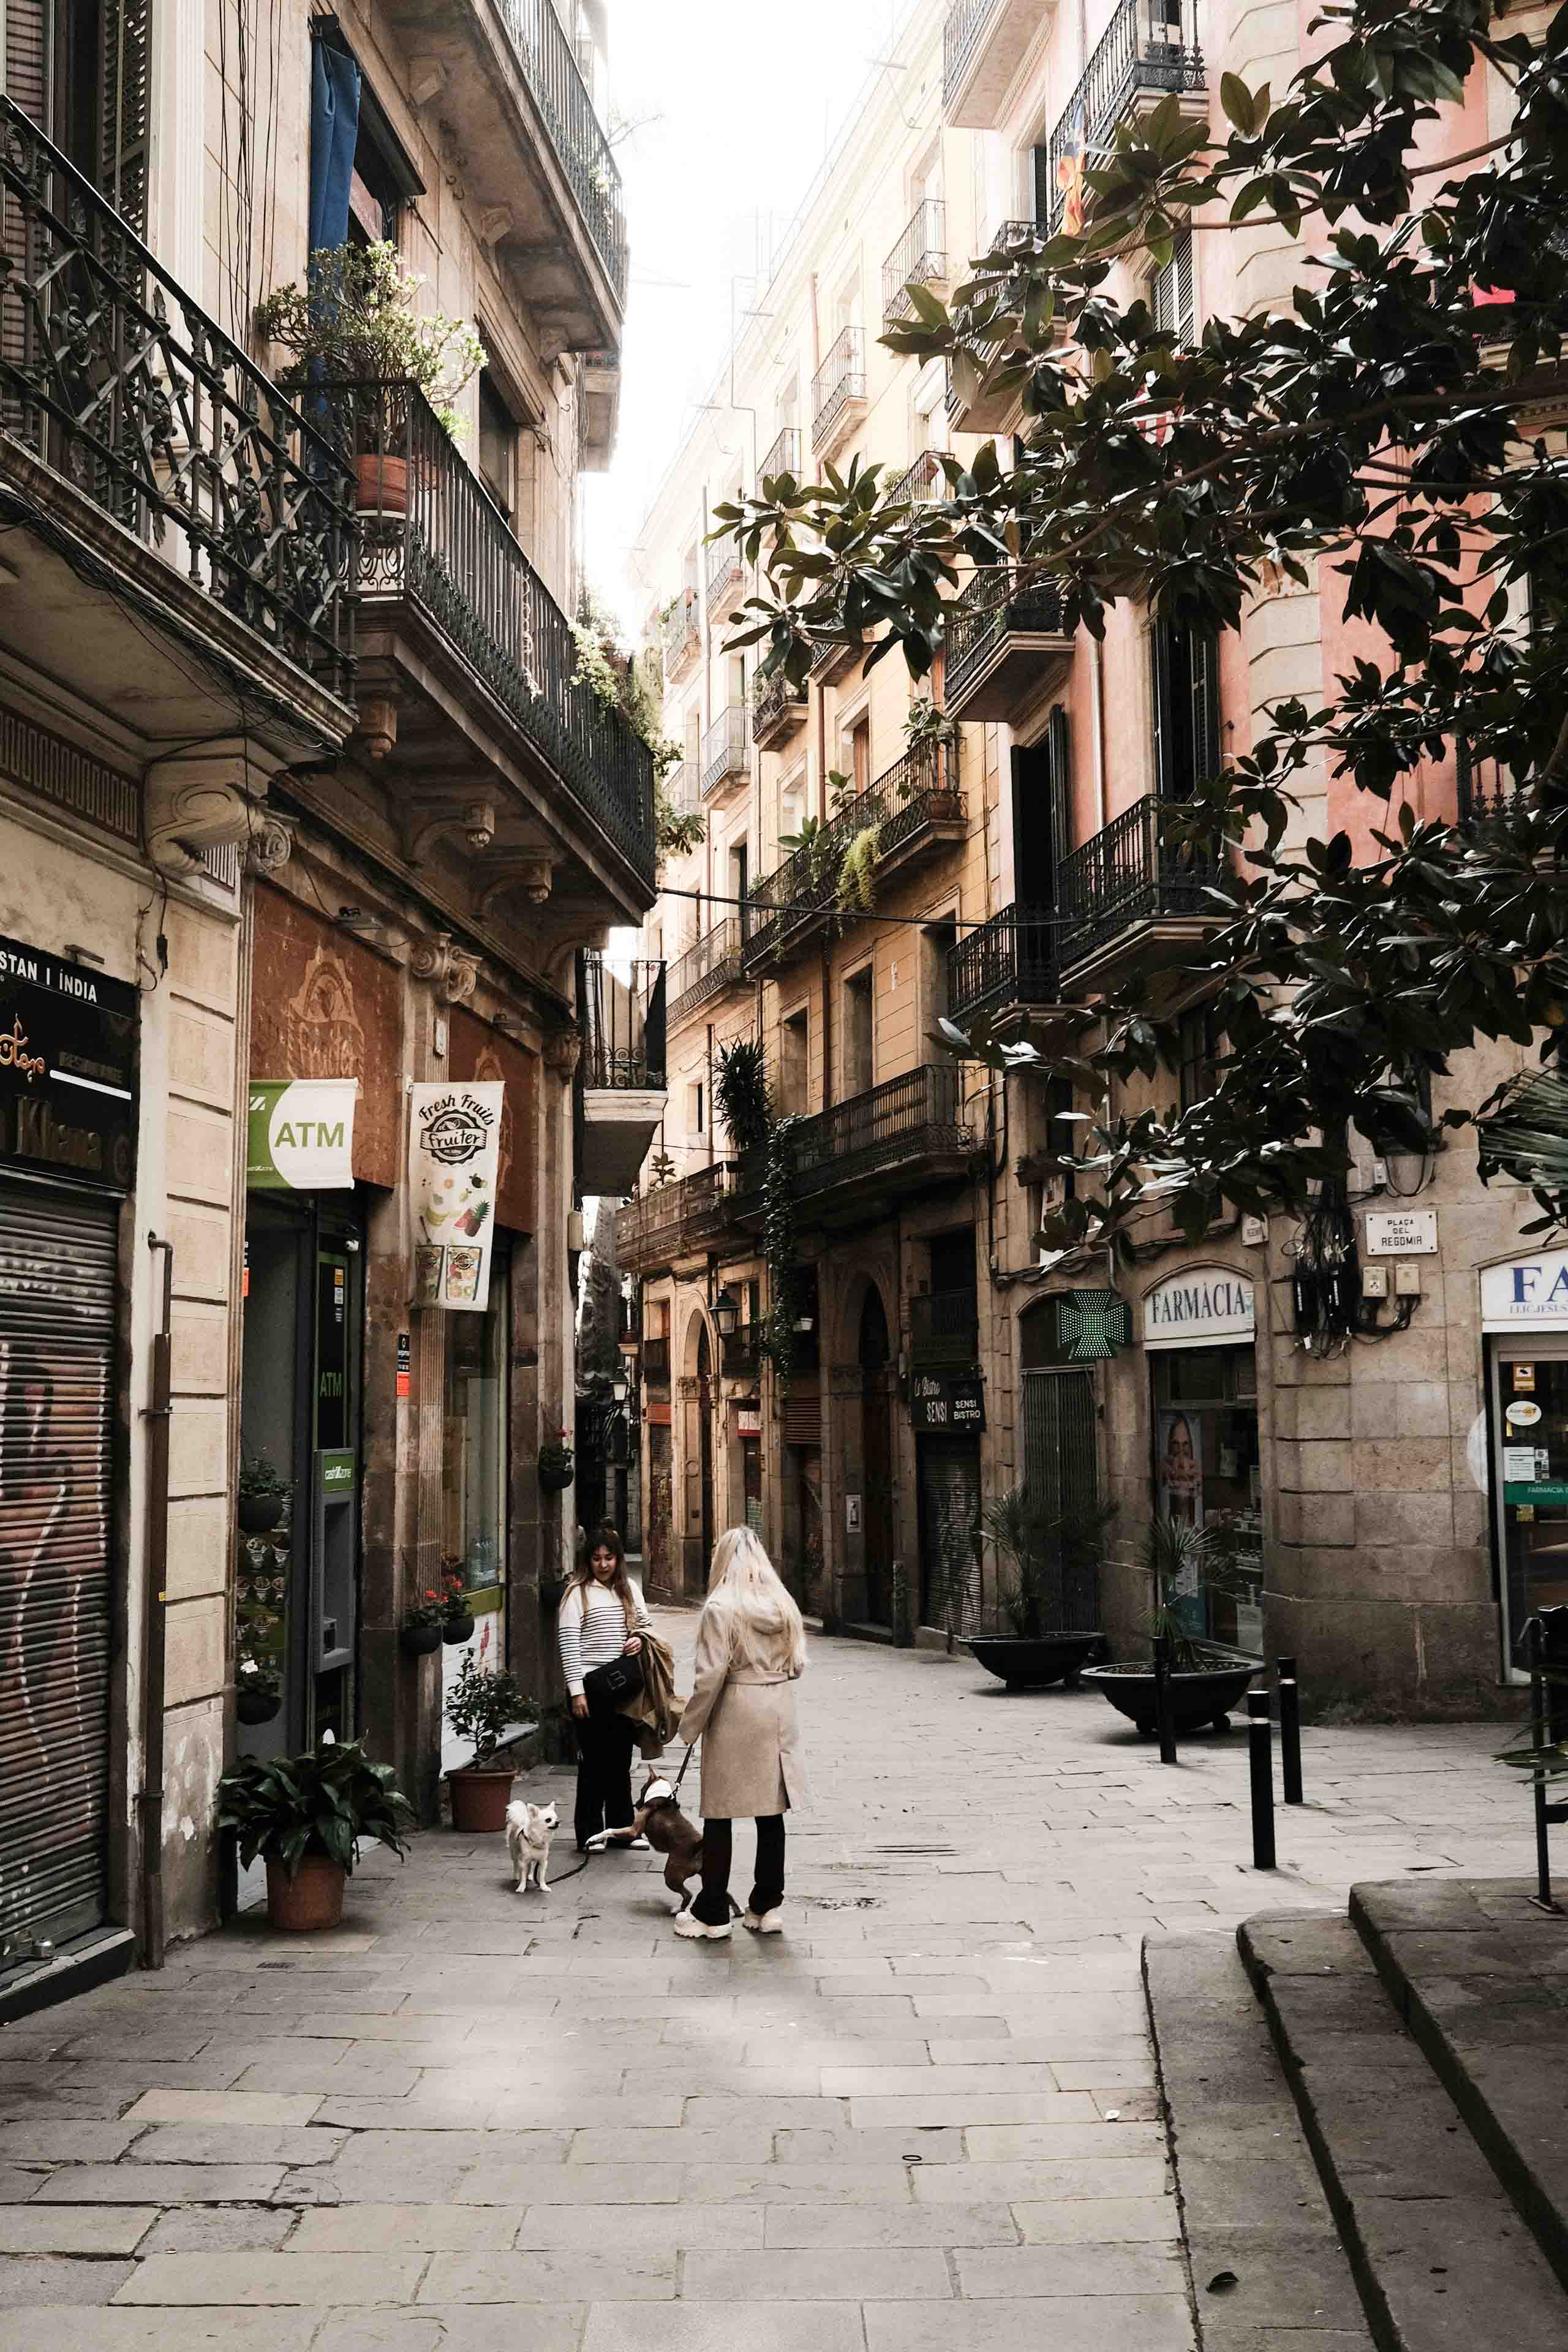
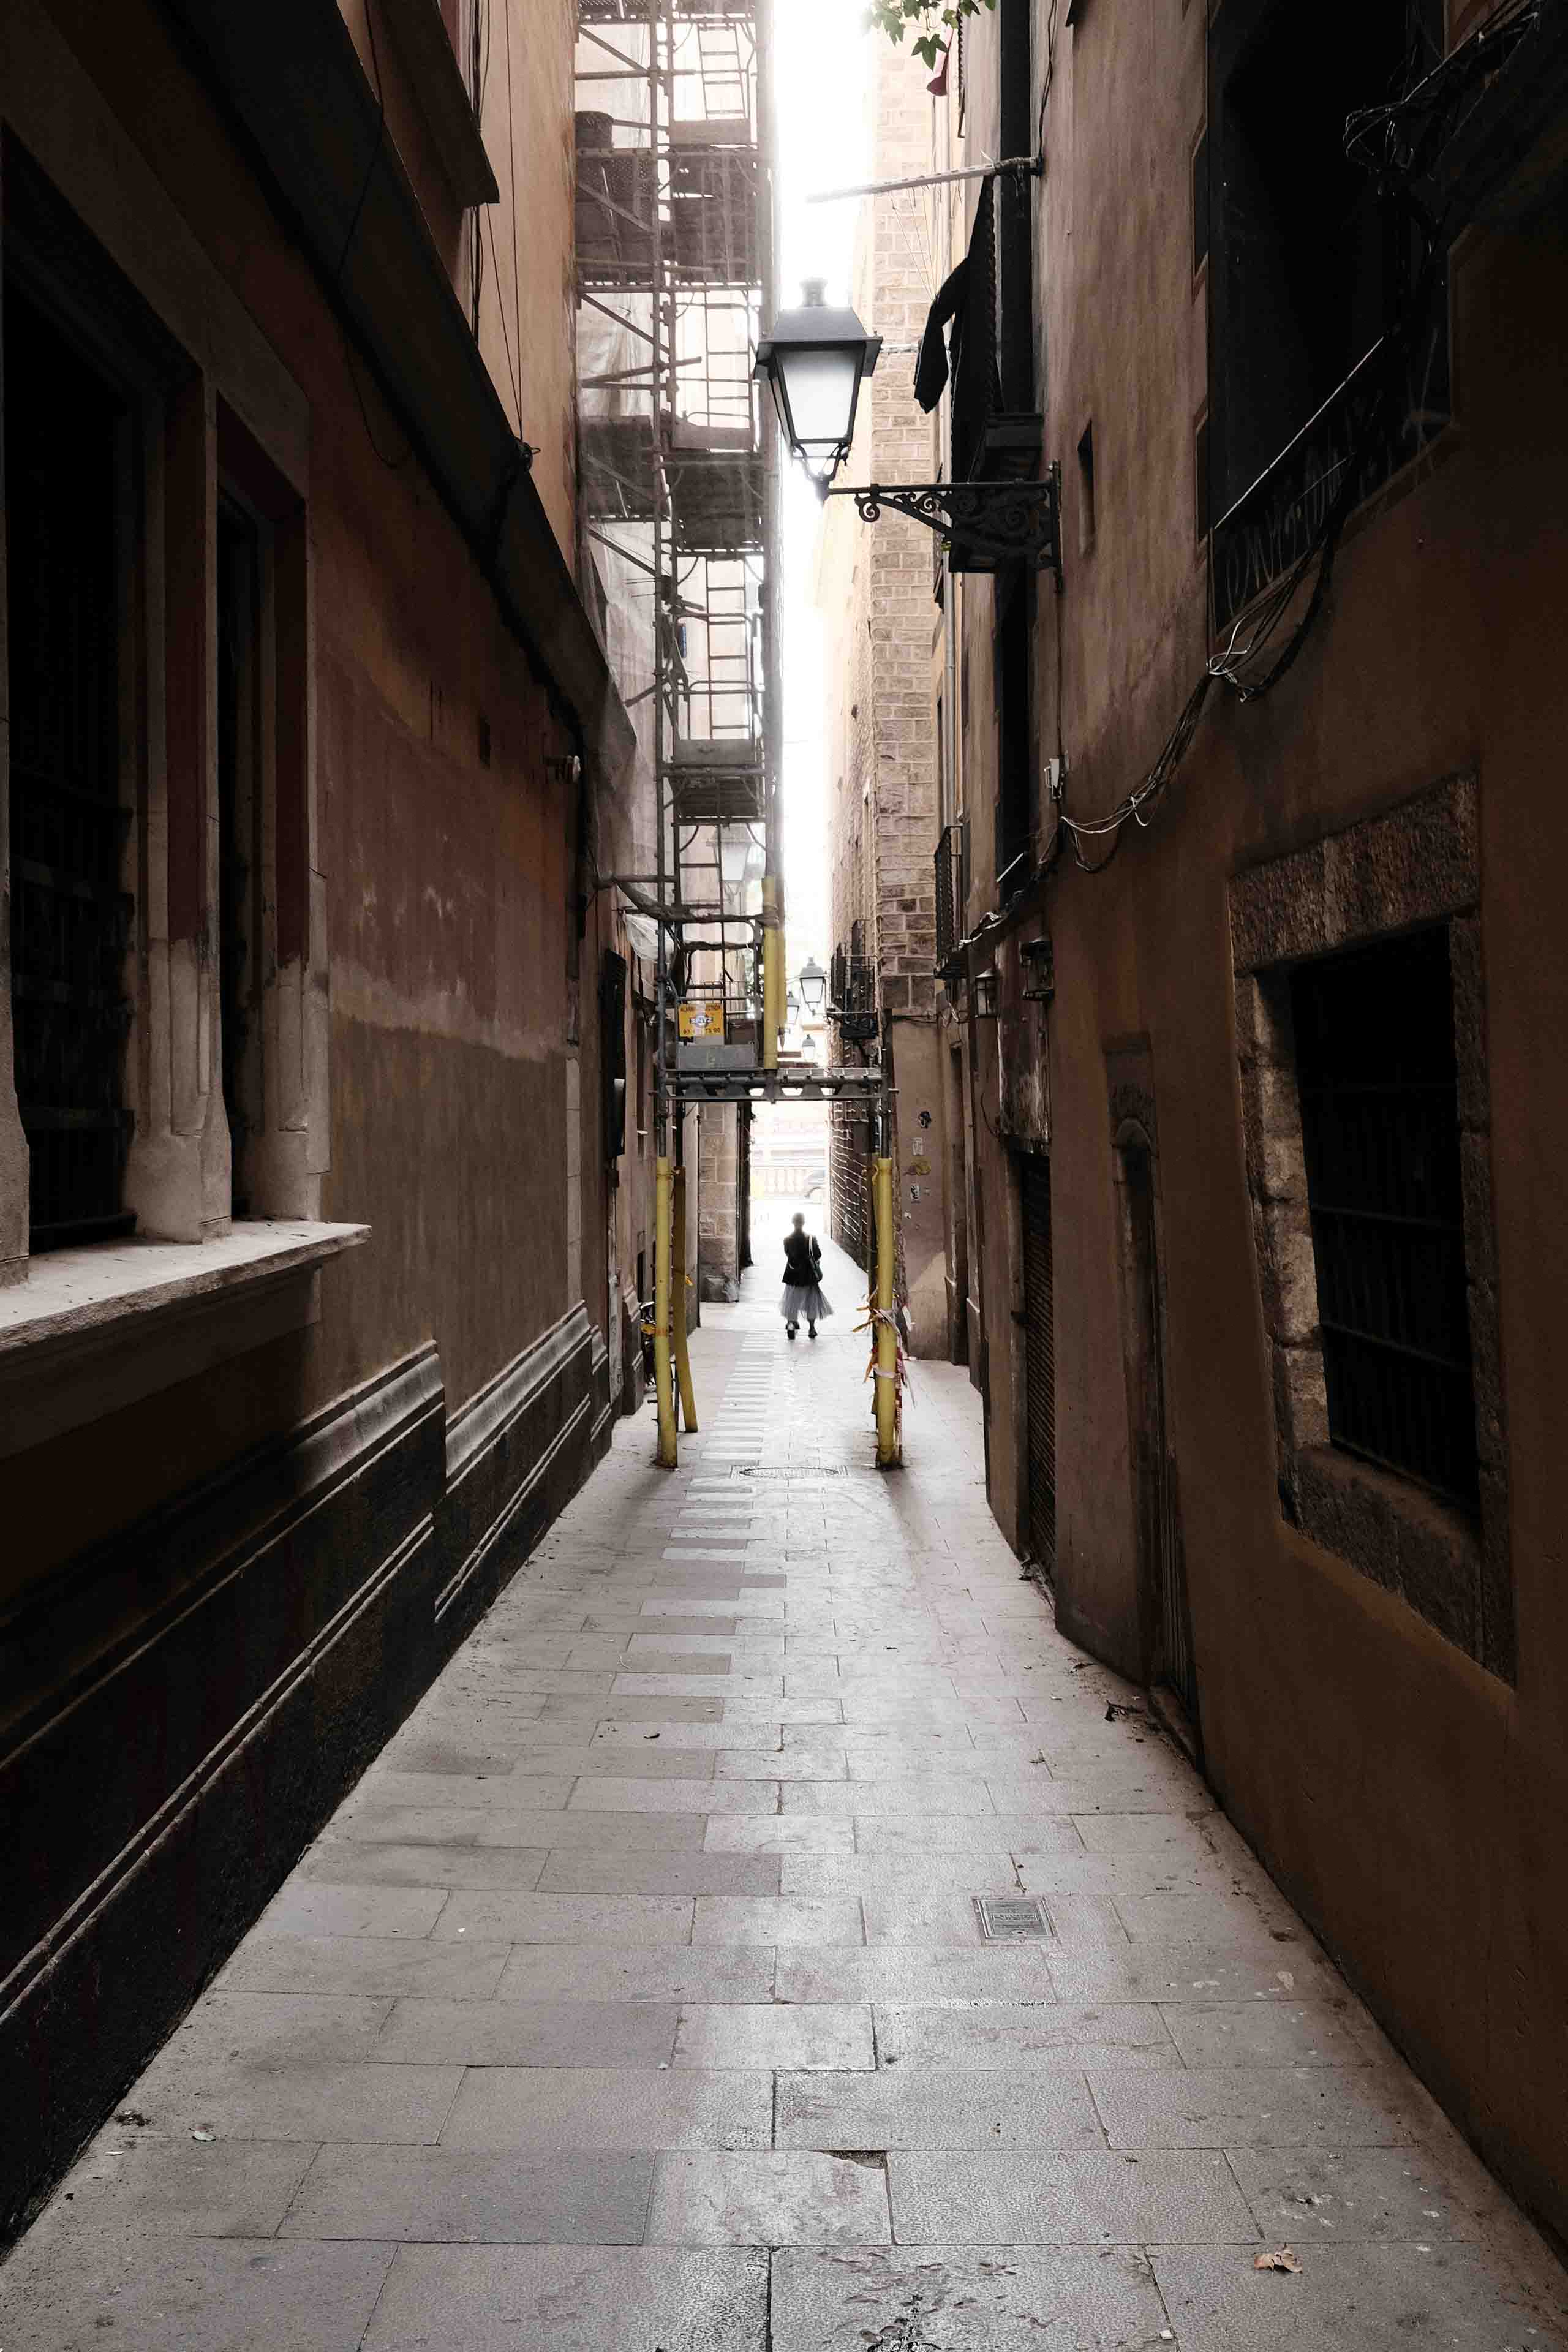
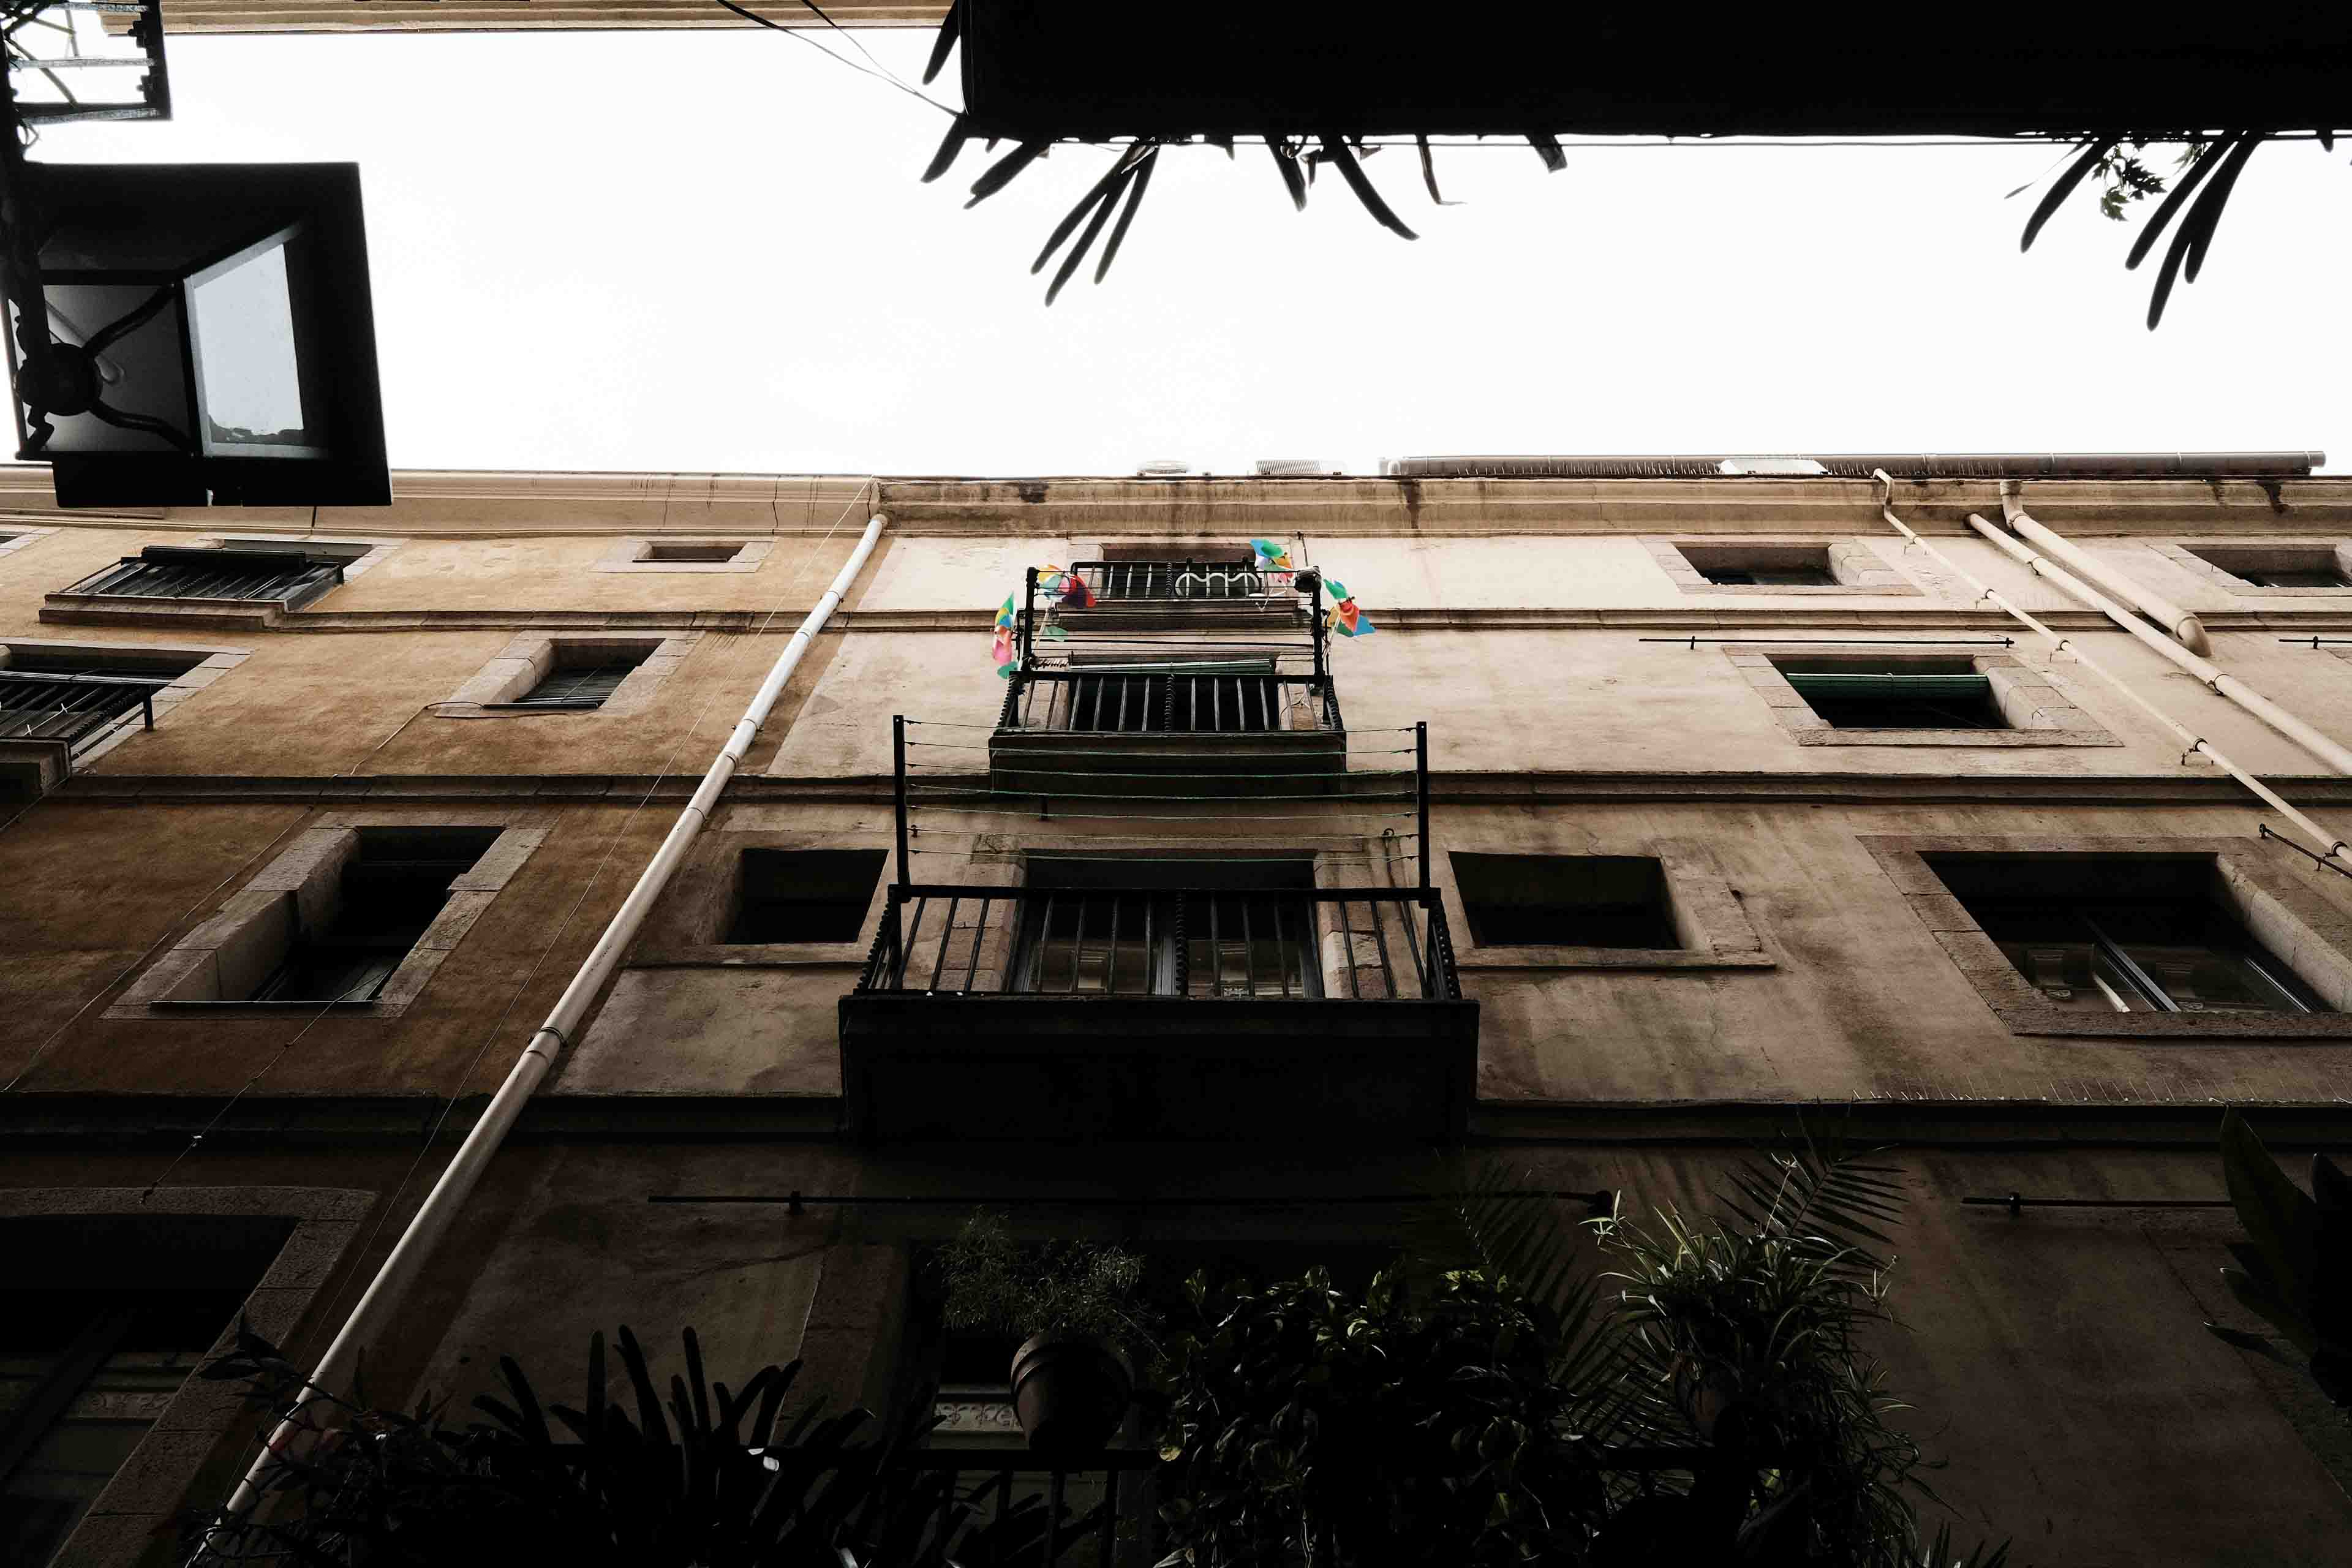
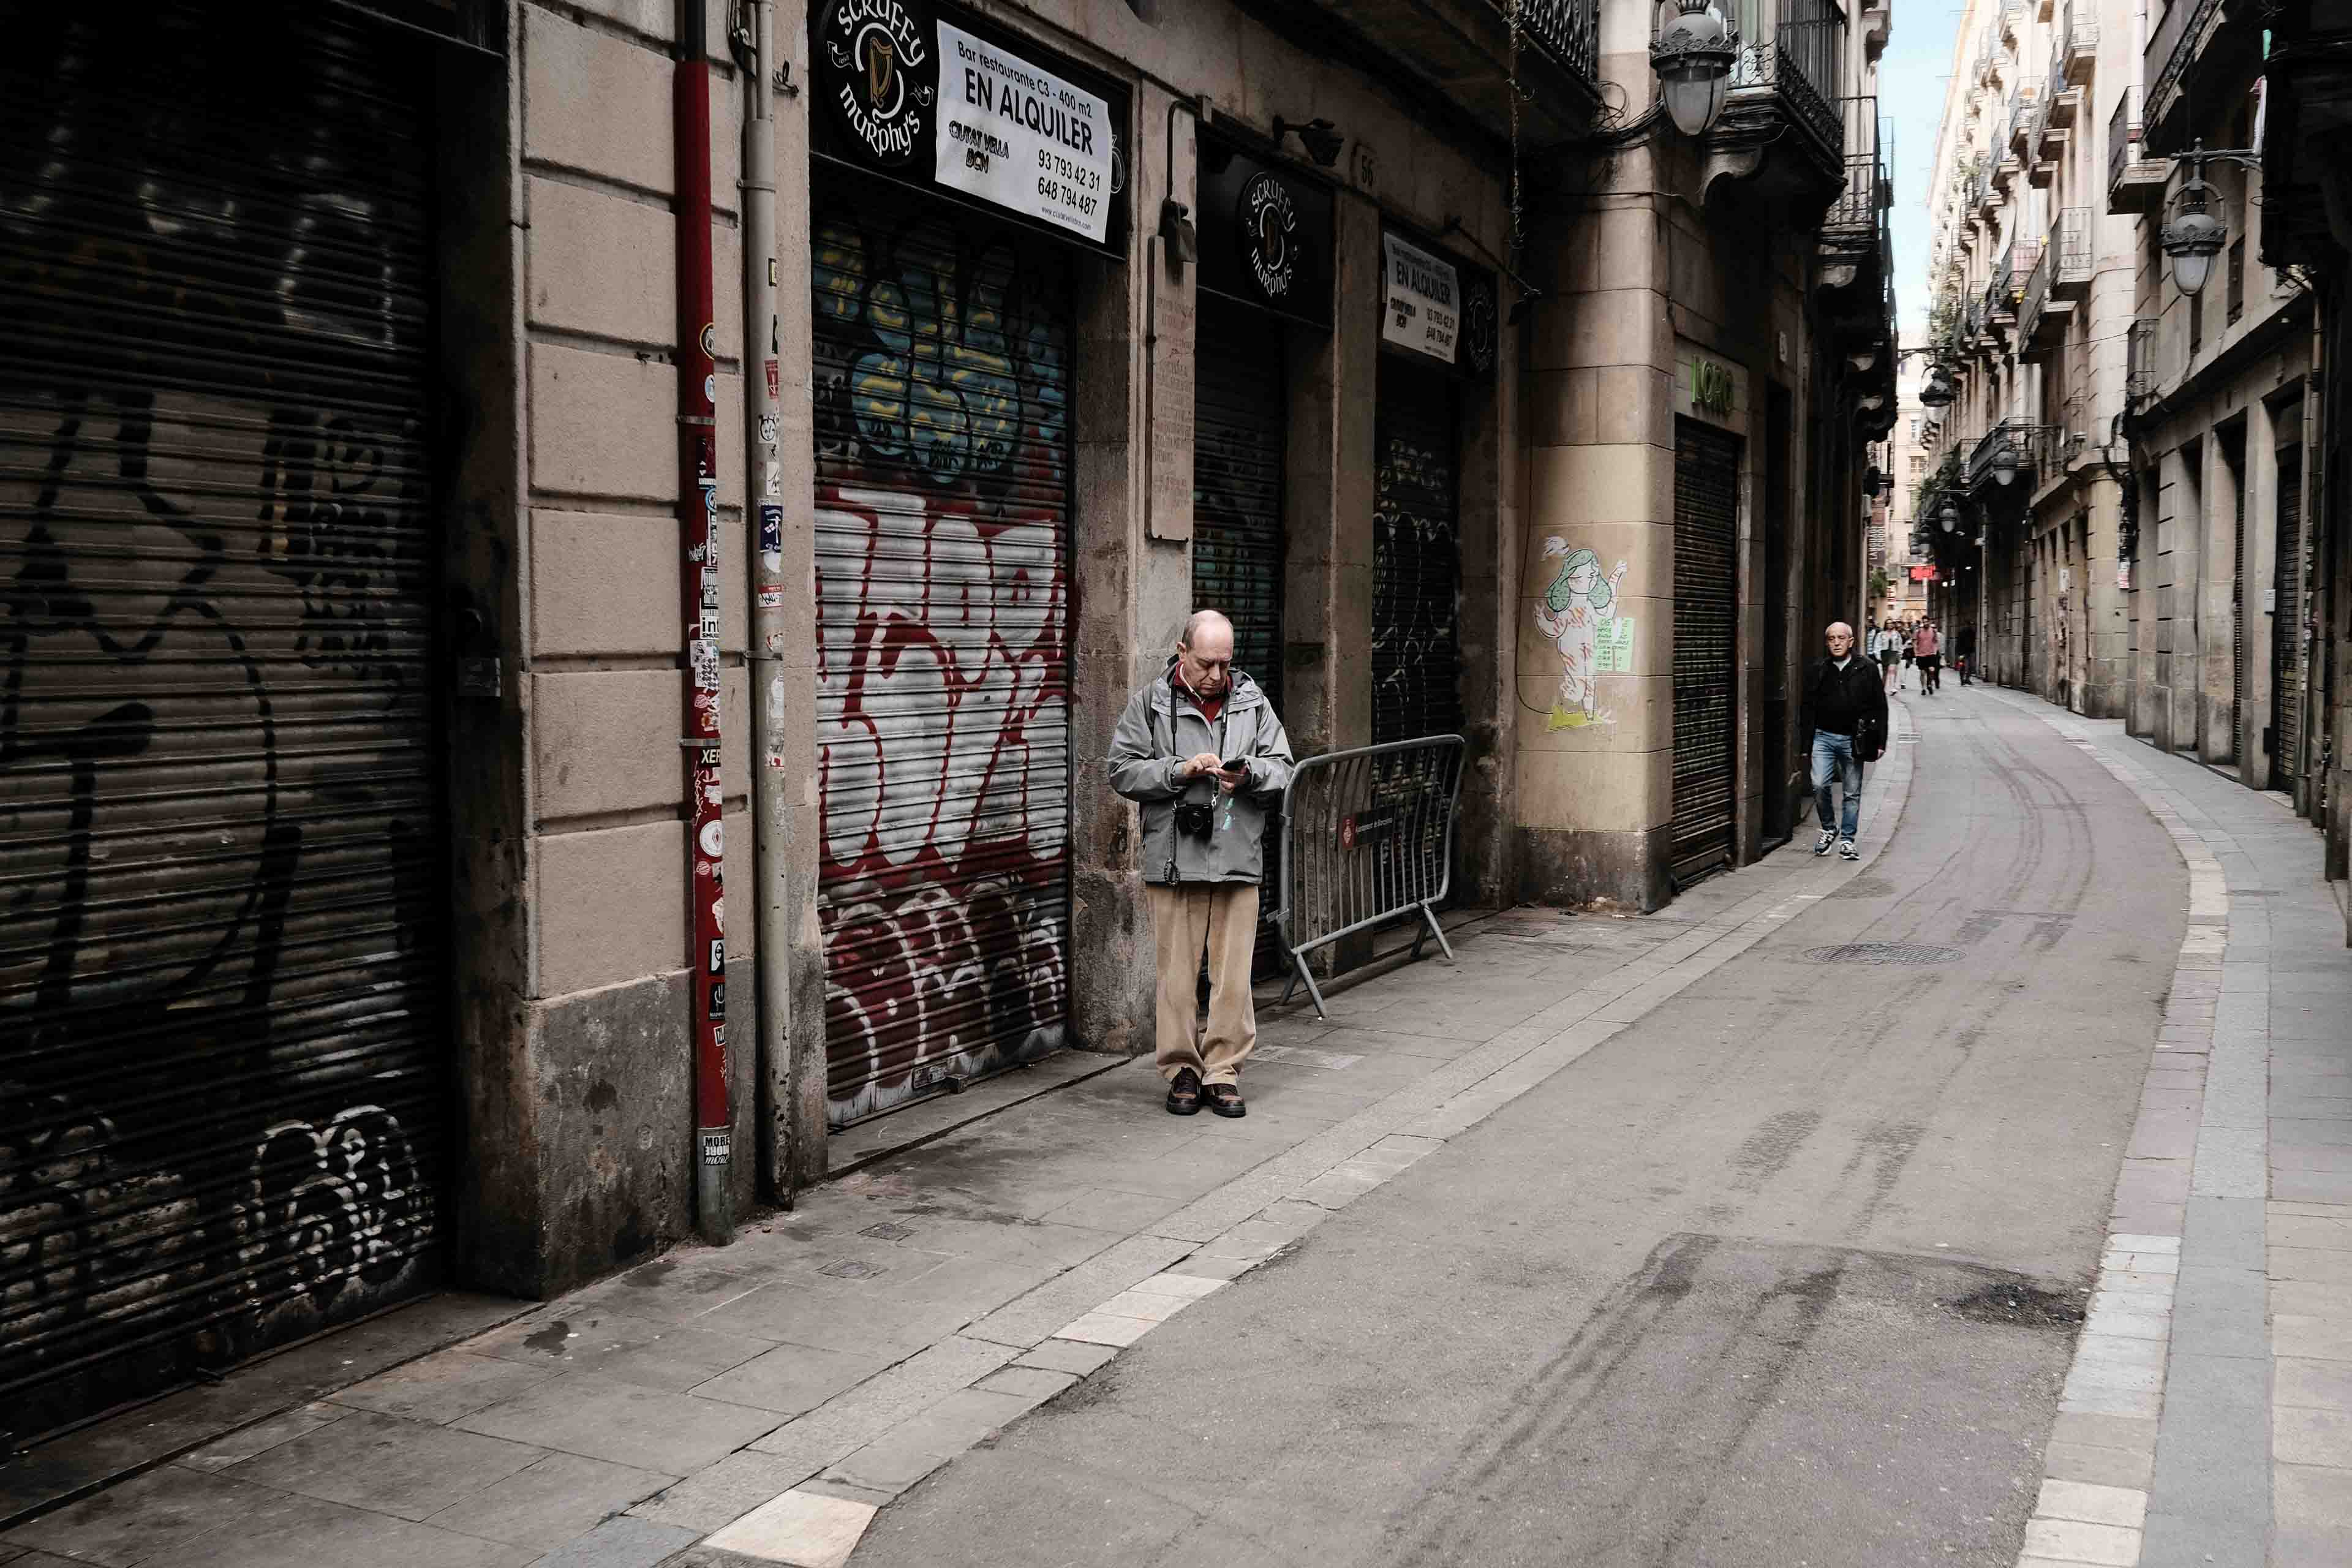
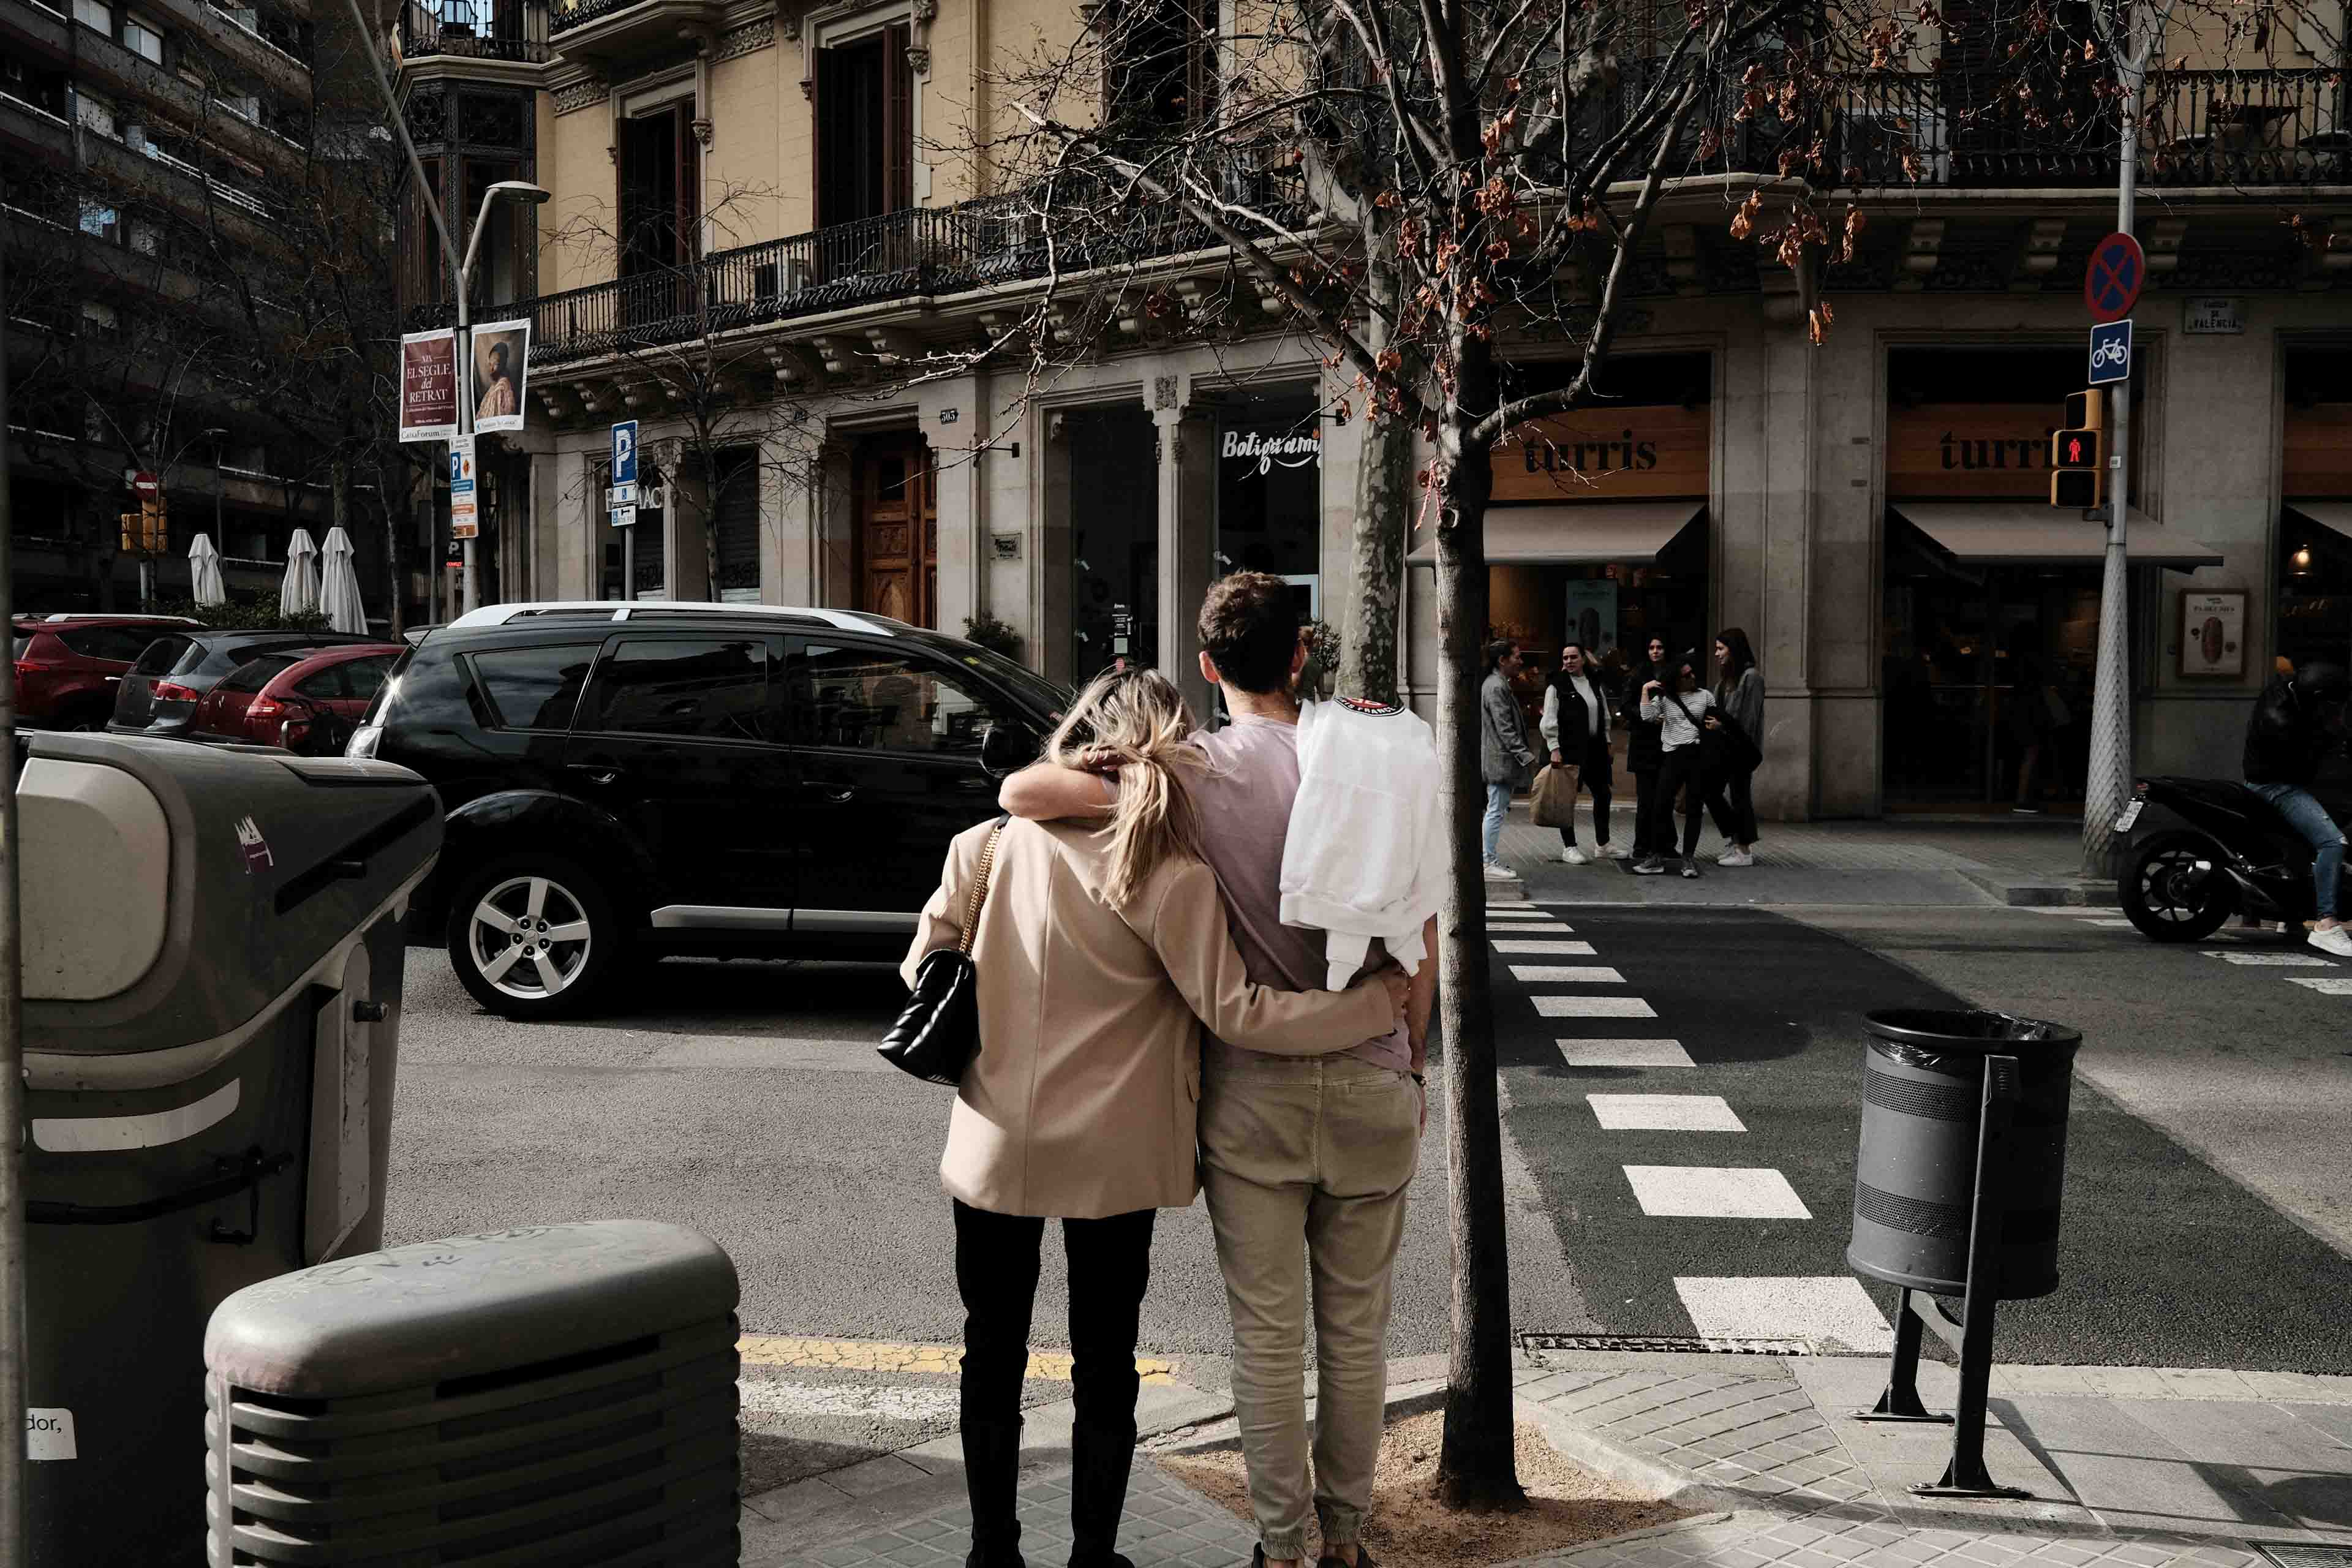
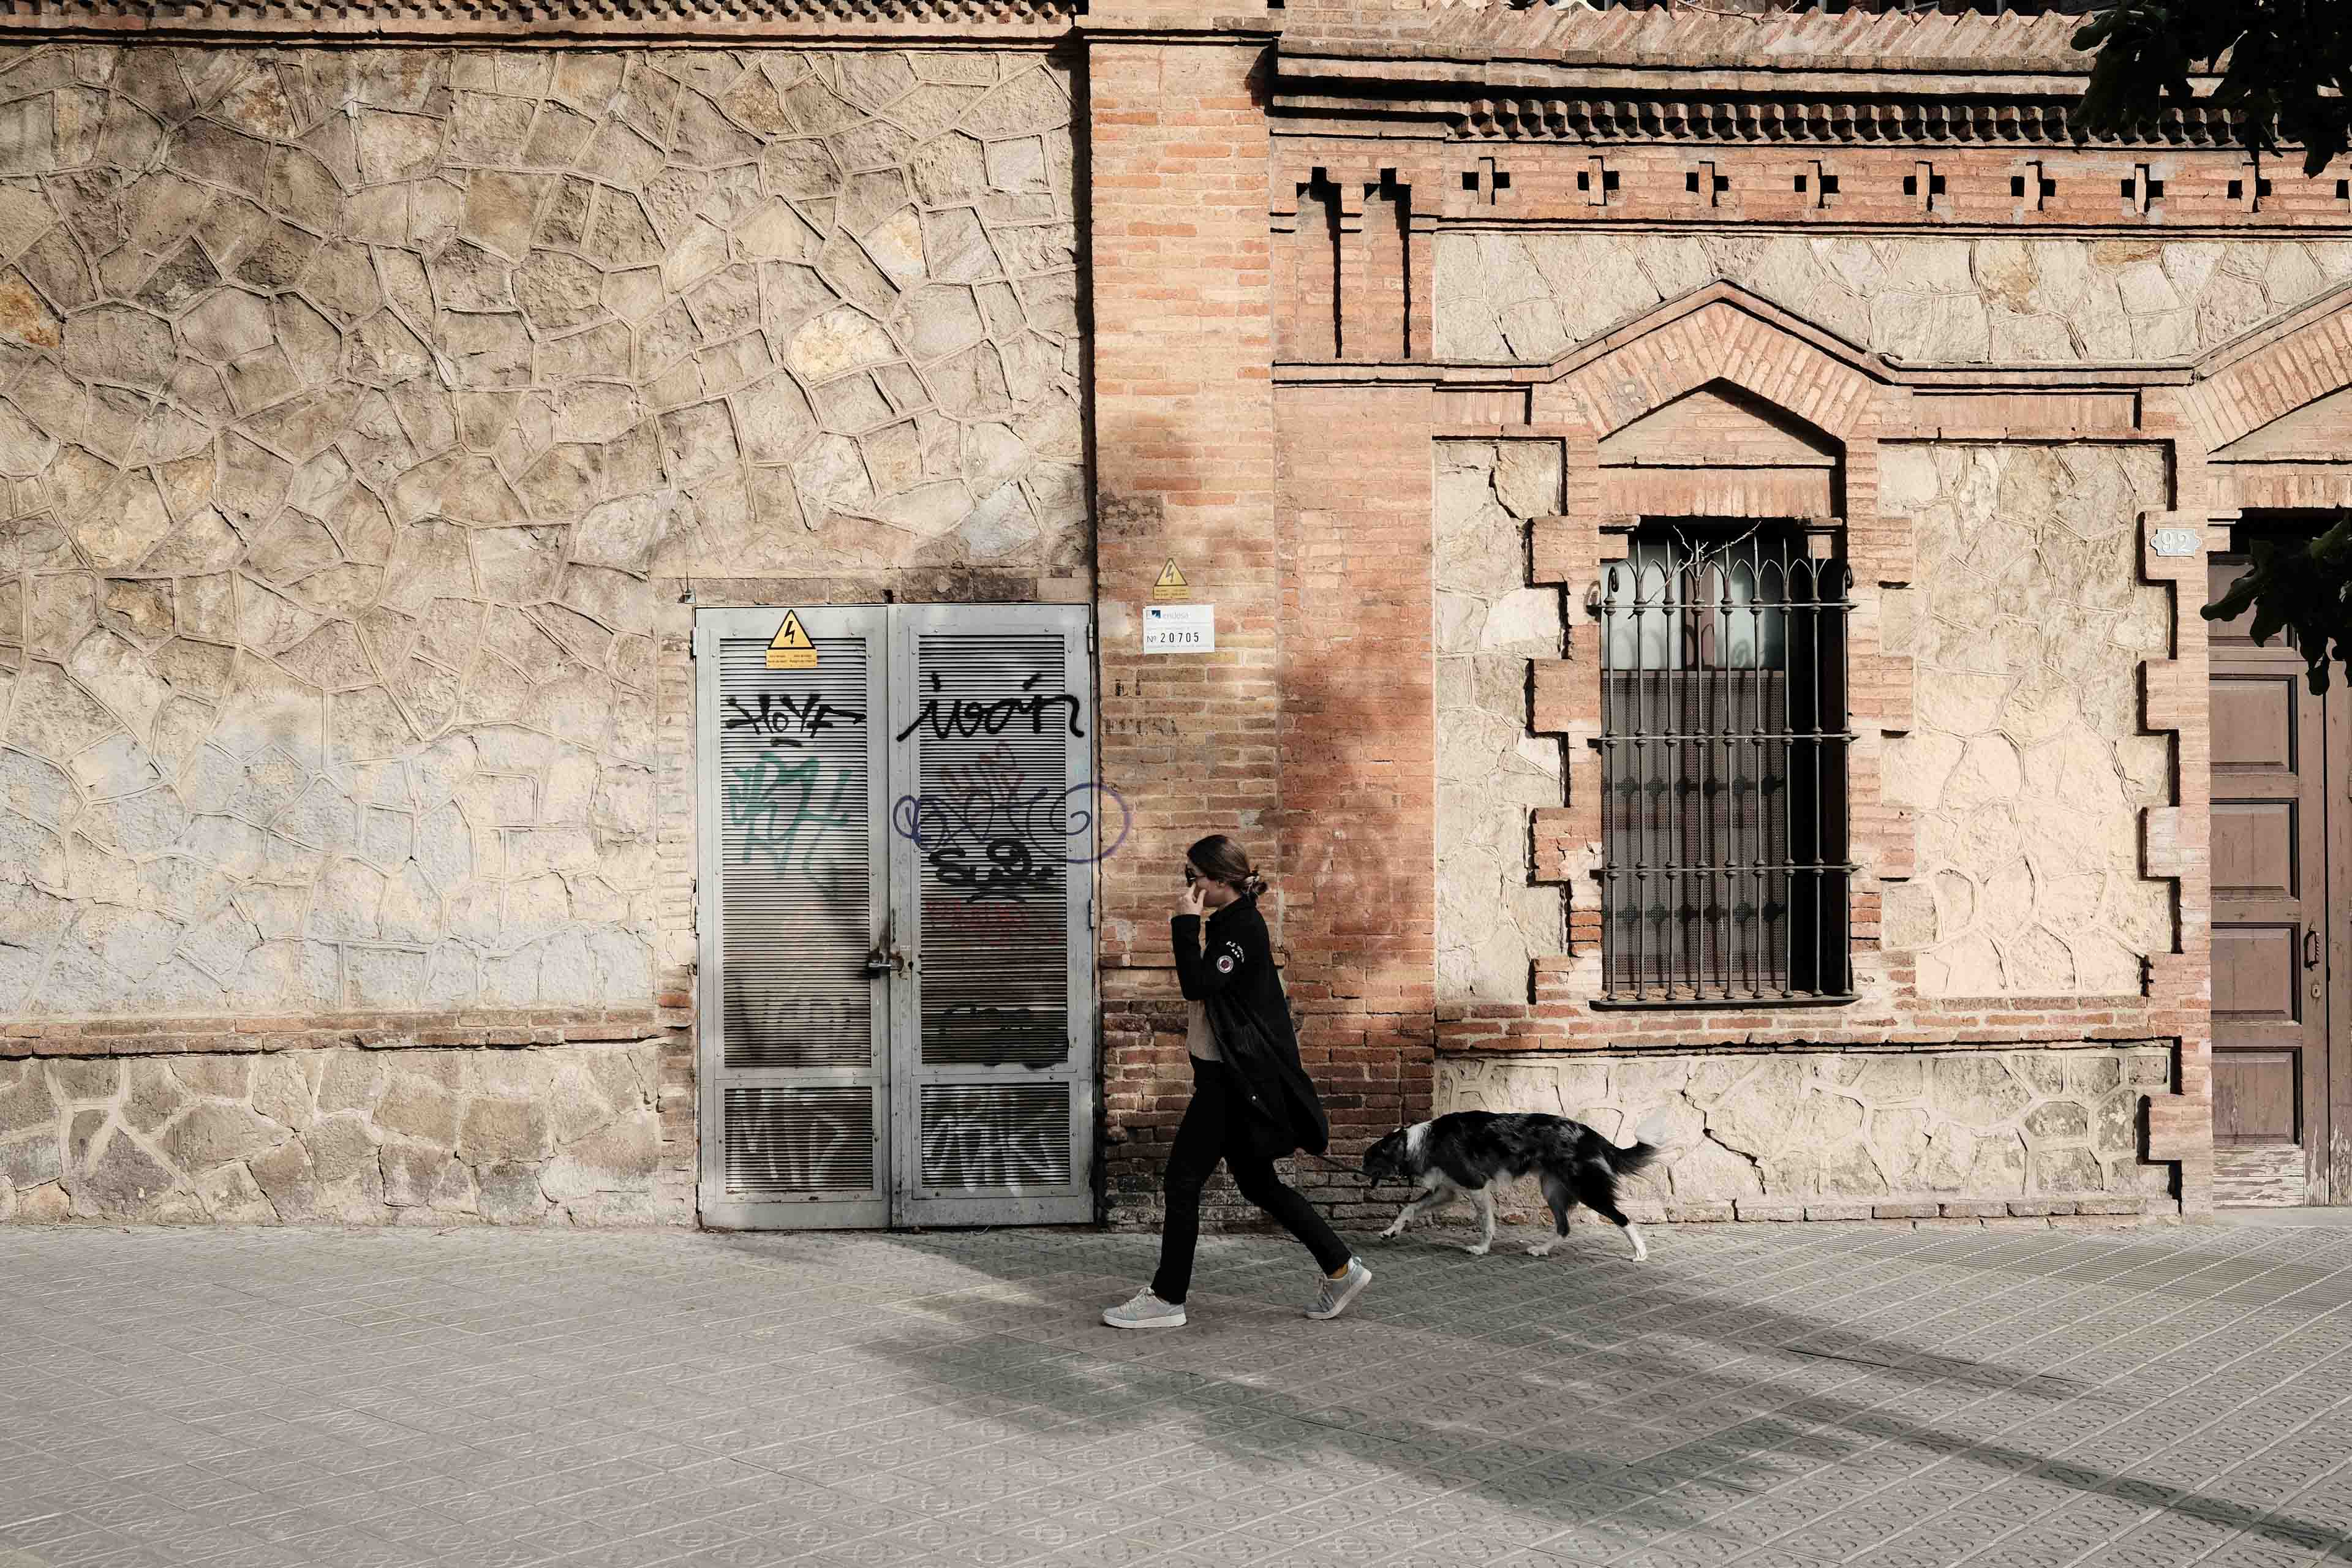
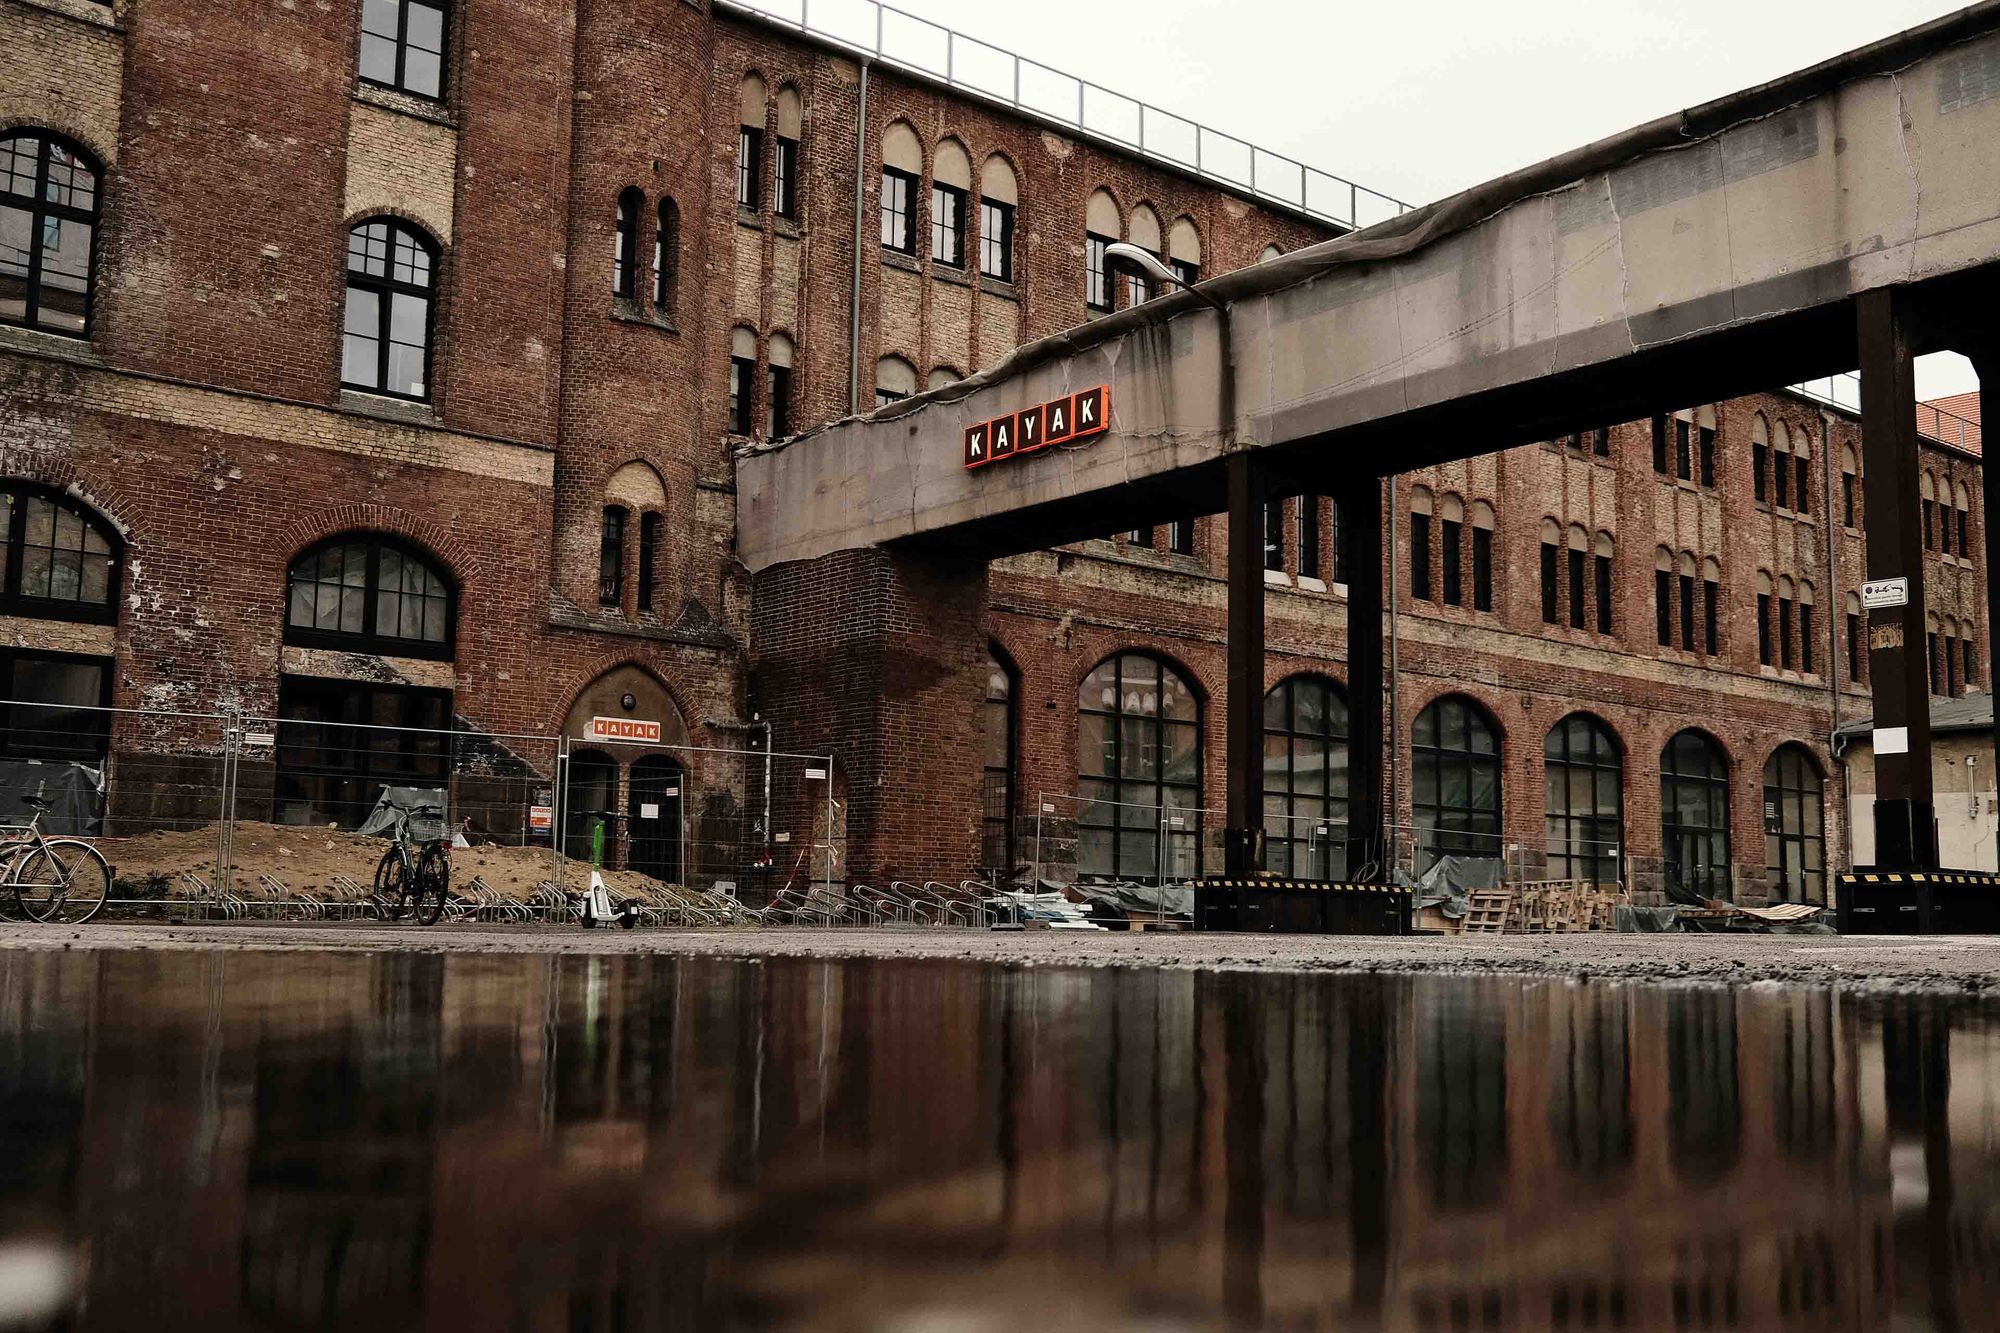
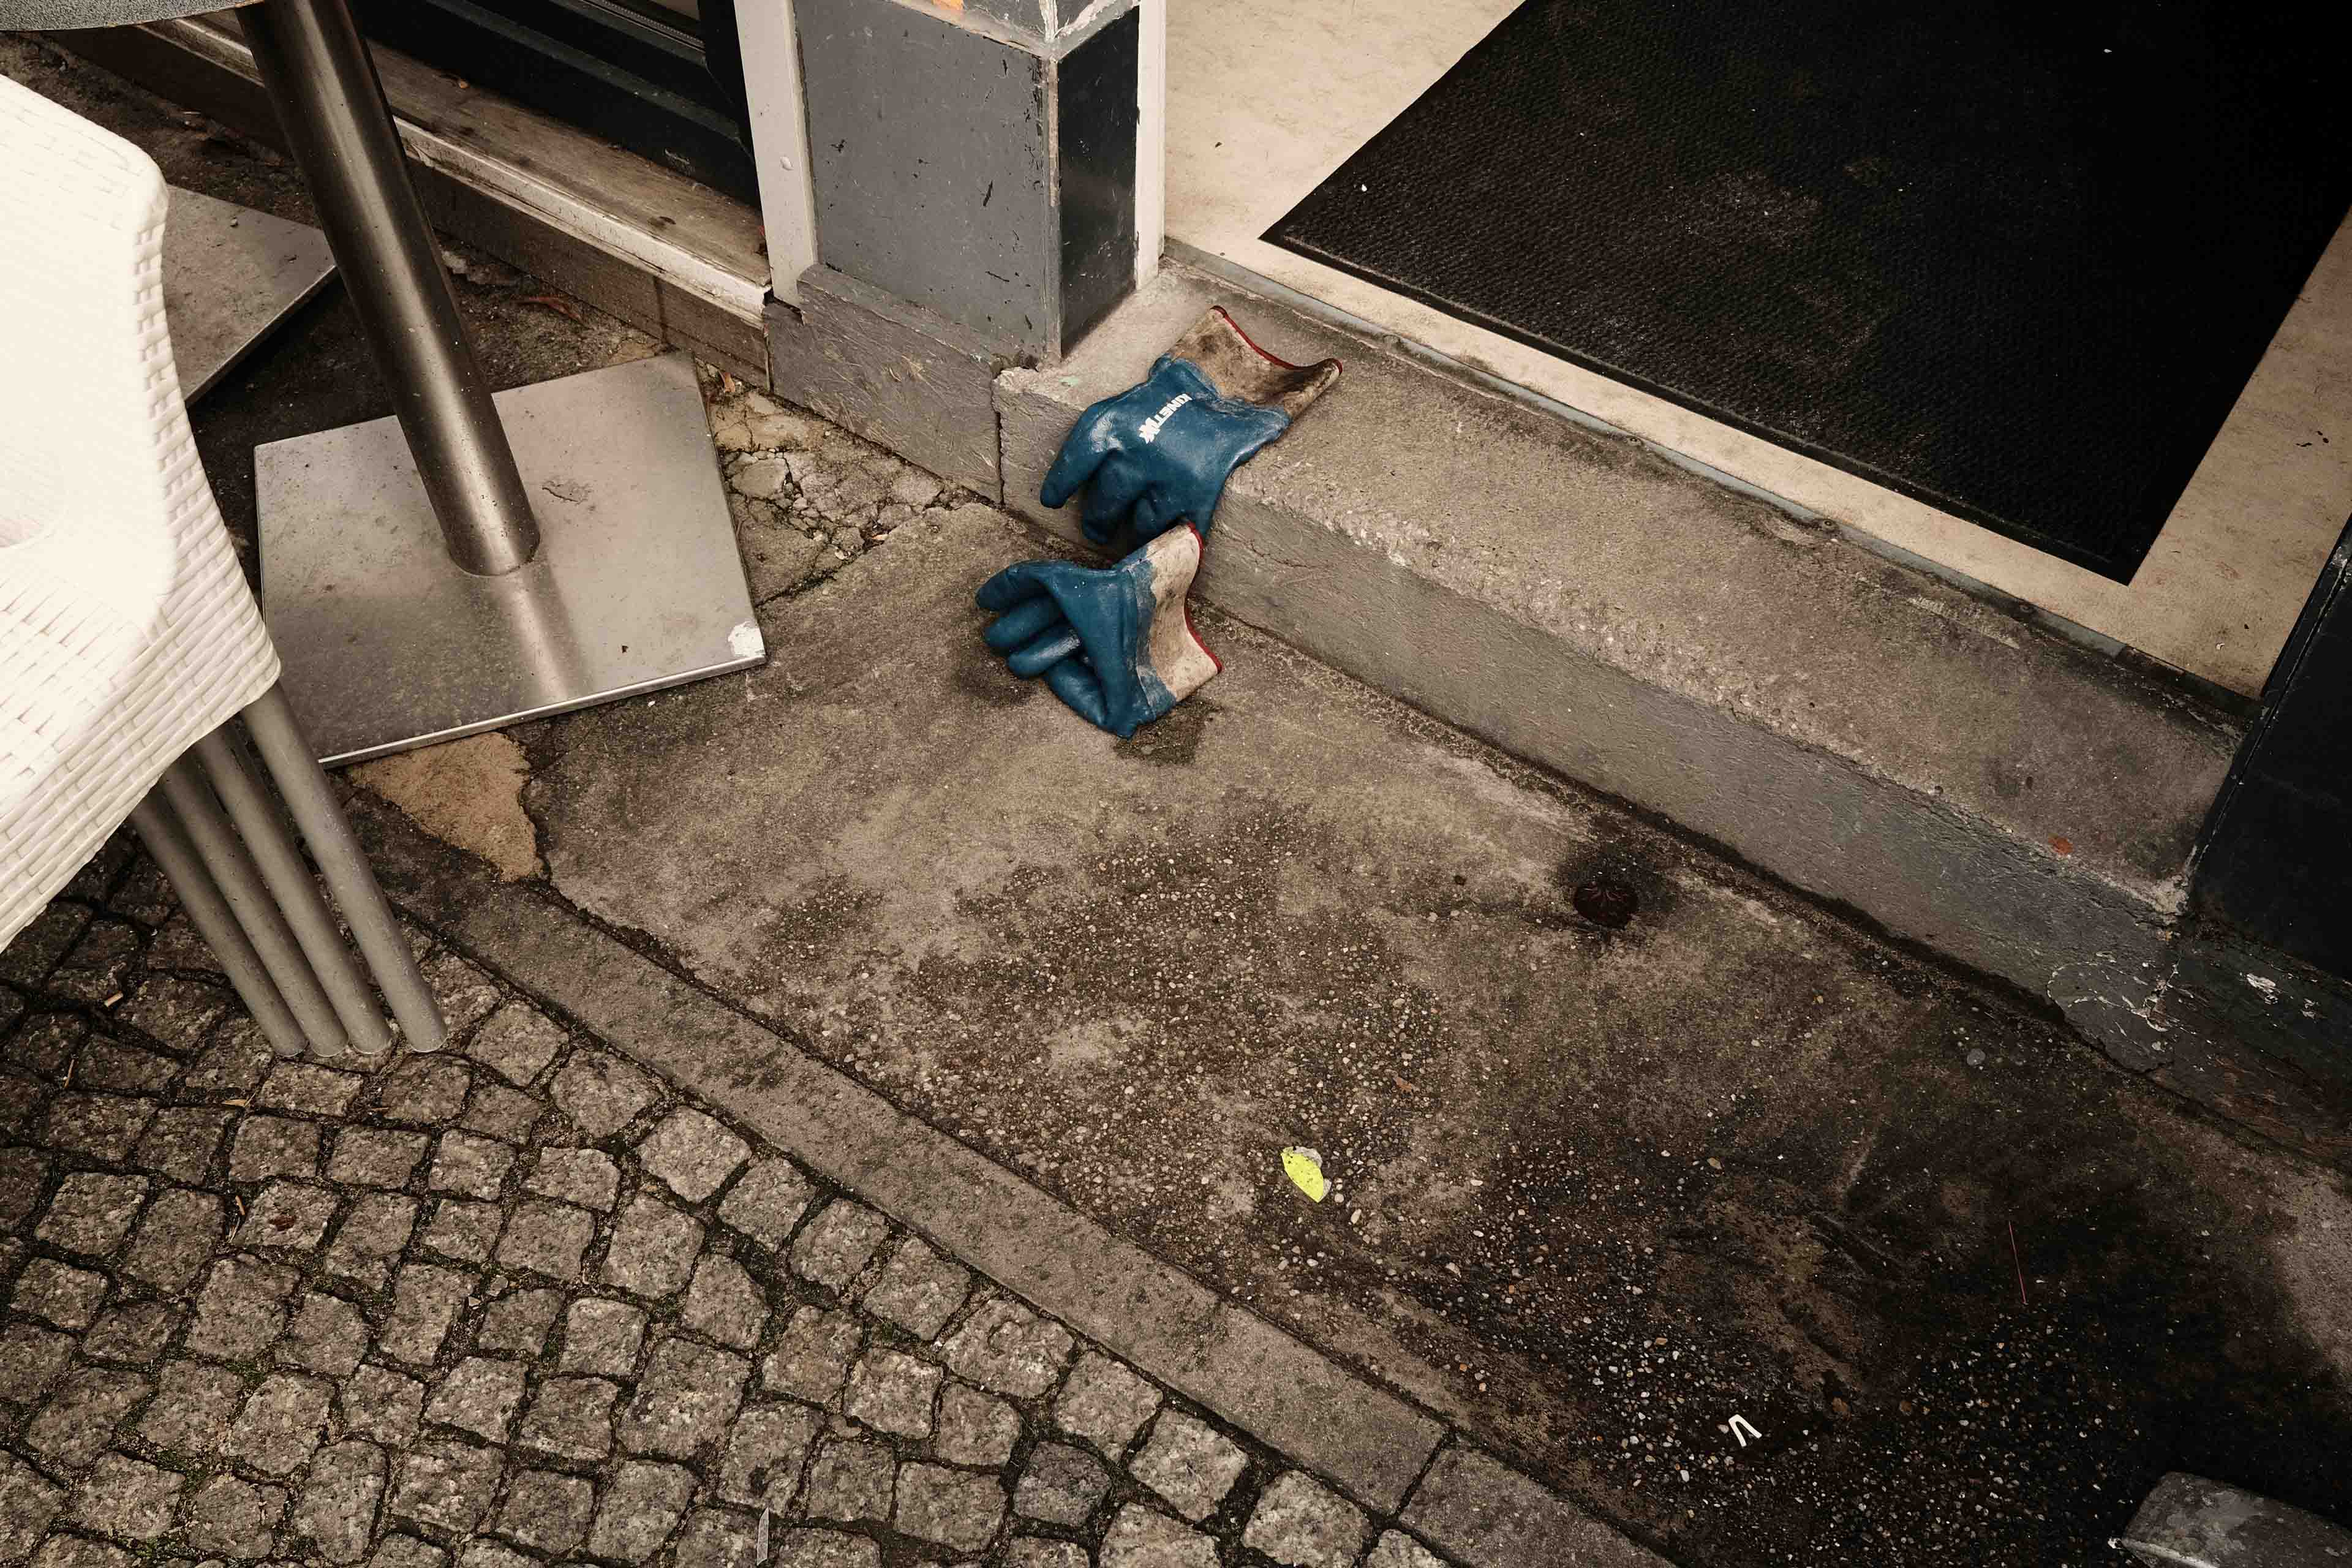
Street photography is currently my biggest passion, and most of my images are made on the street. The fast pace, and spur-of-the-moment energy, require a film sim that adapts easily and still delivers in unexpected scenarios. While I realize I said this film sim has a lot of warm Kodak vibes, in certain lighting conditions the results can also be a little more contrasty than some people might enjoy and perhaps even border on the side of gritty. My work in Barcelona and Berlin can attest to that.
I personally really enjoy the look as it's one you can find in old Kodachrome work from photographers like Steve McCurry and Alex Webb. Though if you prefer a little less contrast, I suggest you take down the intensity of the shadows a little and set it to +1 or even 0 instead. Realistically though, this only applies to hard lighting conditions where you are combatting deep shadows with bright sunny spots like I had to in the narrow streets of the Gothic Quarter of Barcelona.

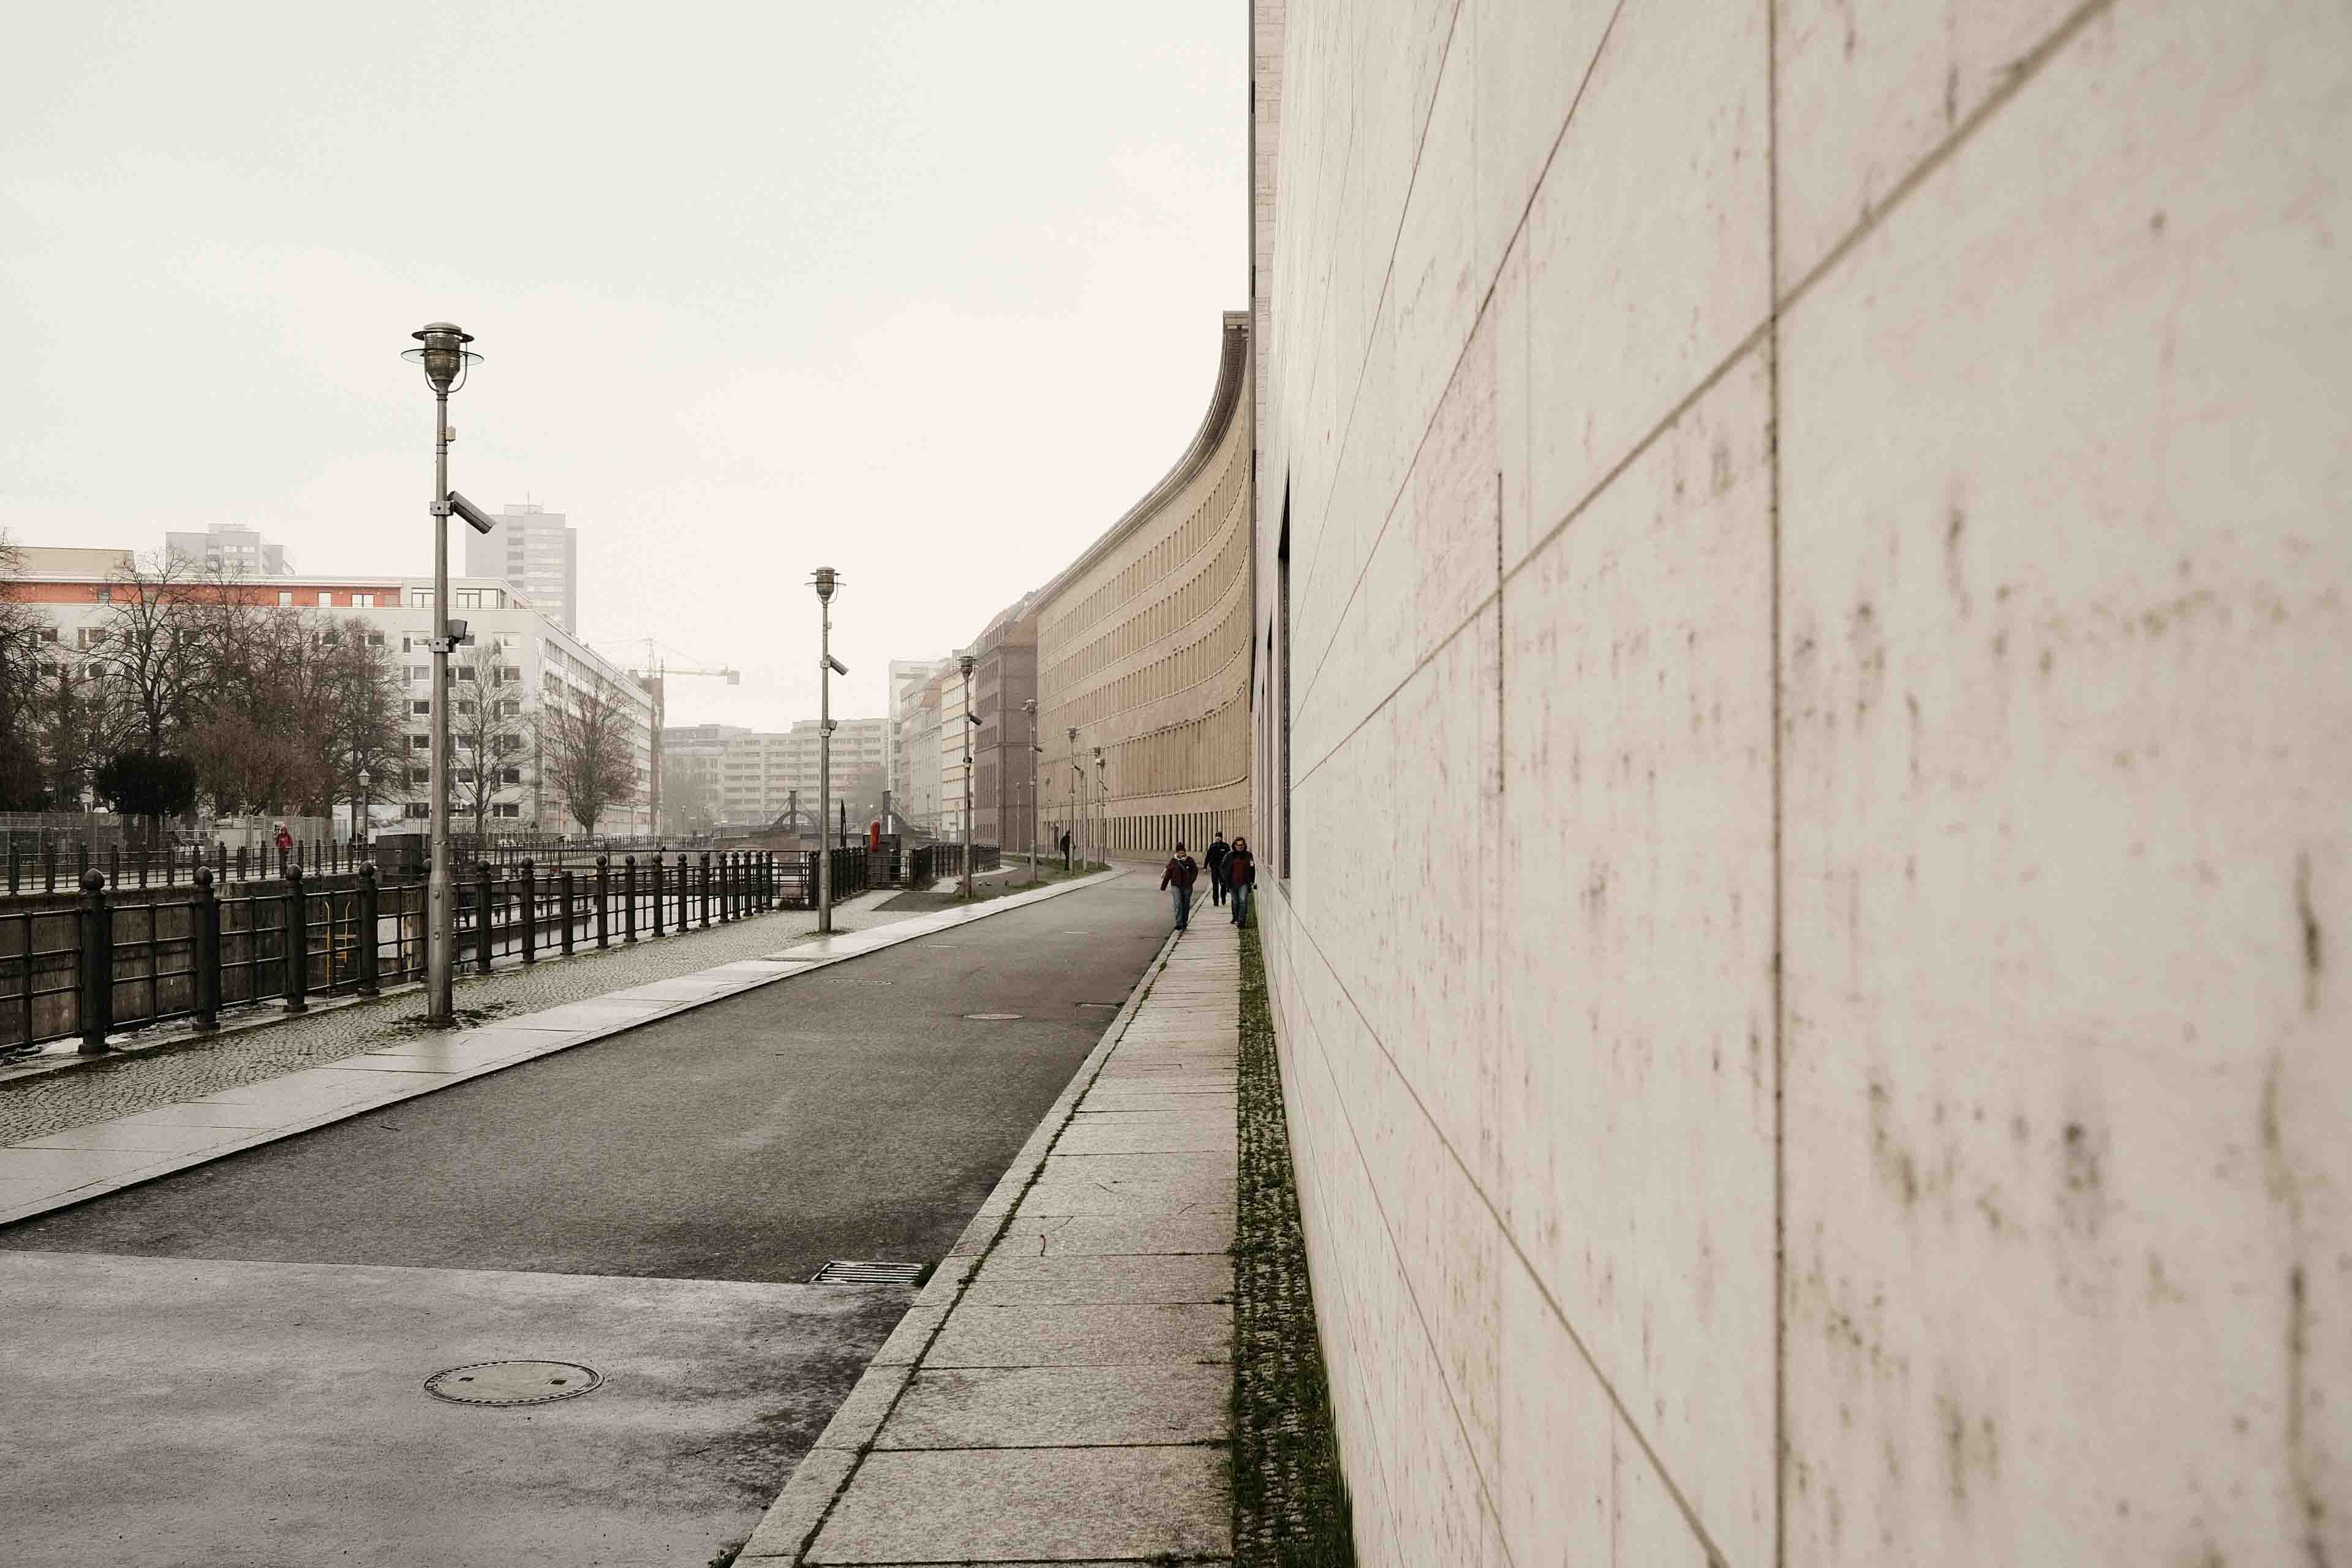

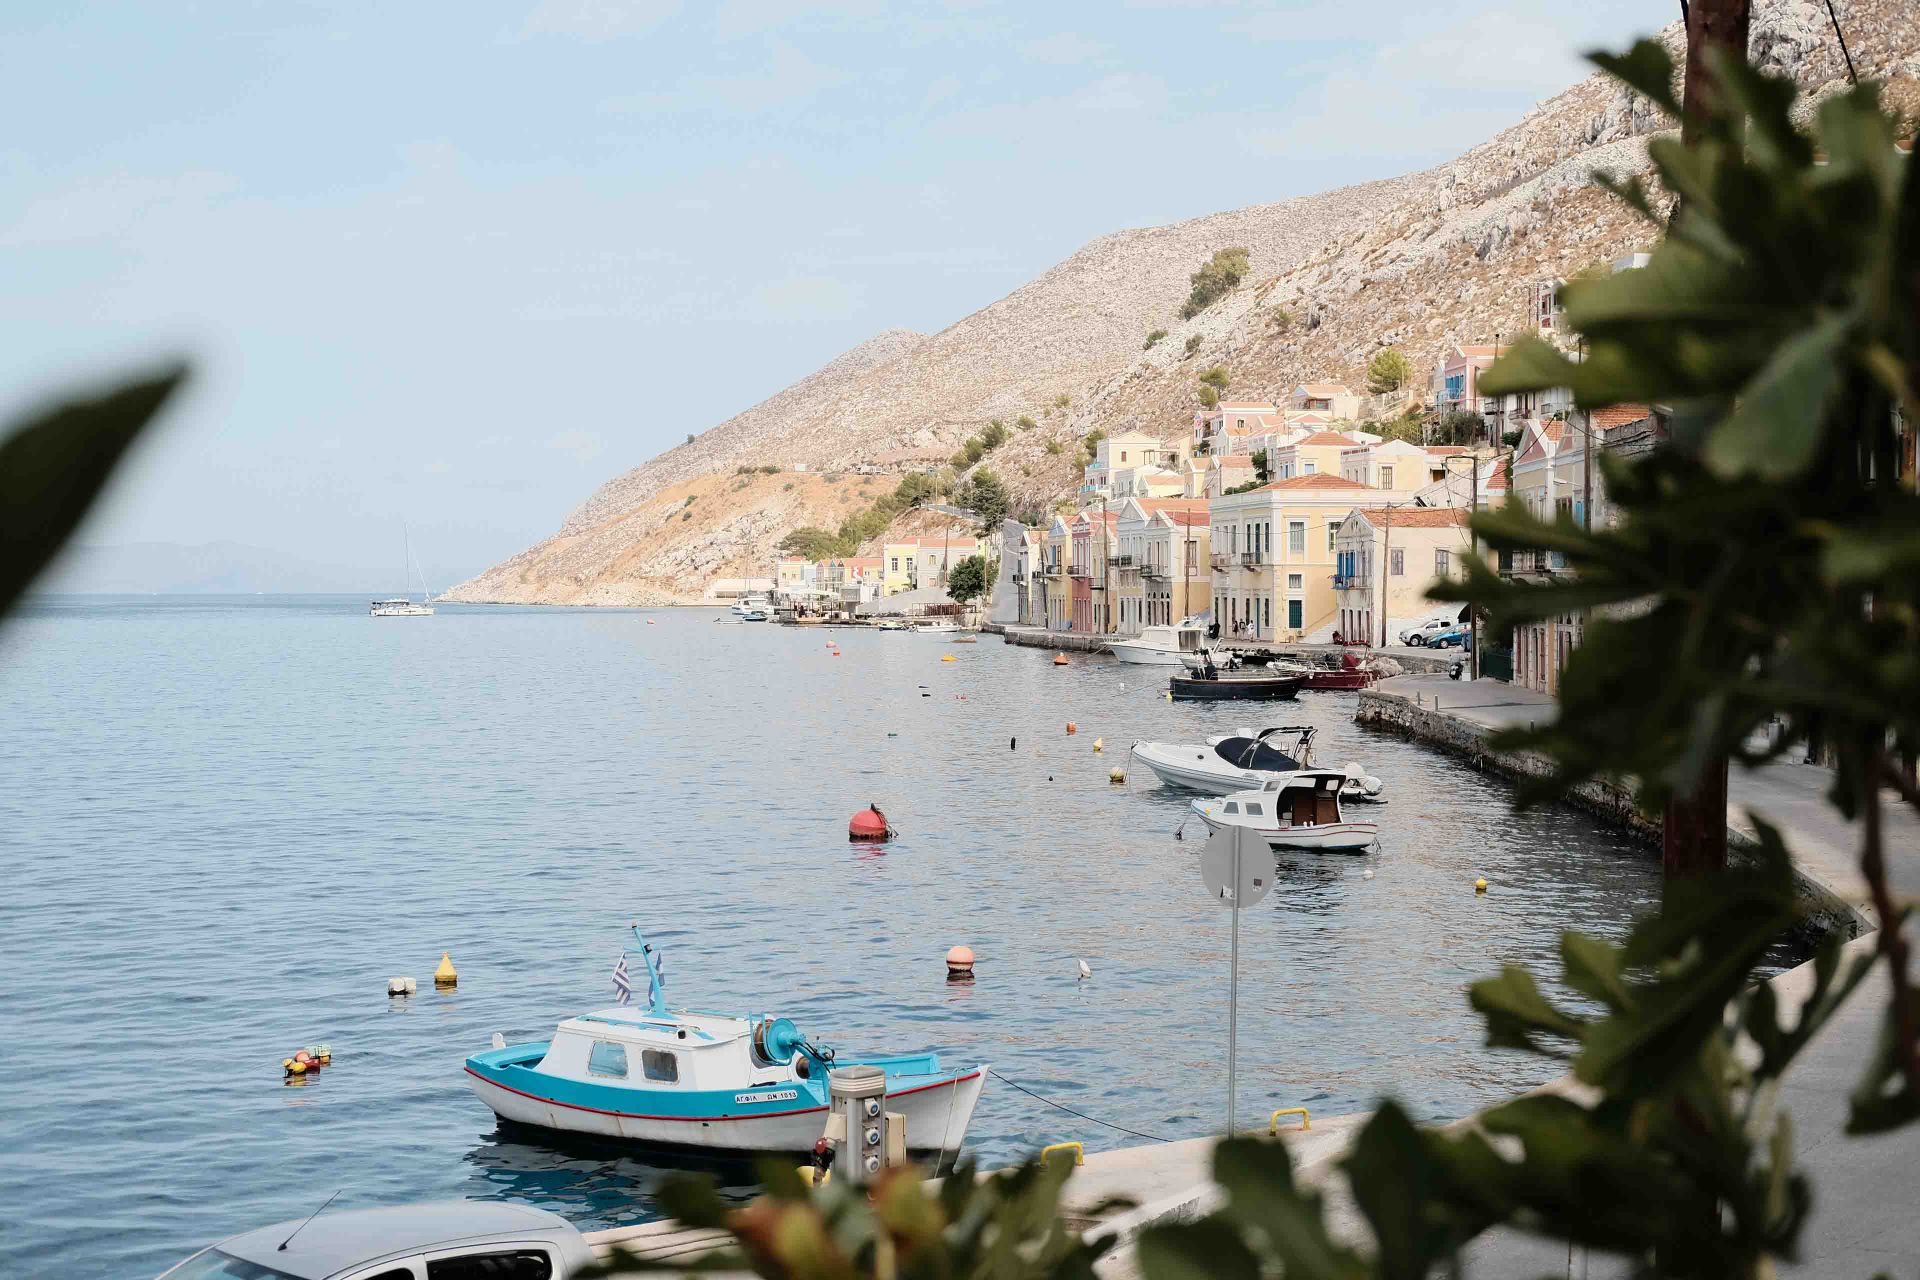
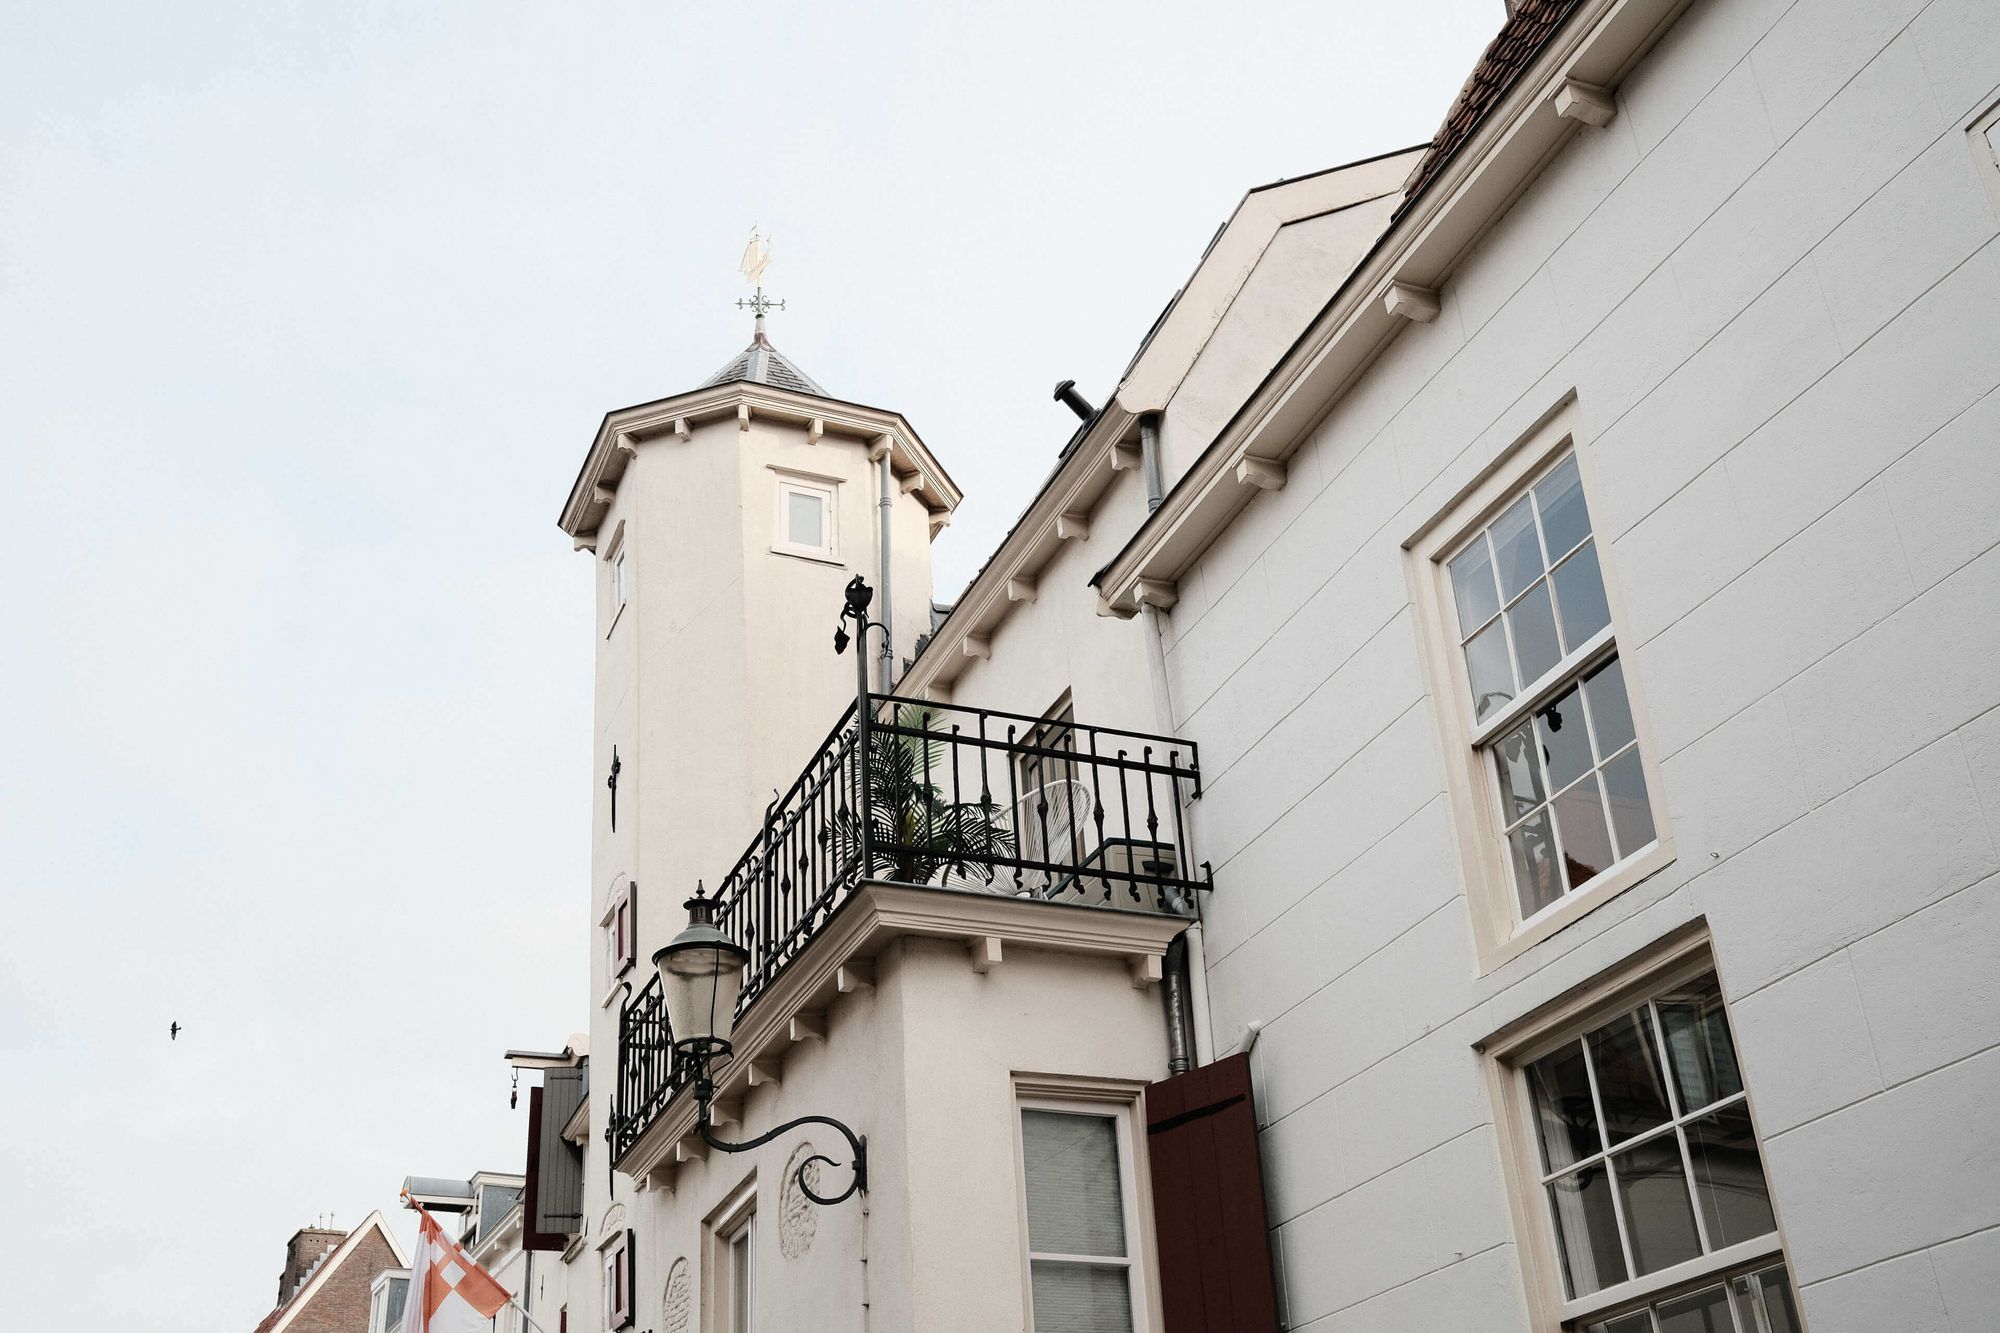
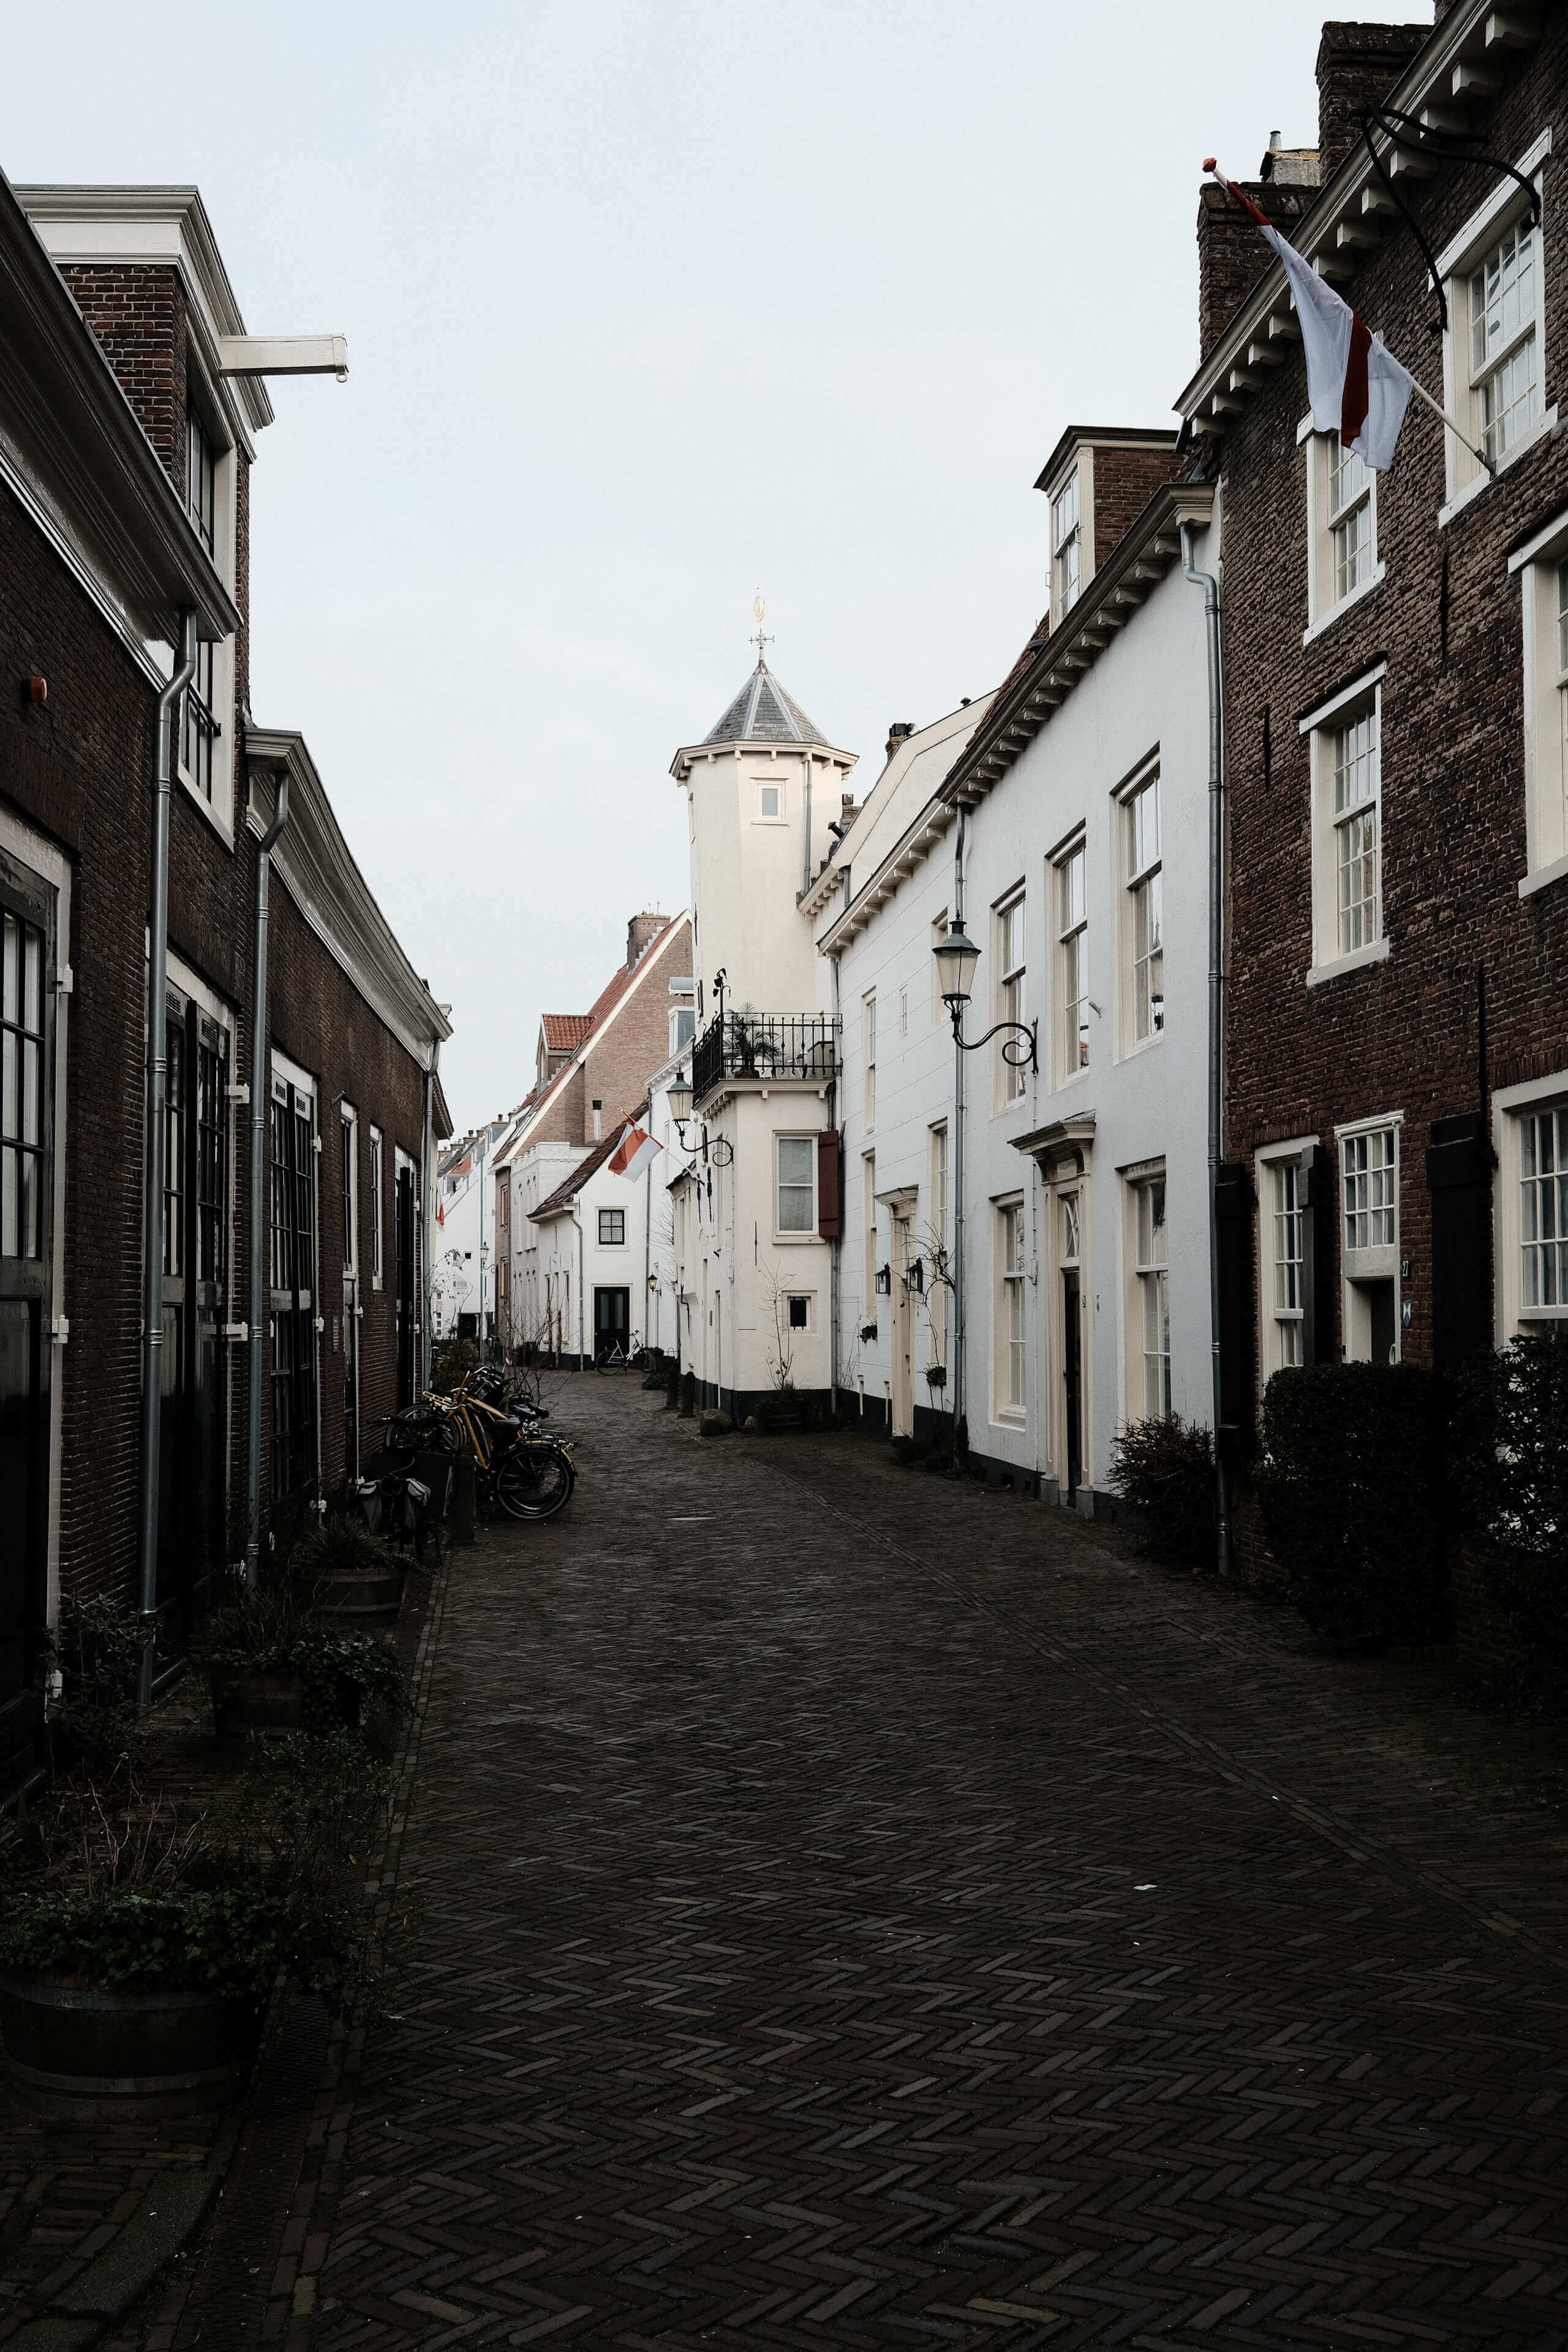
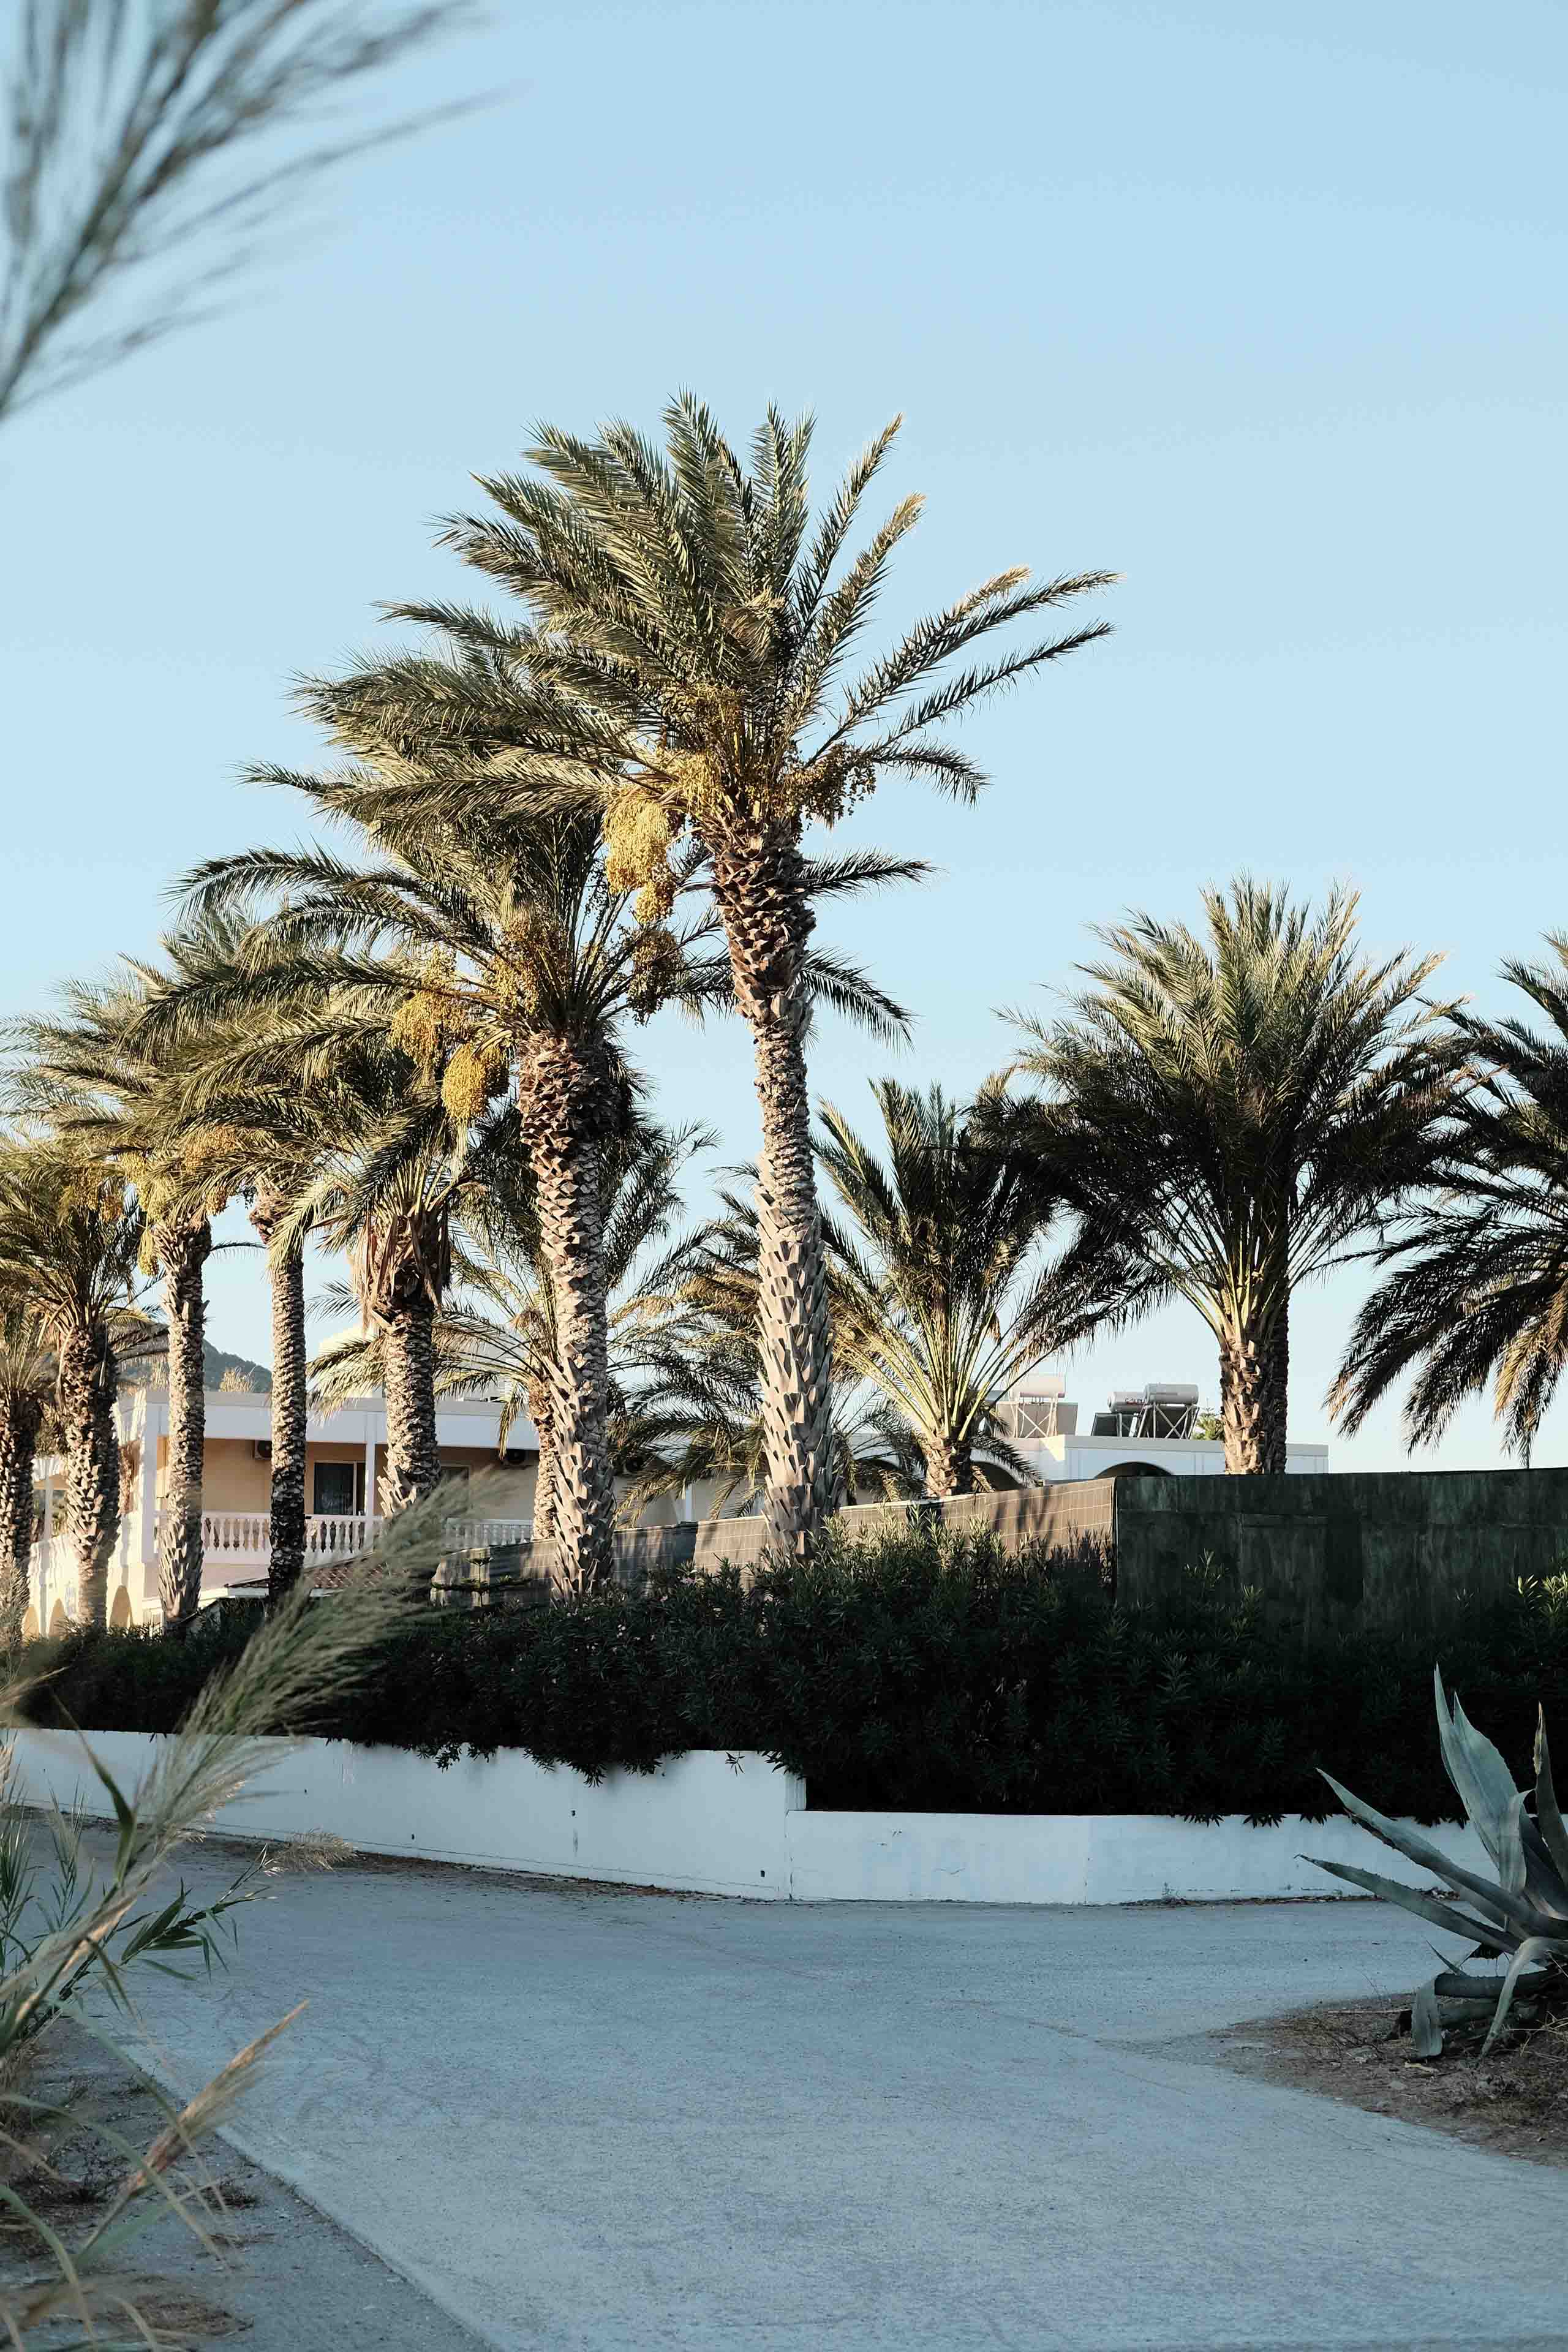
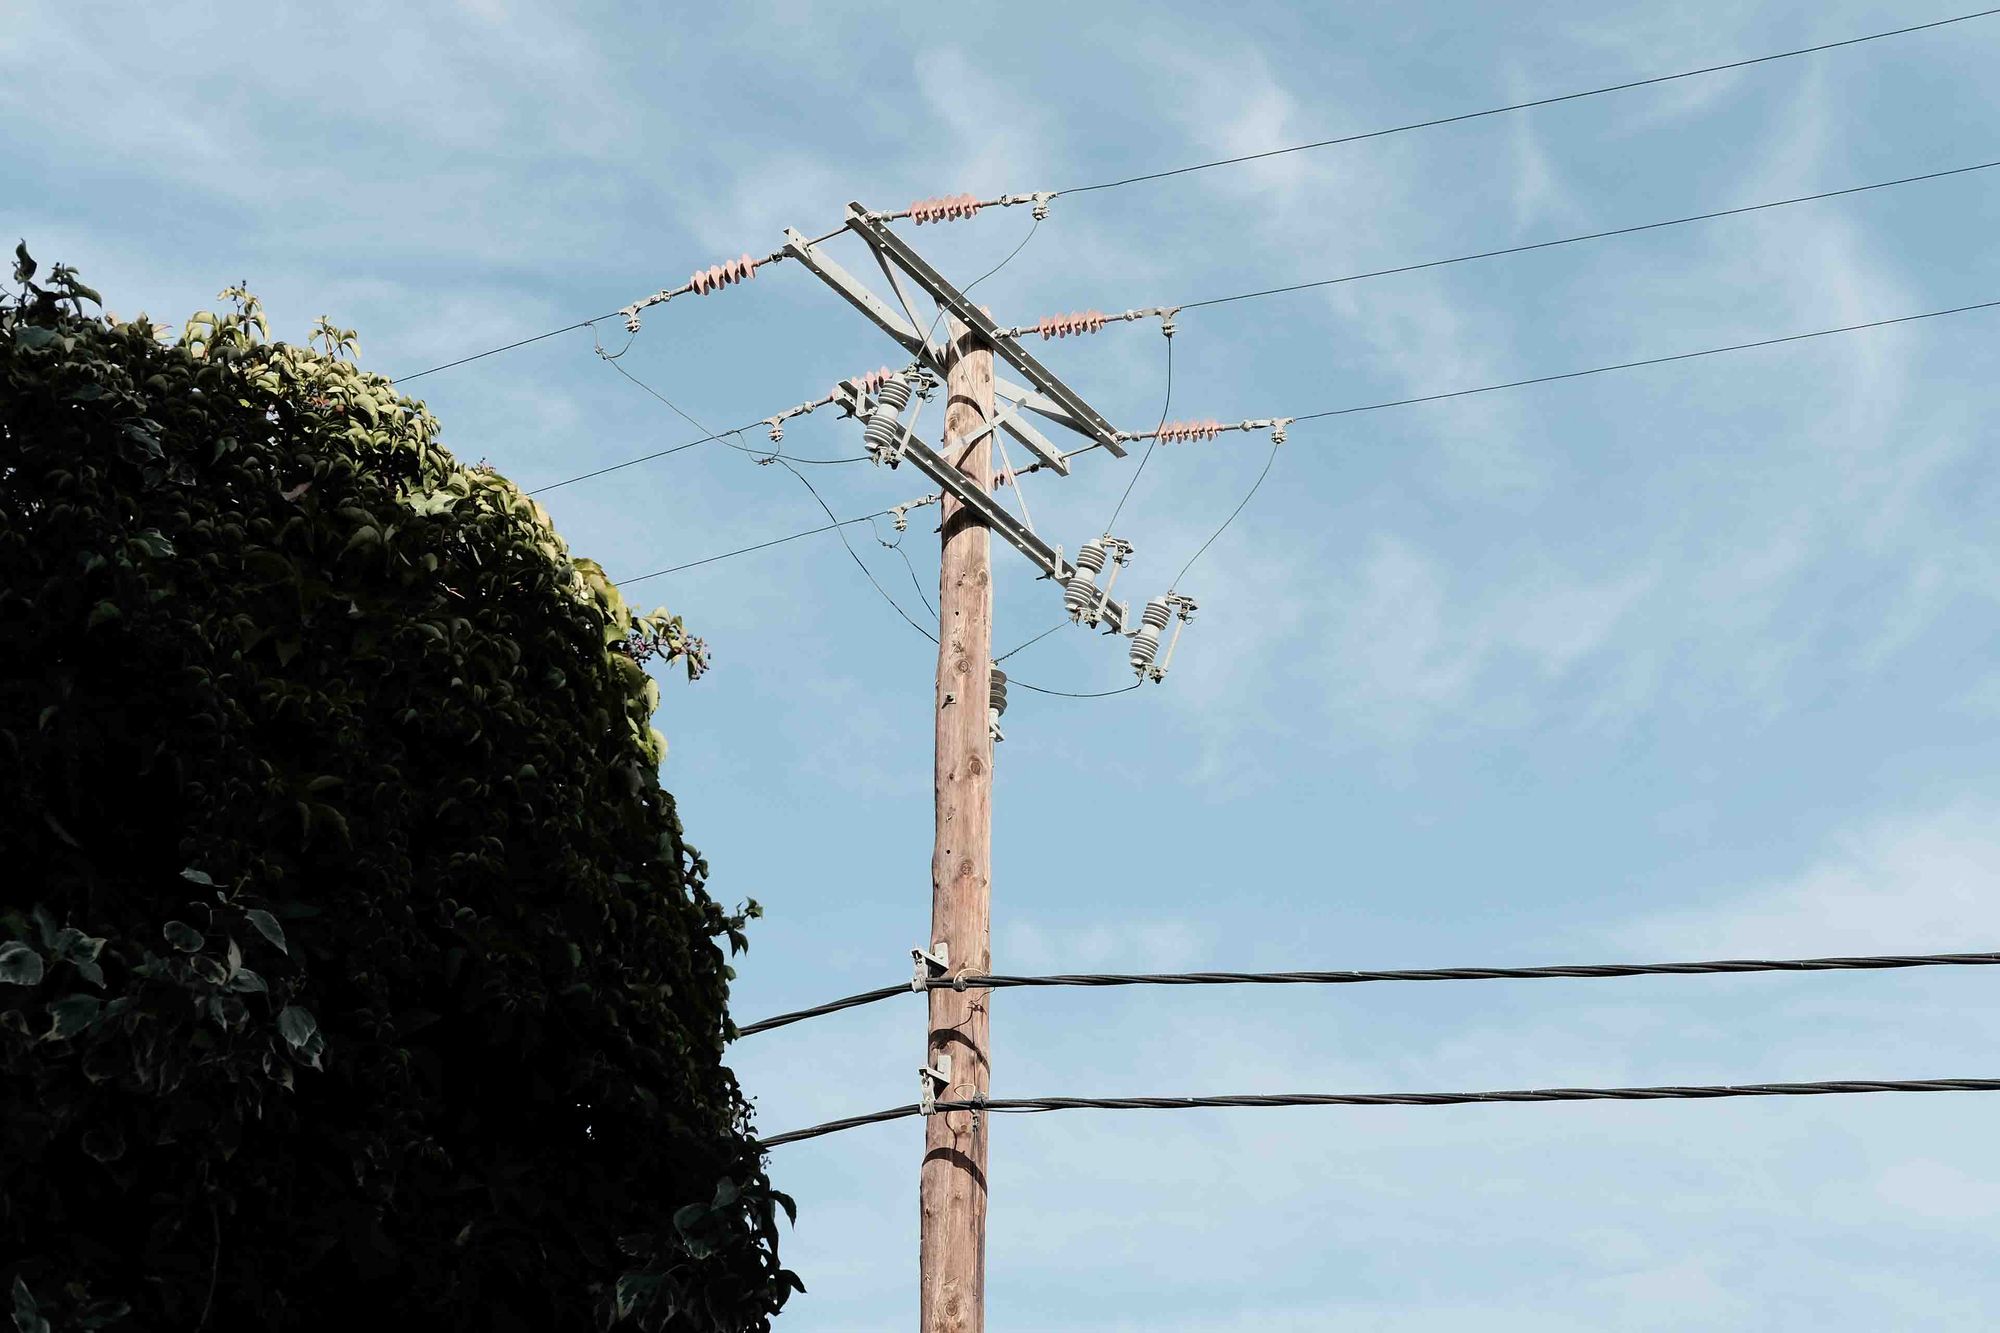
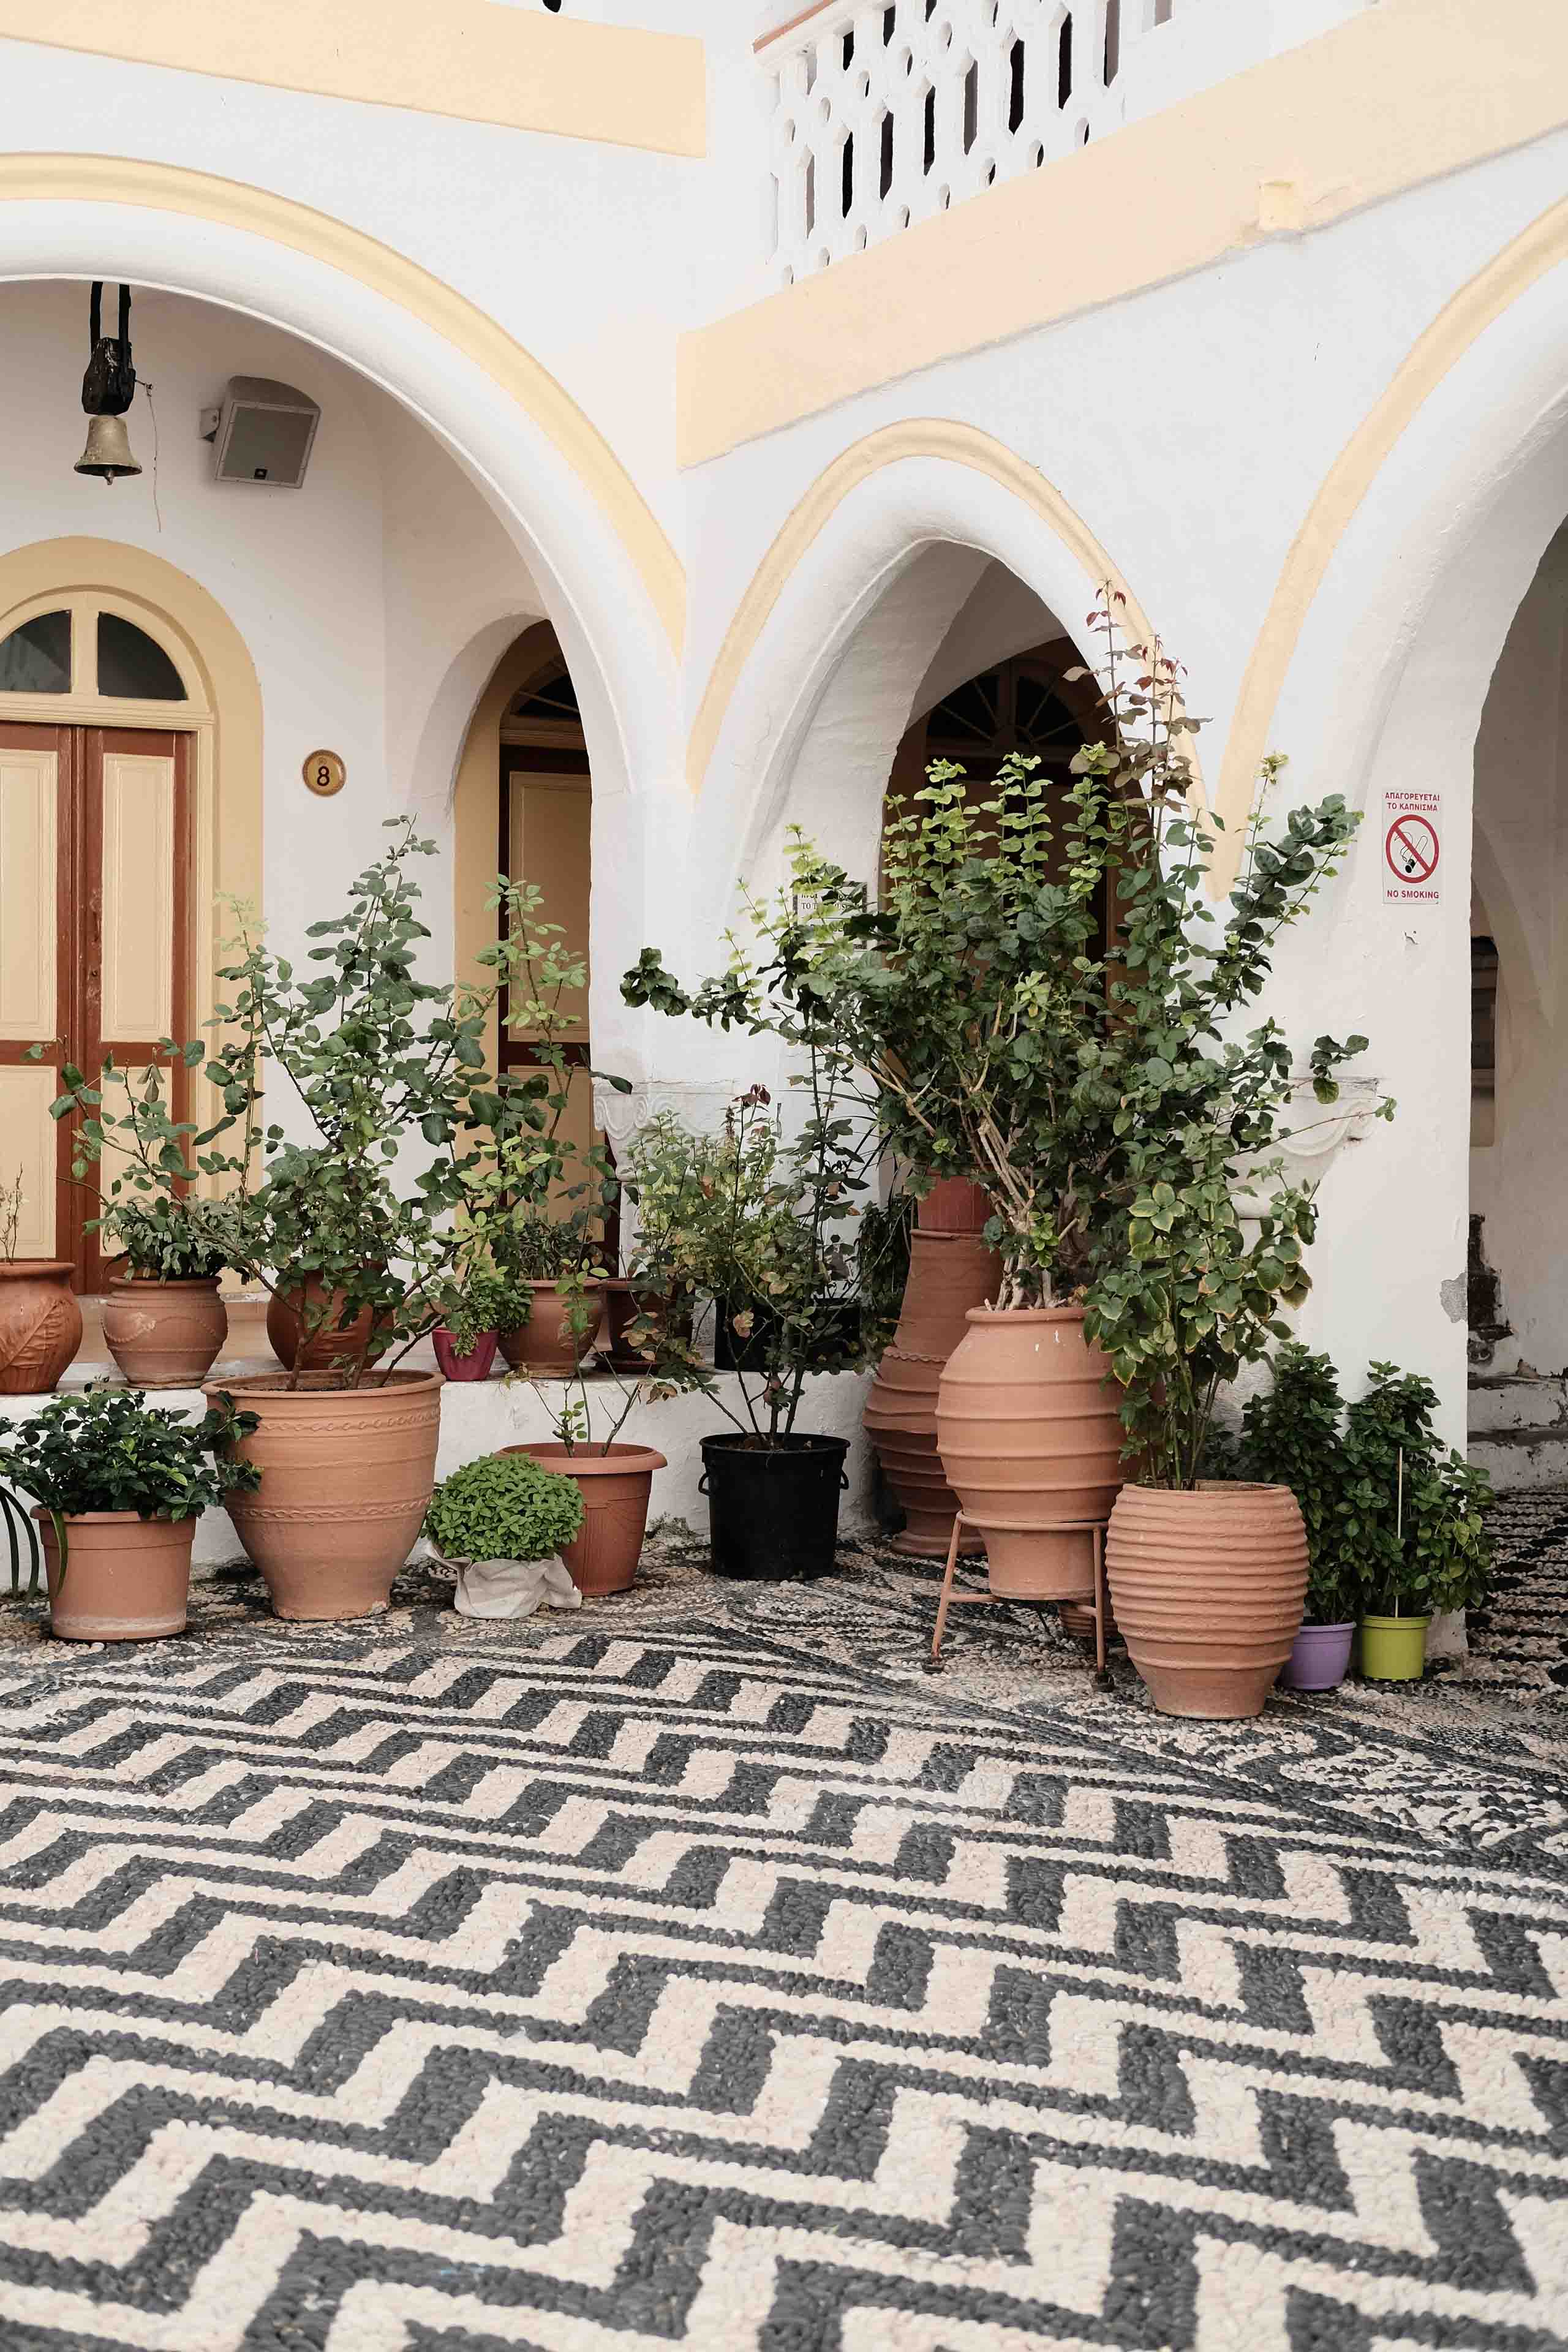
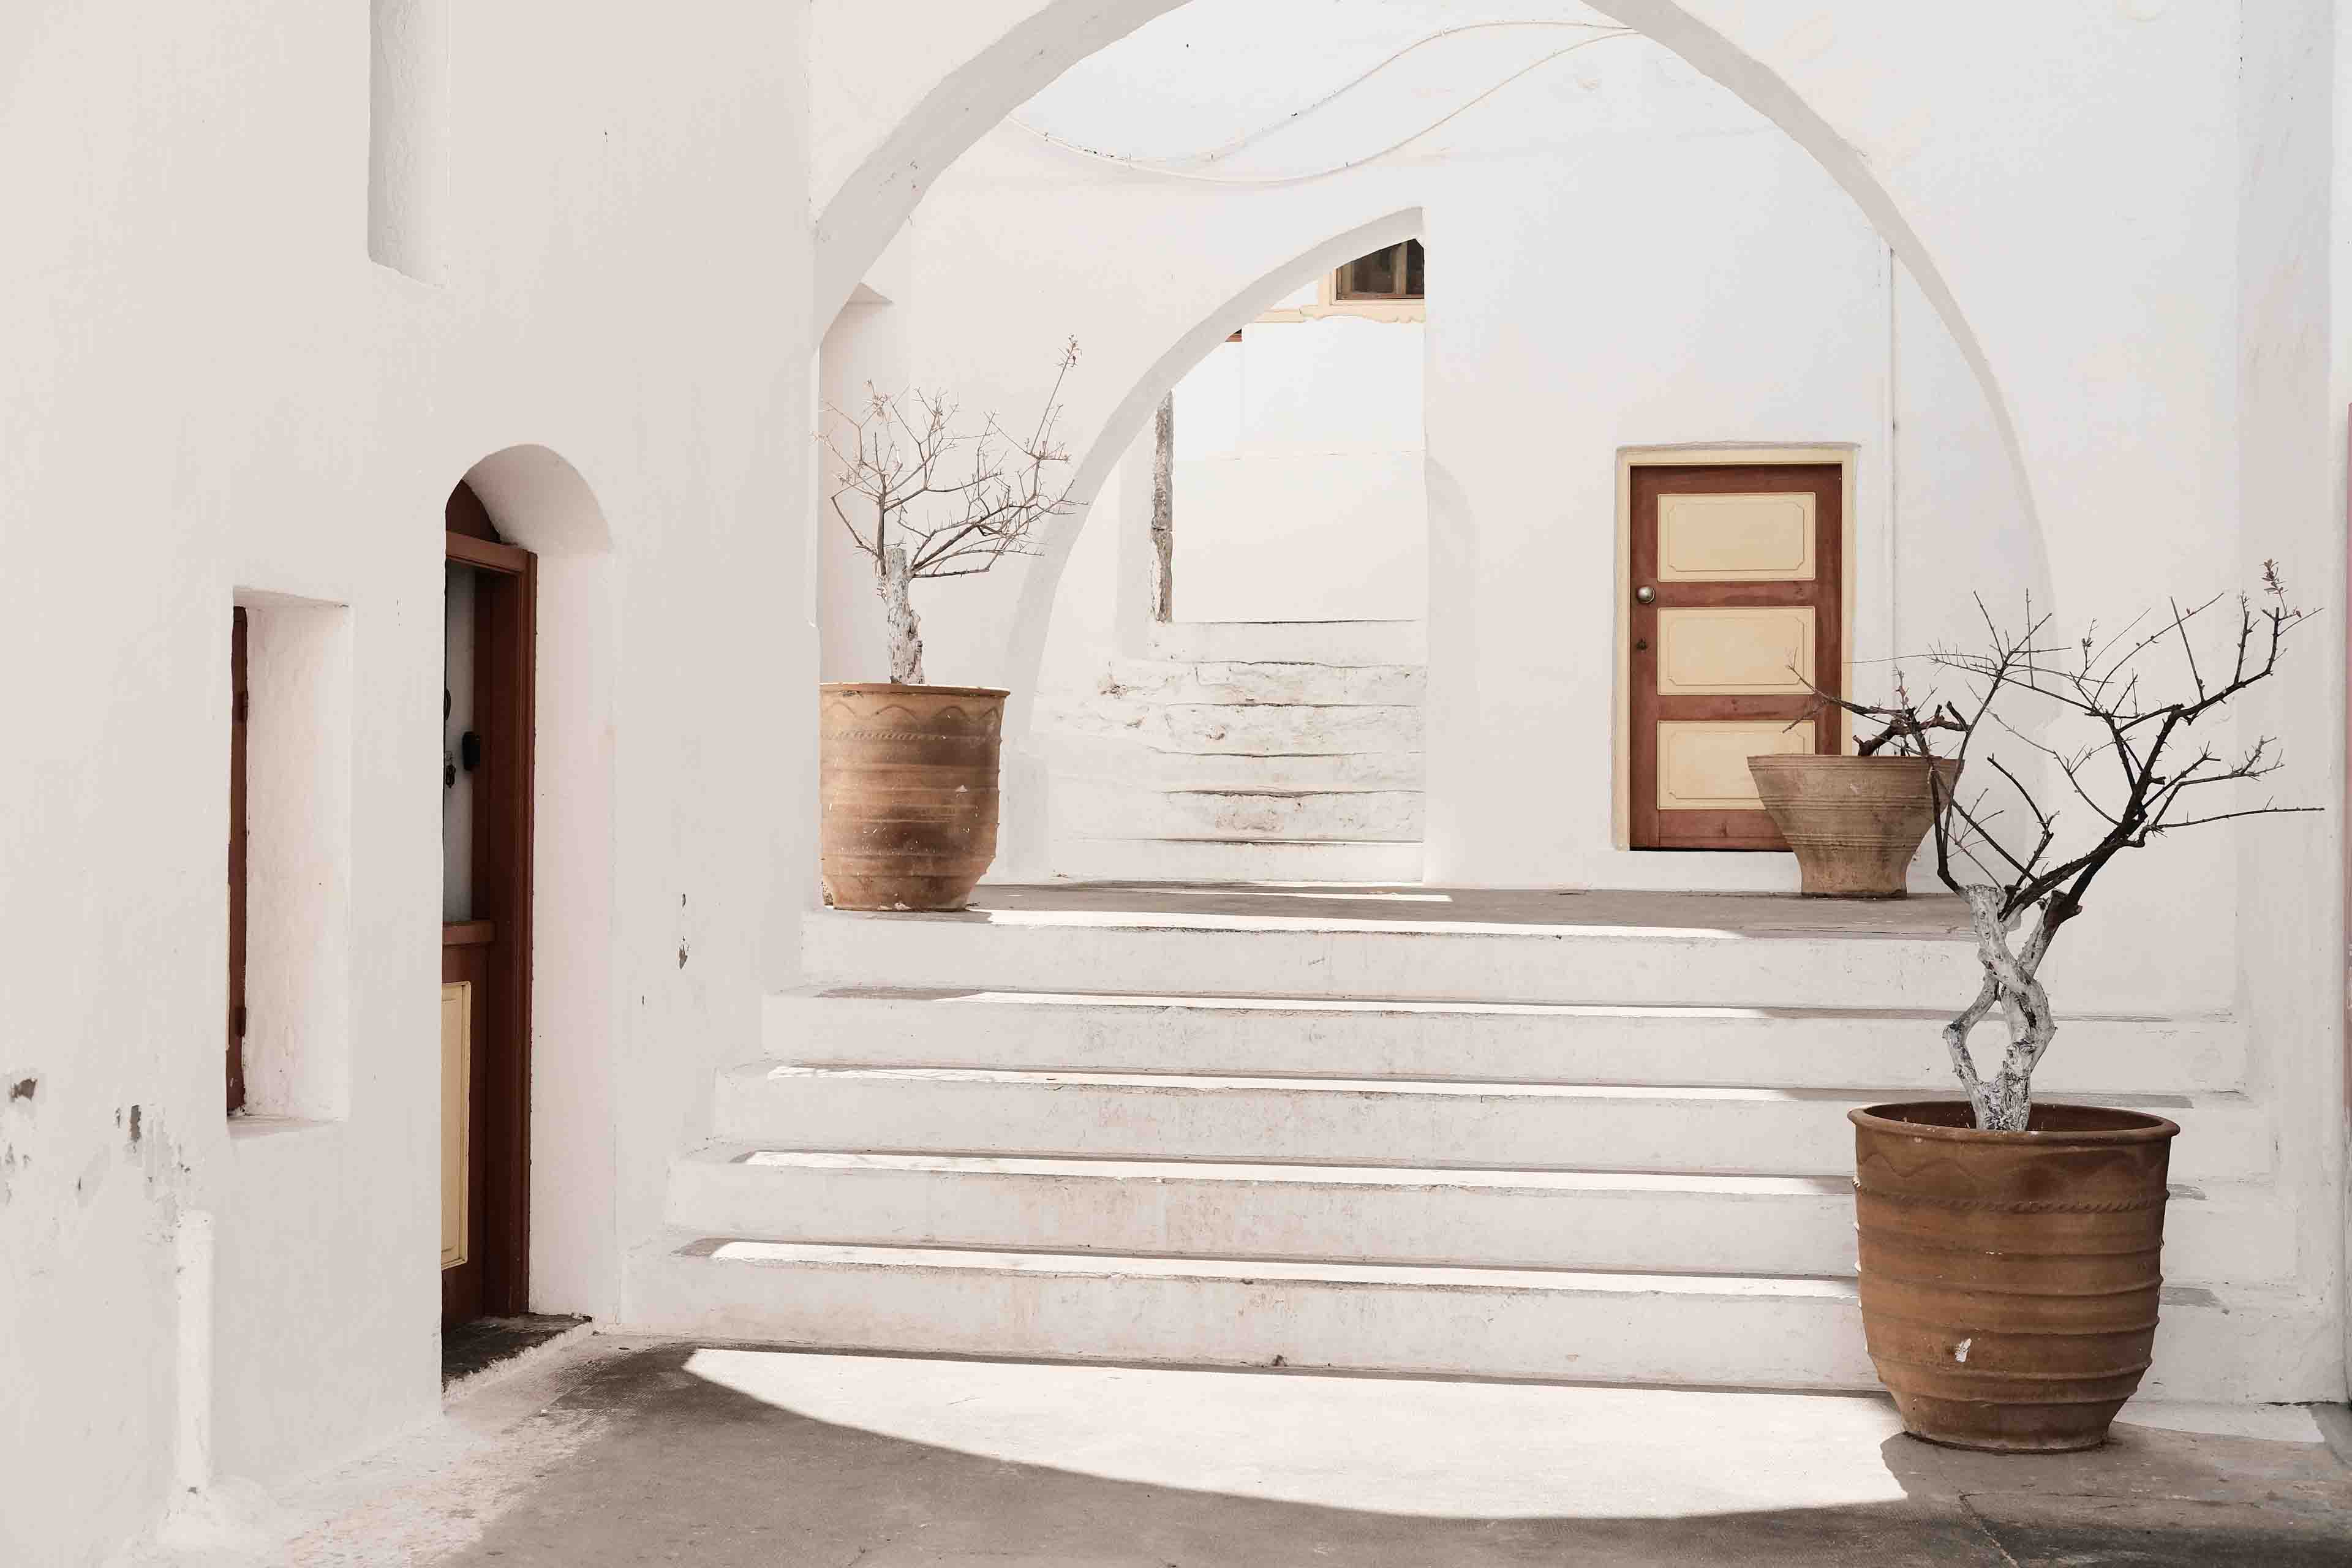
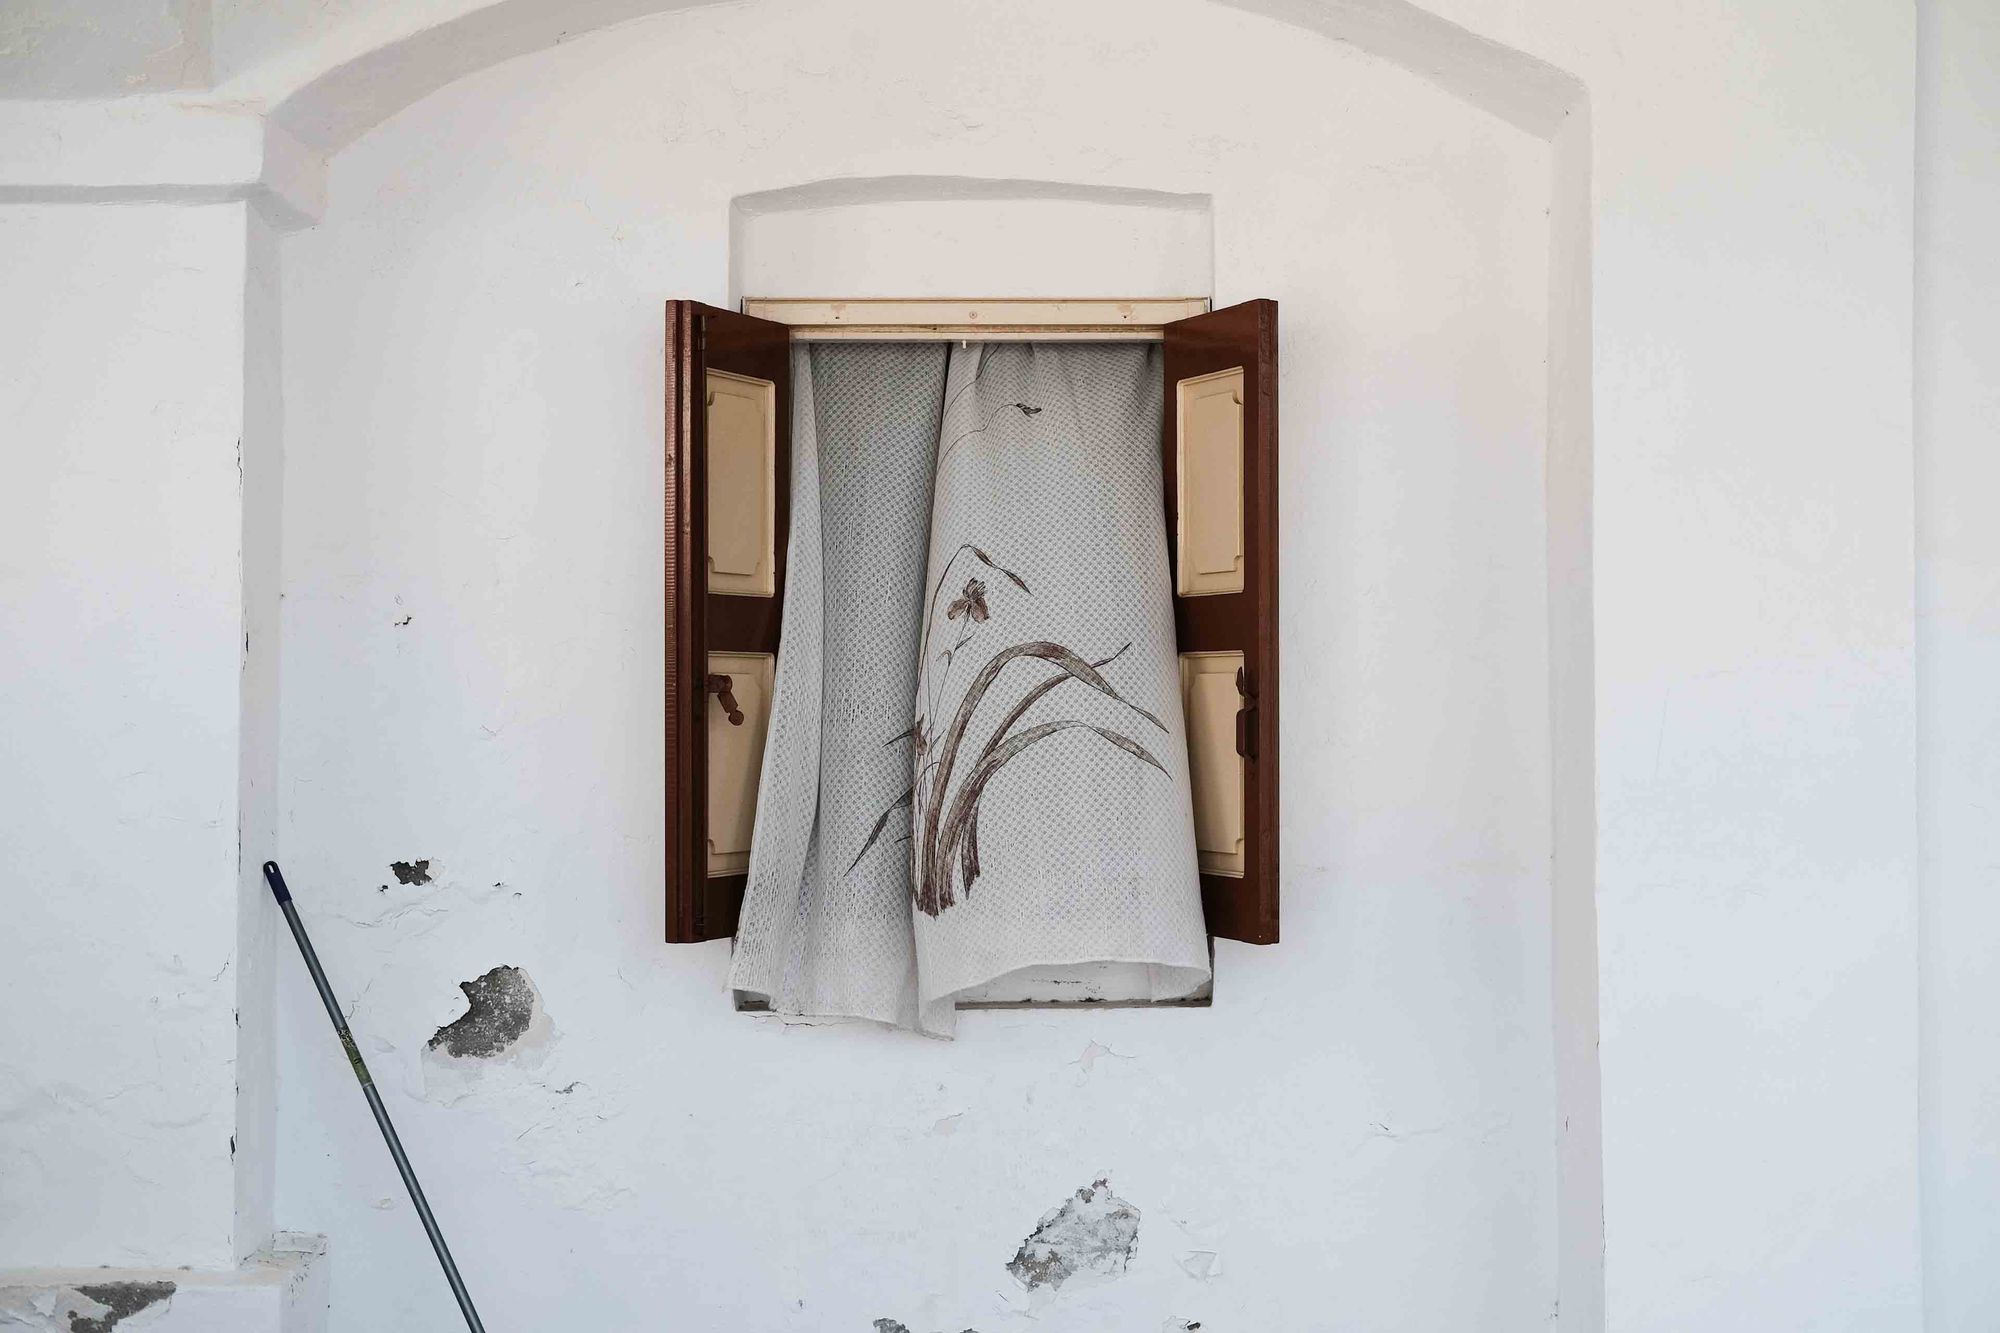
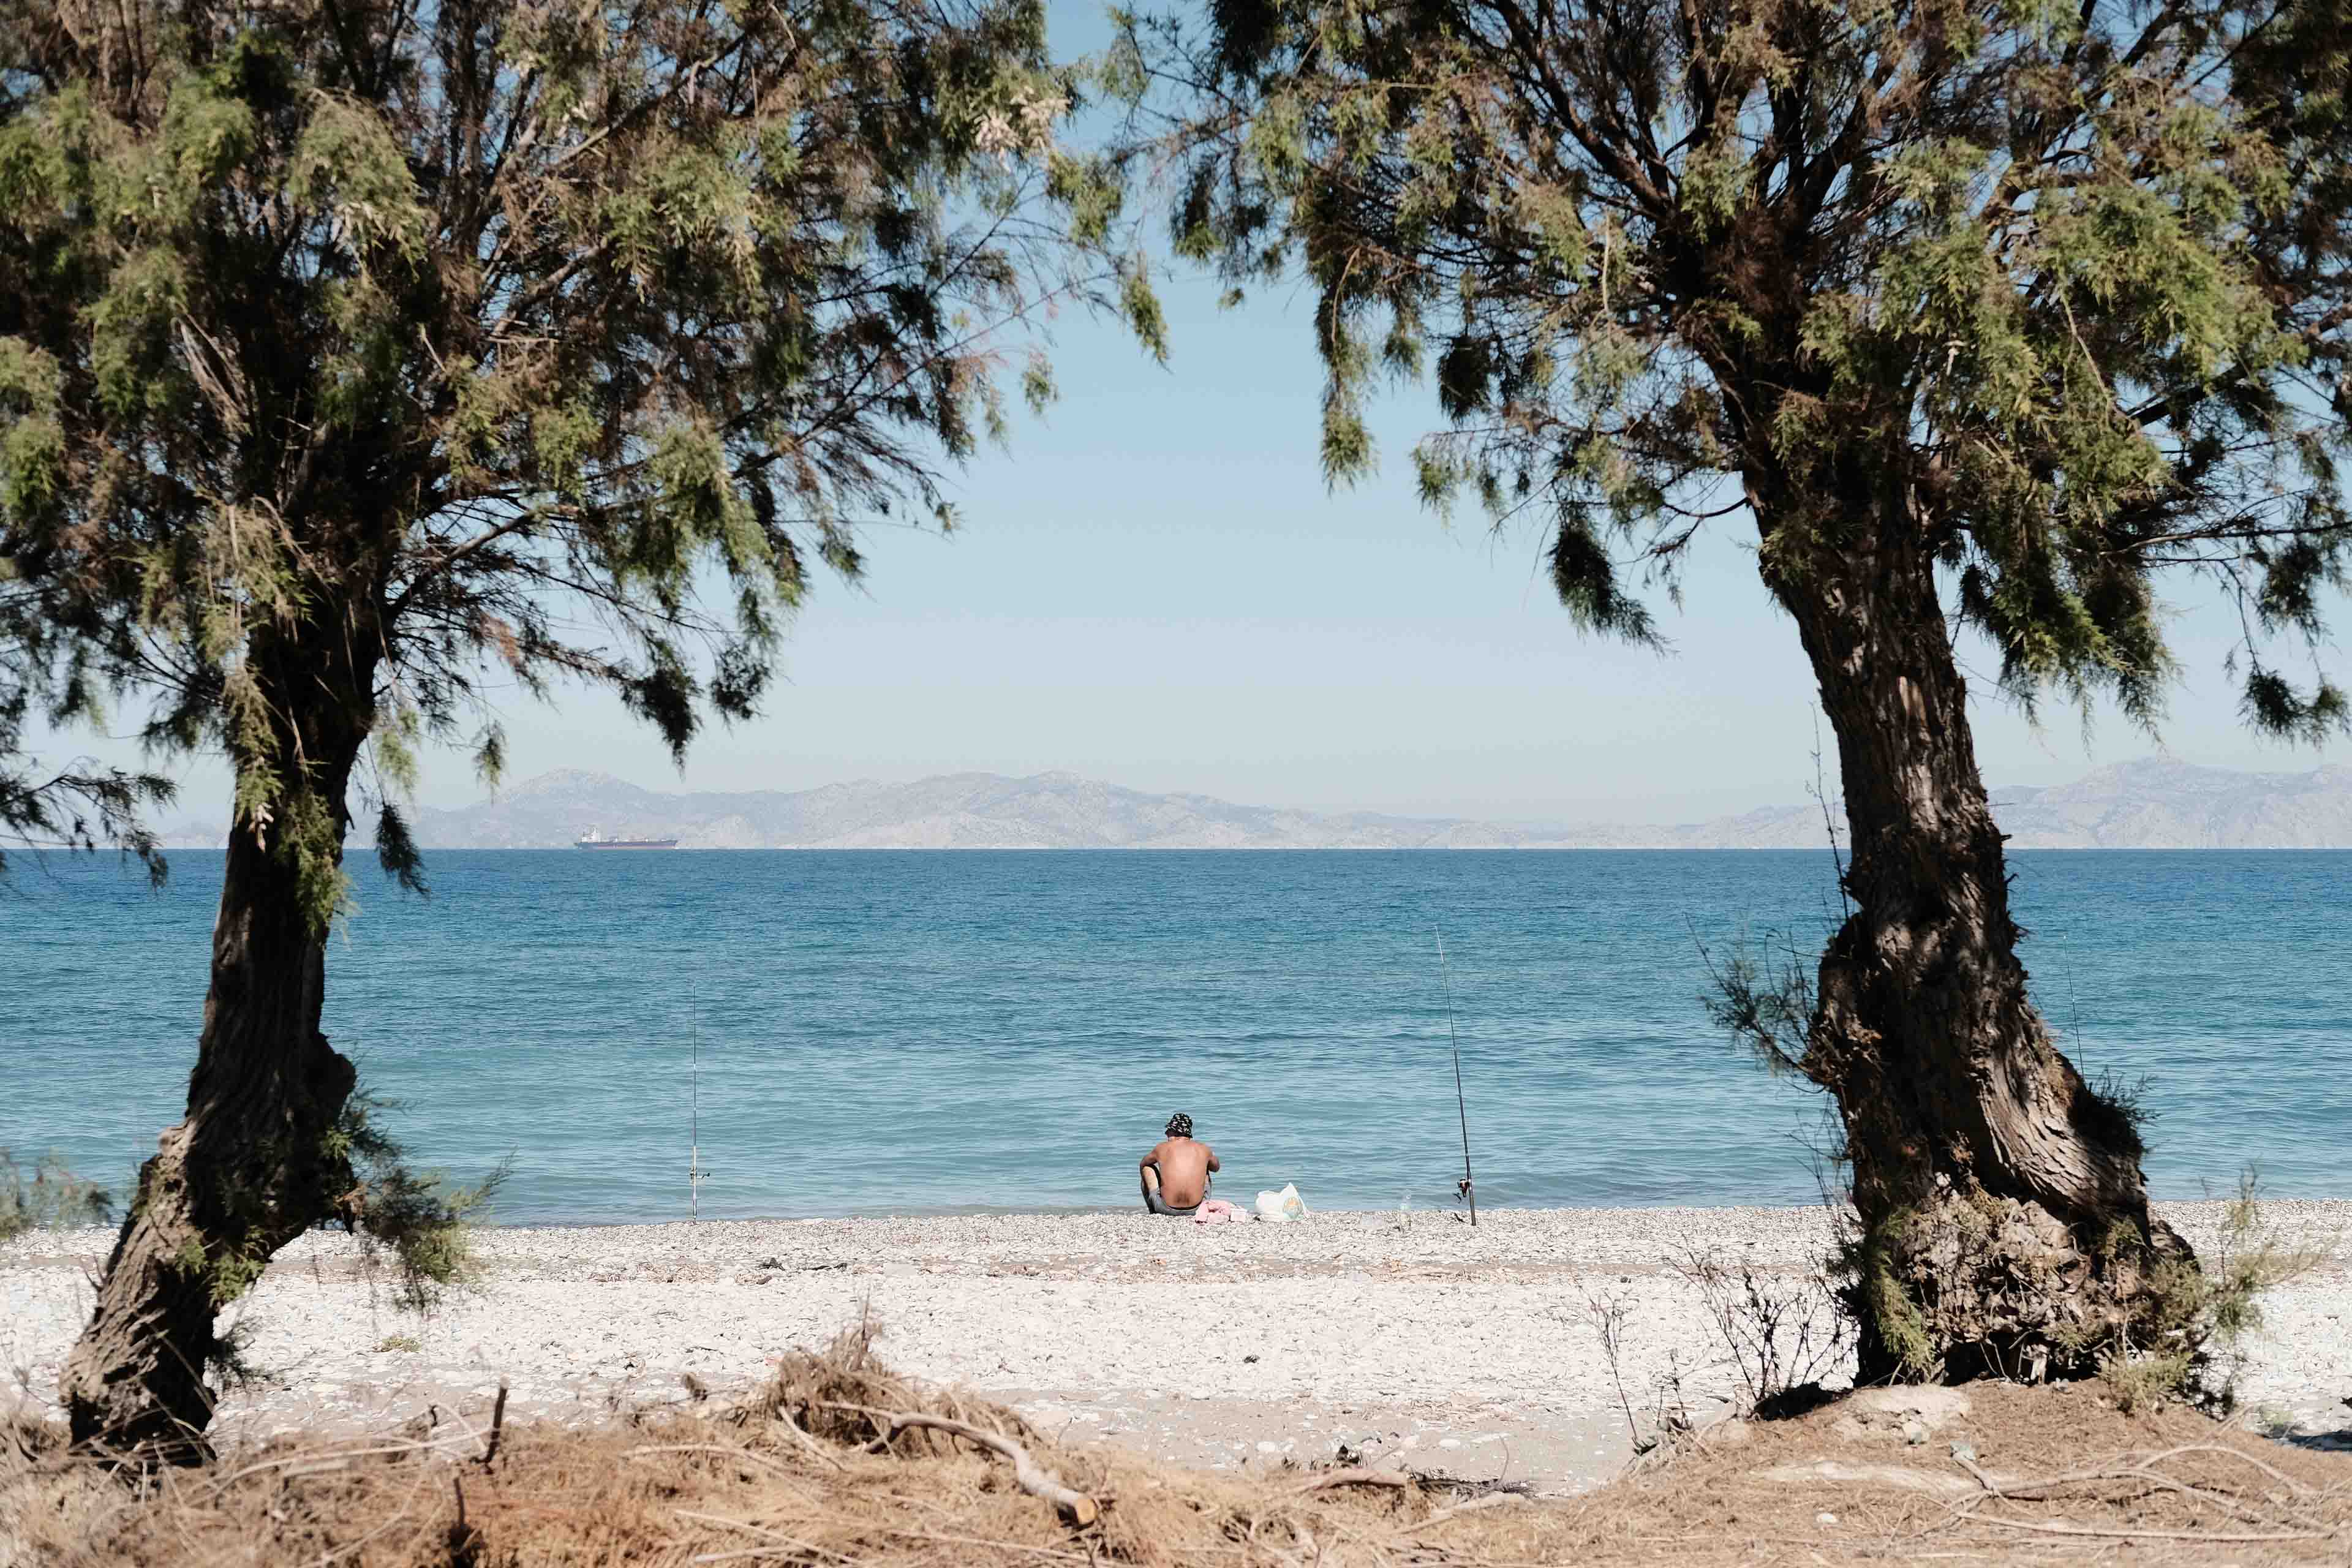
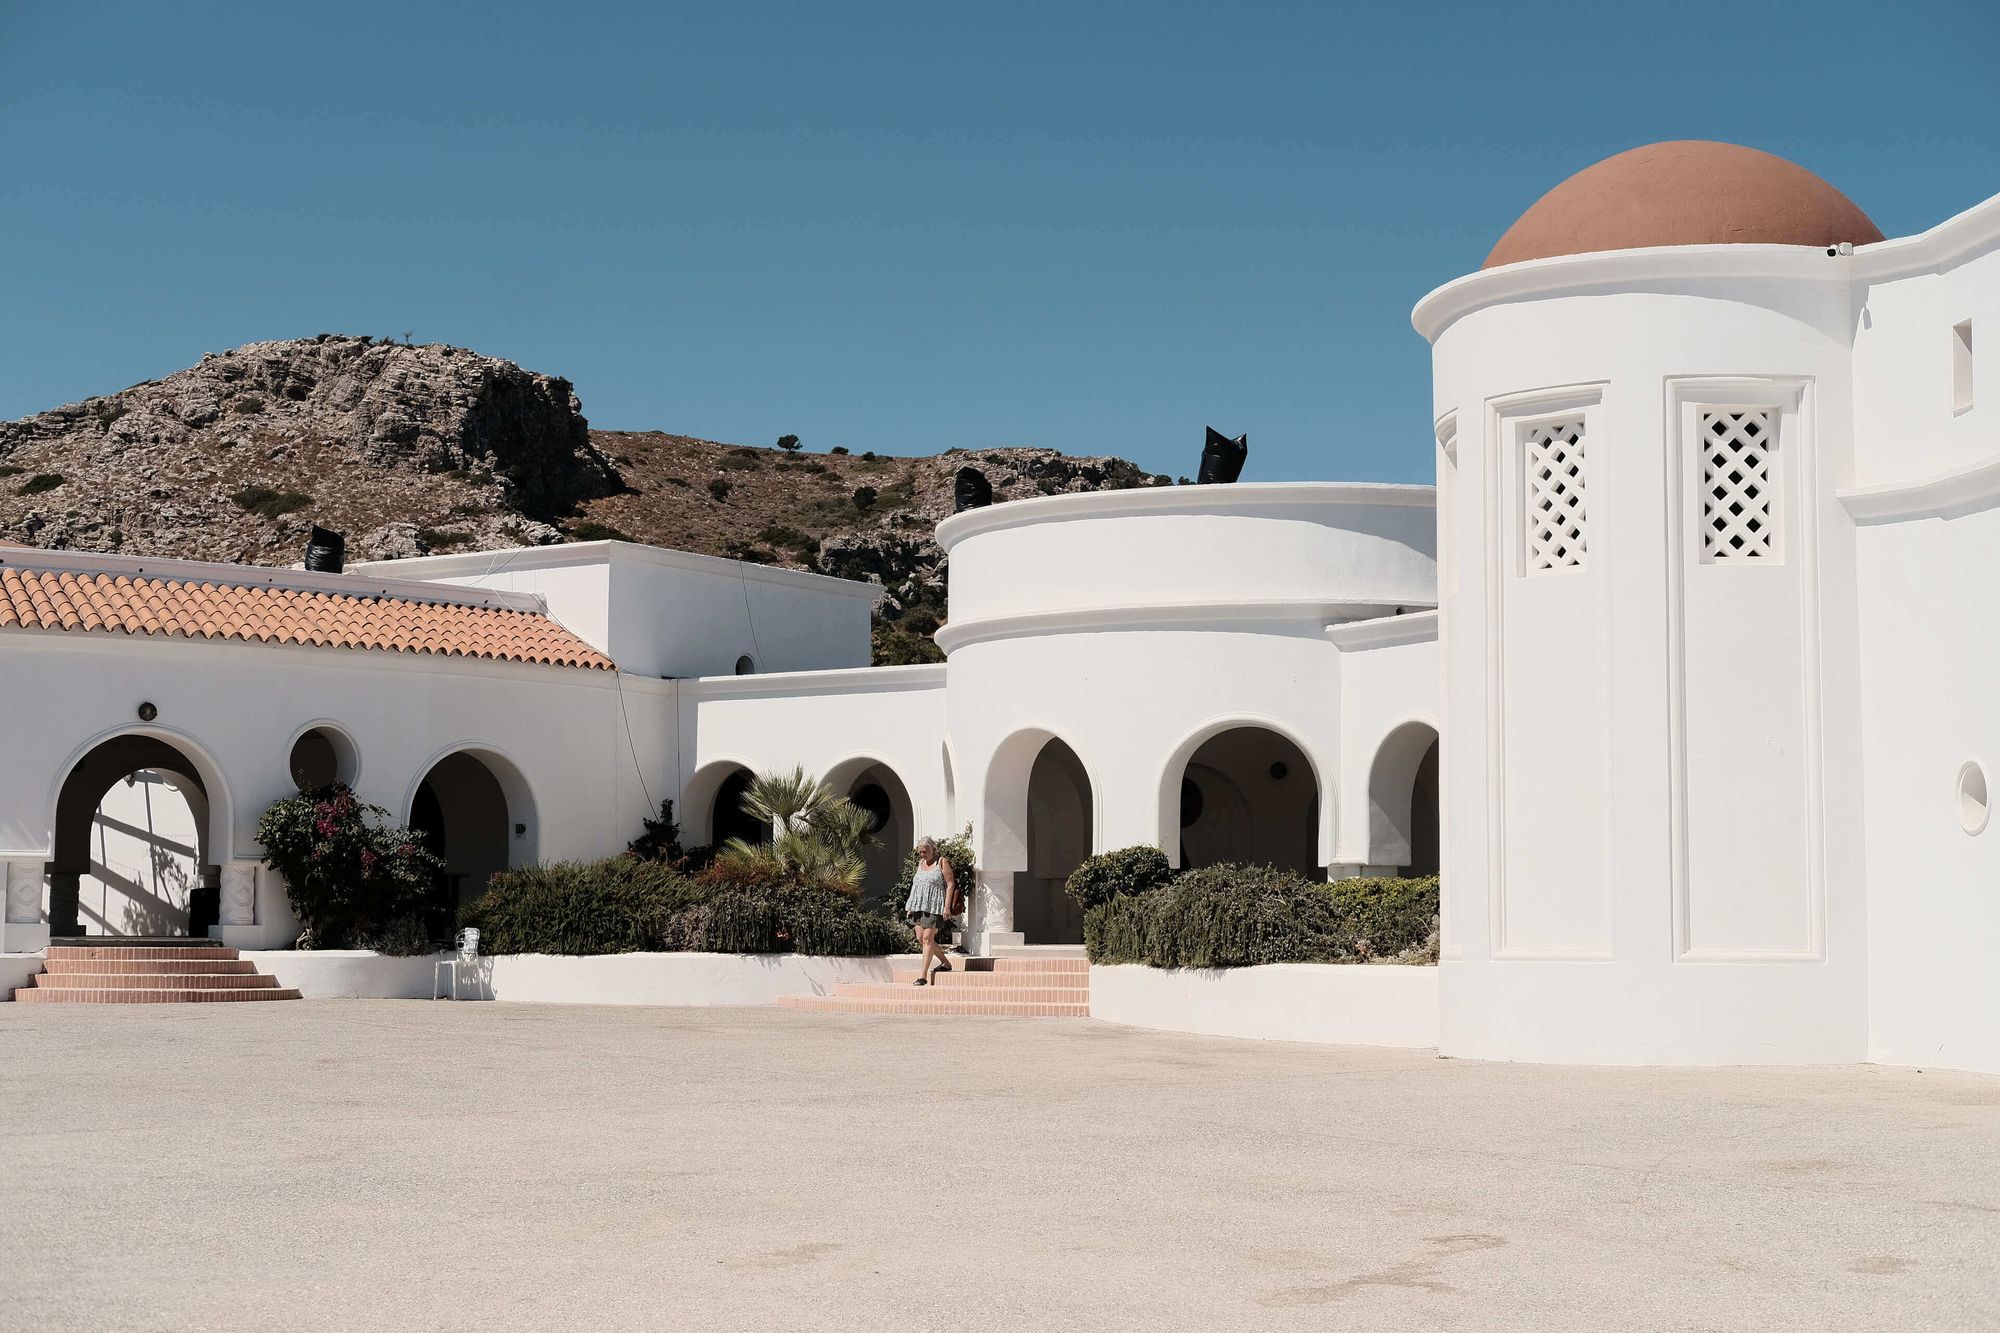
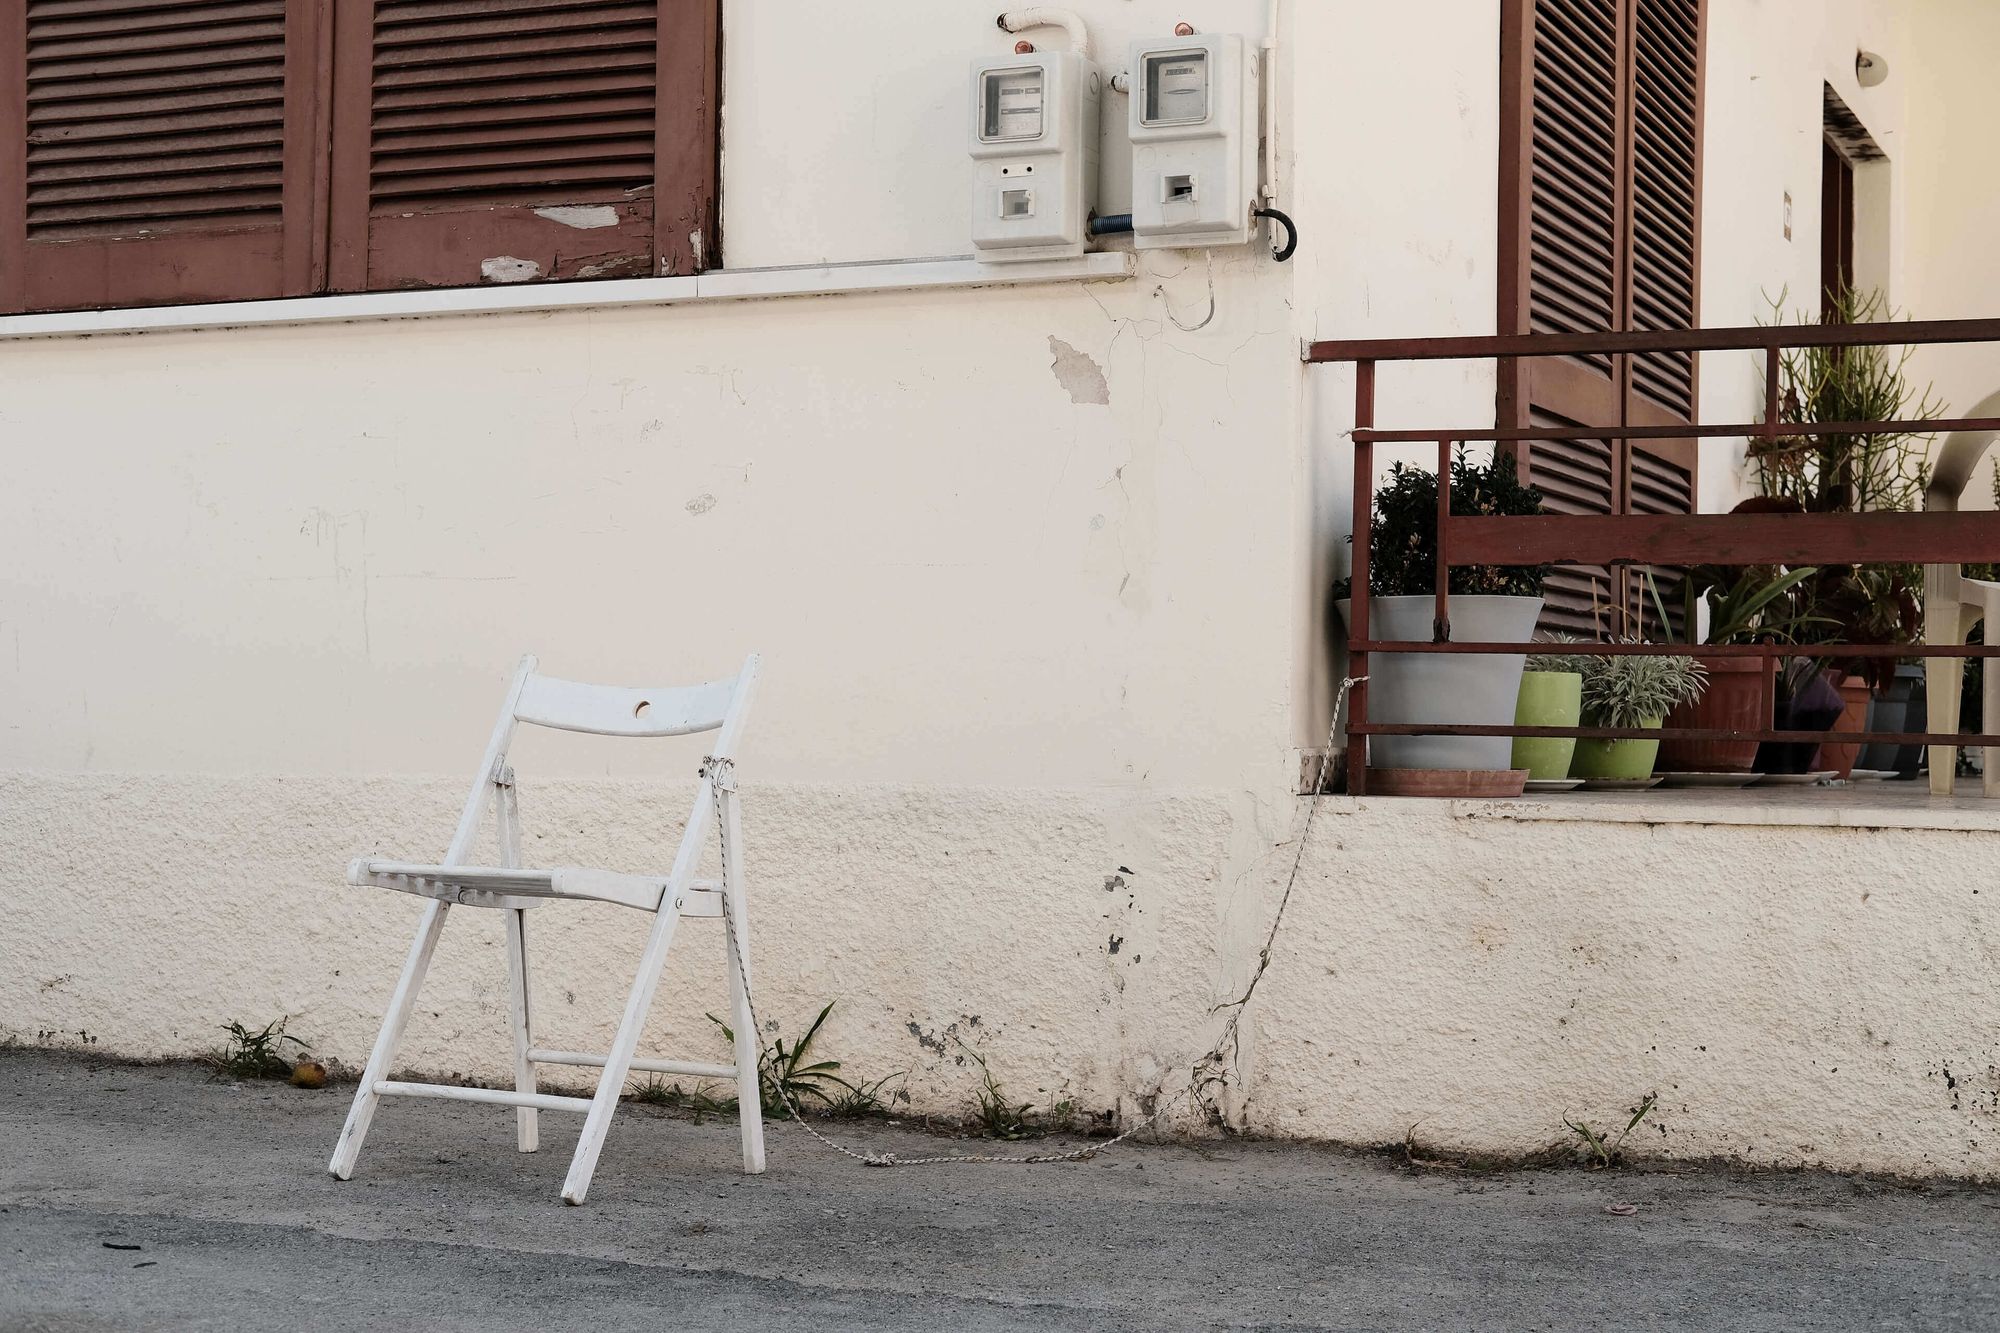
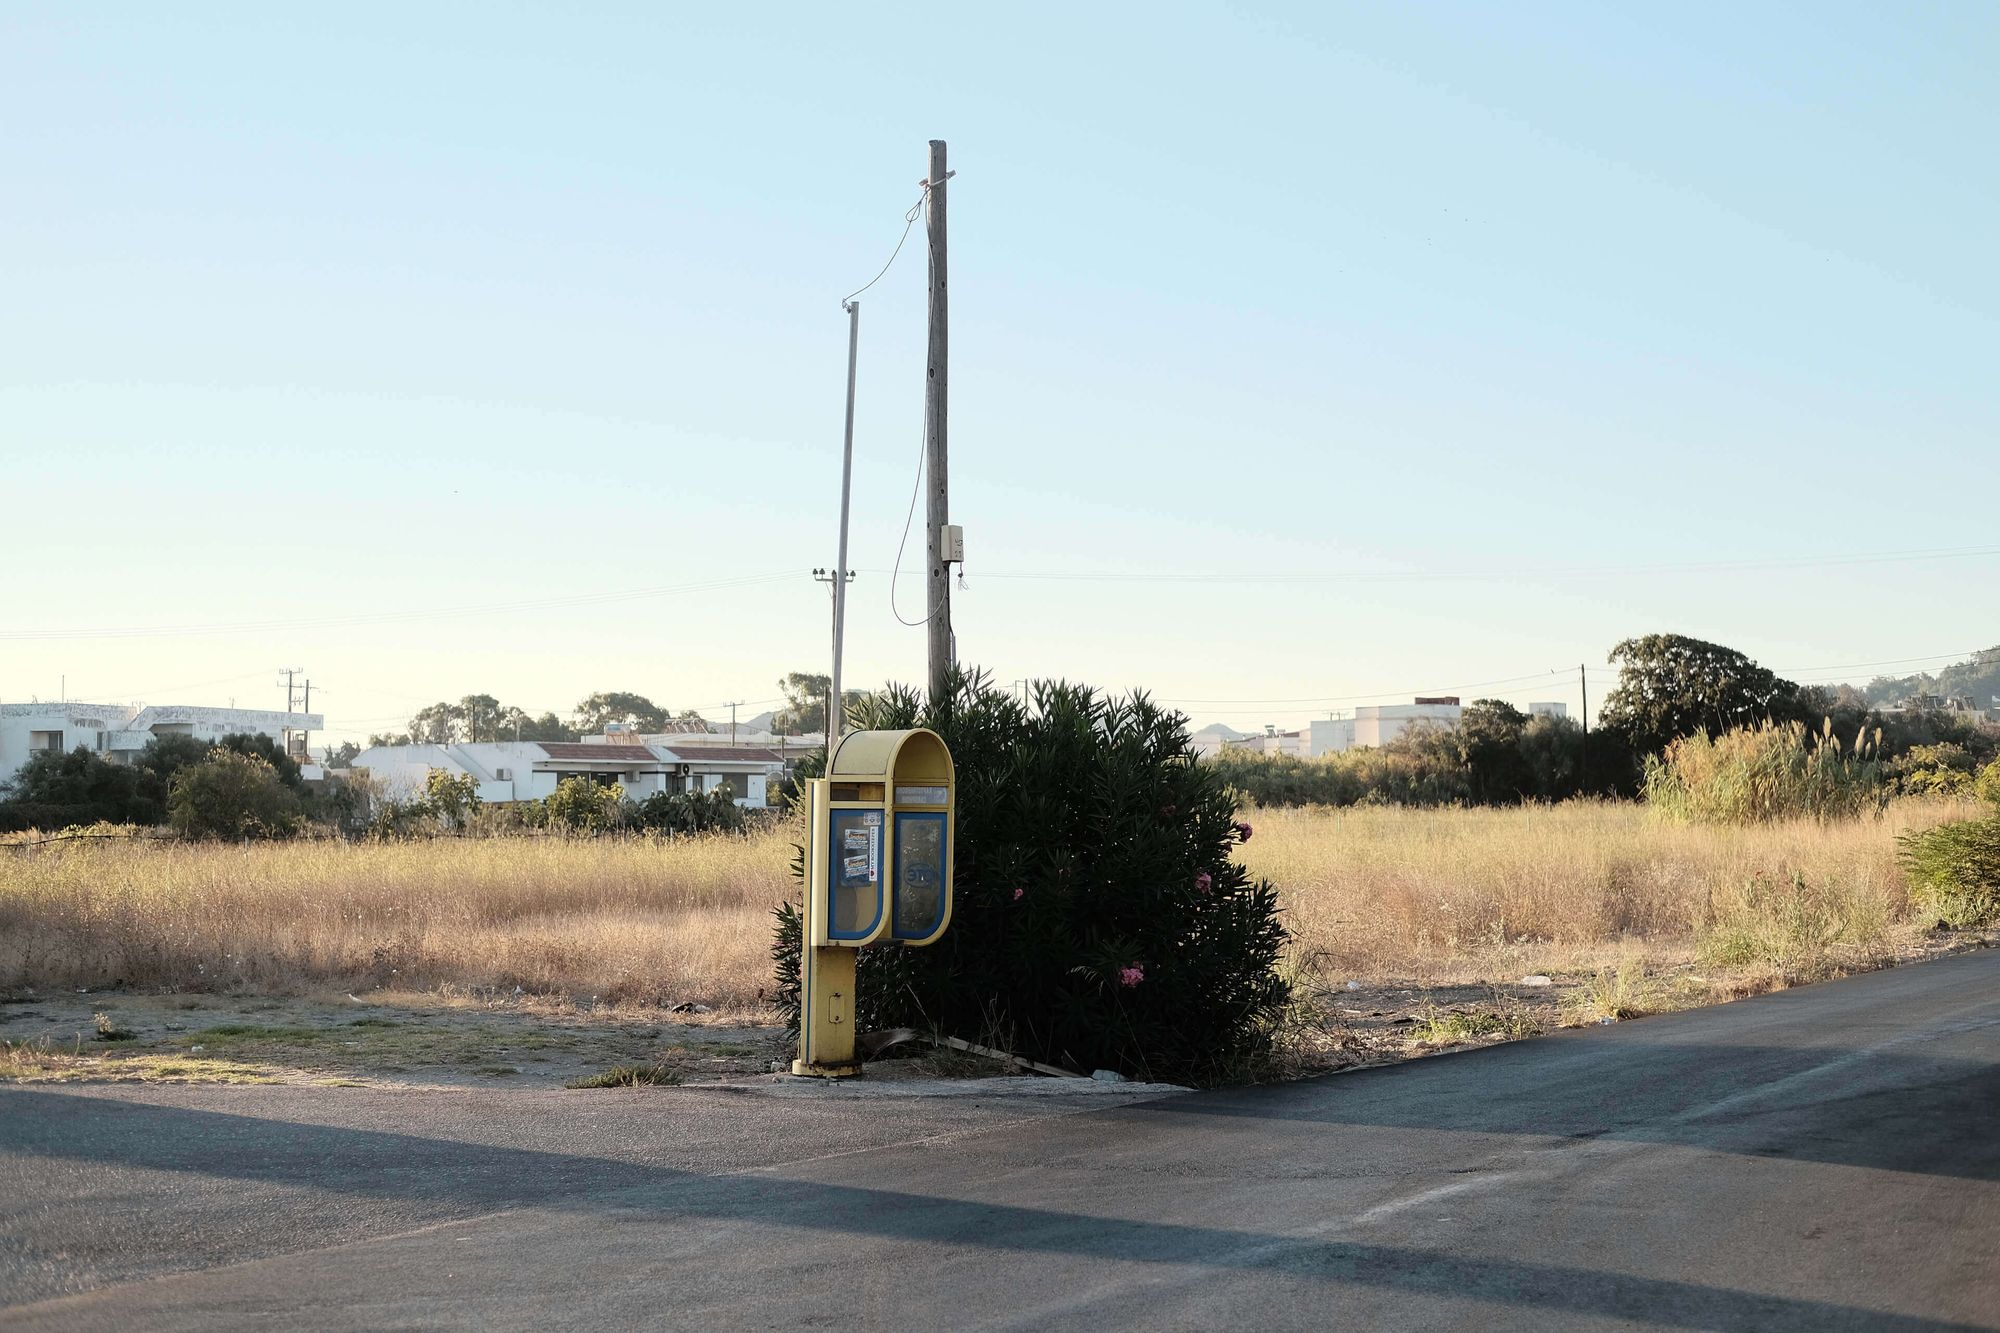
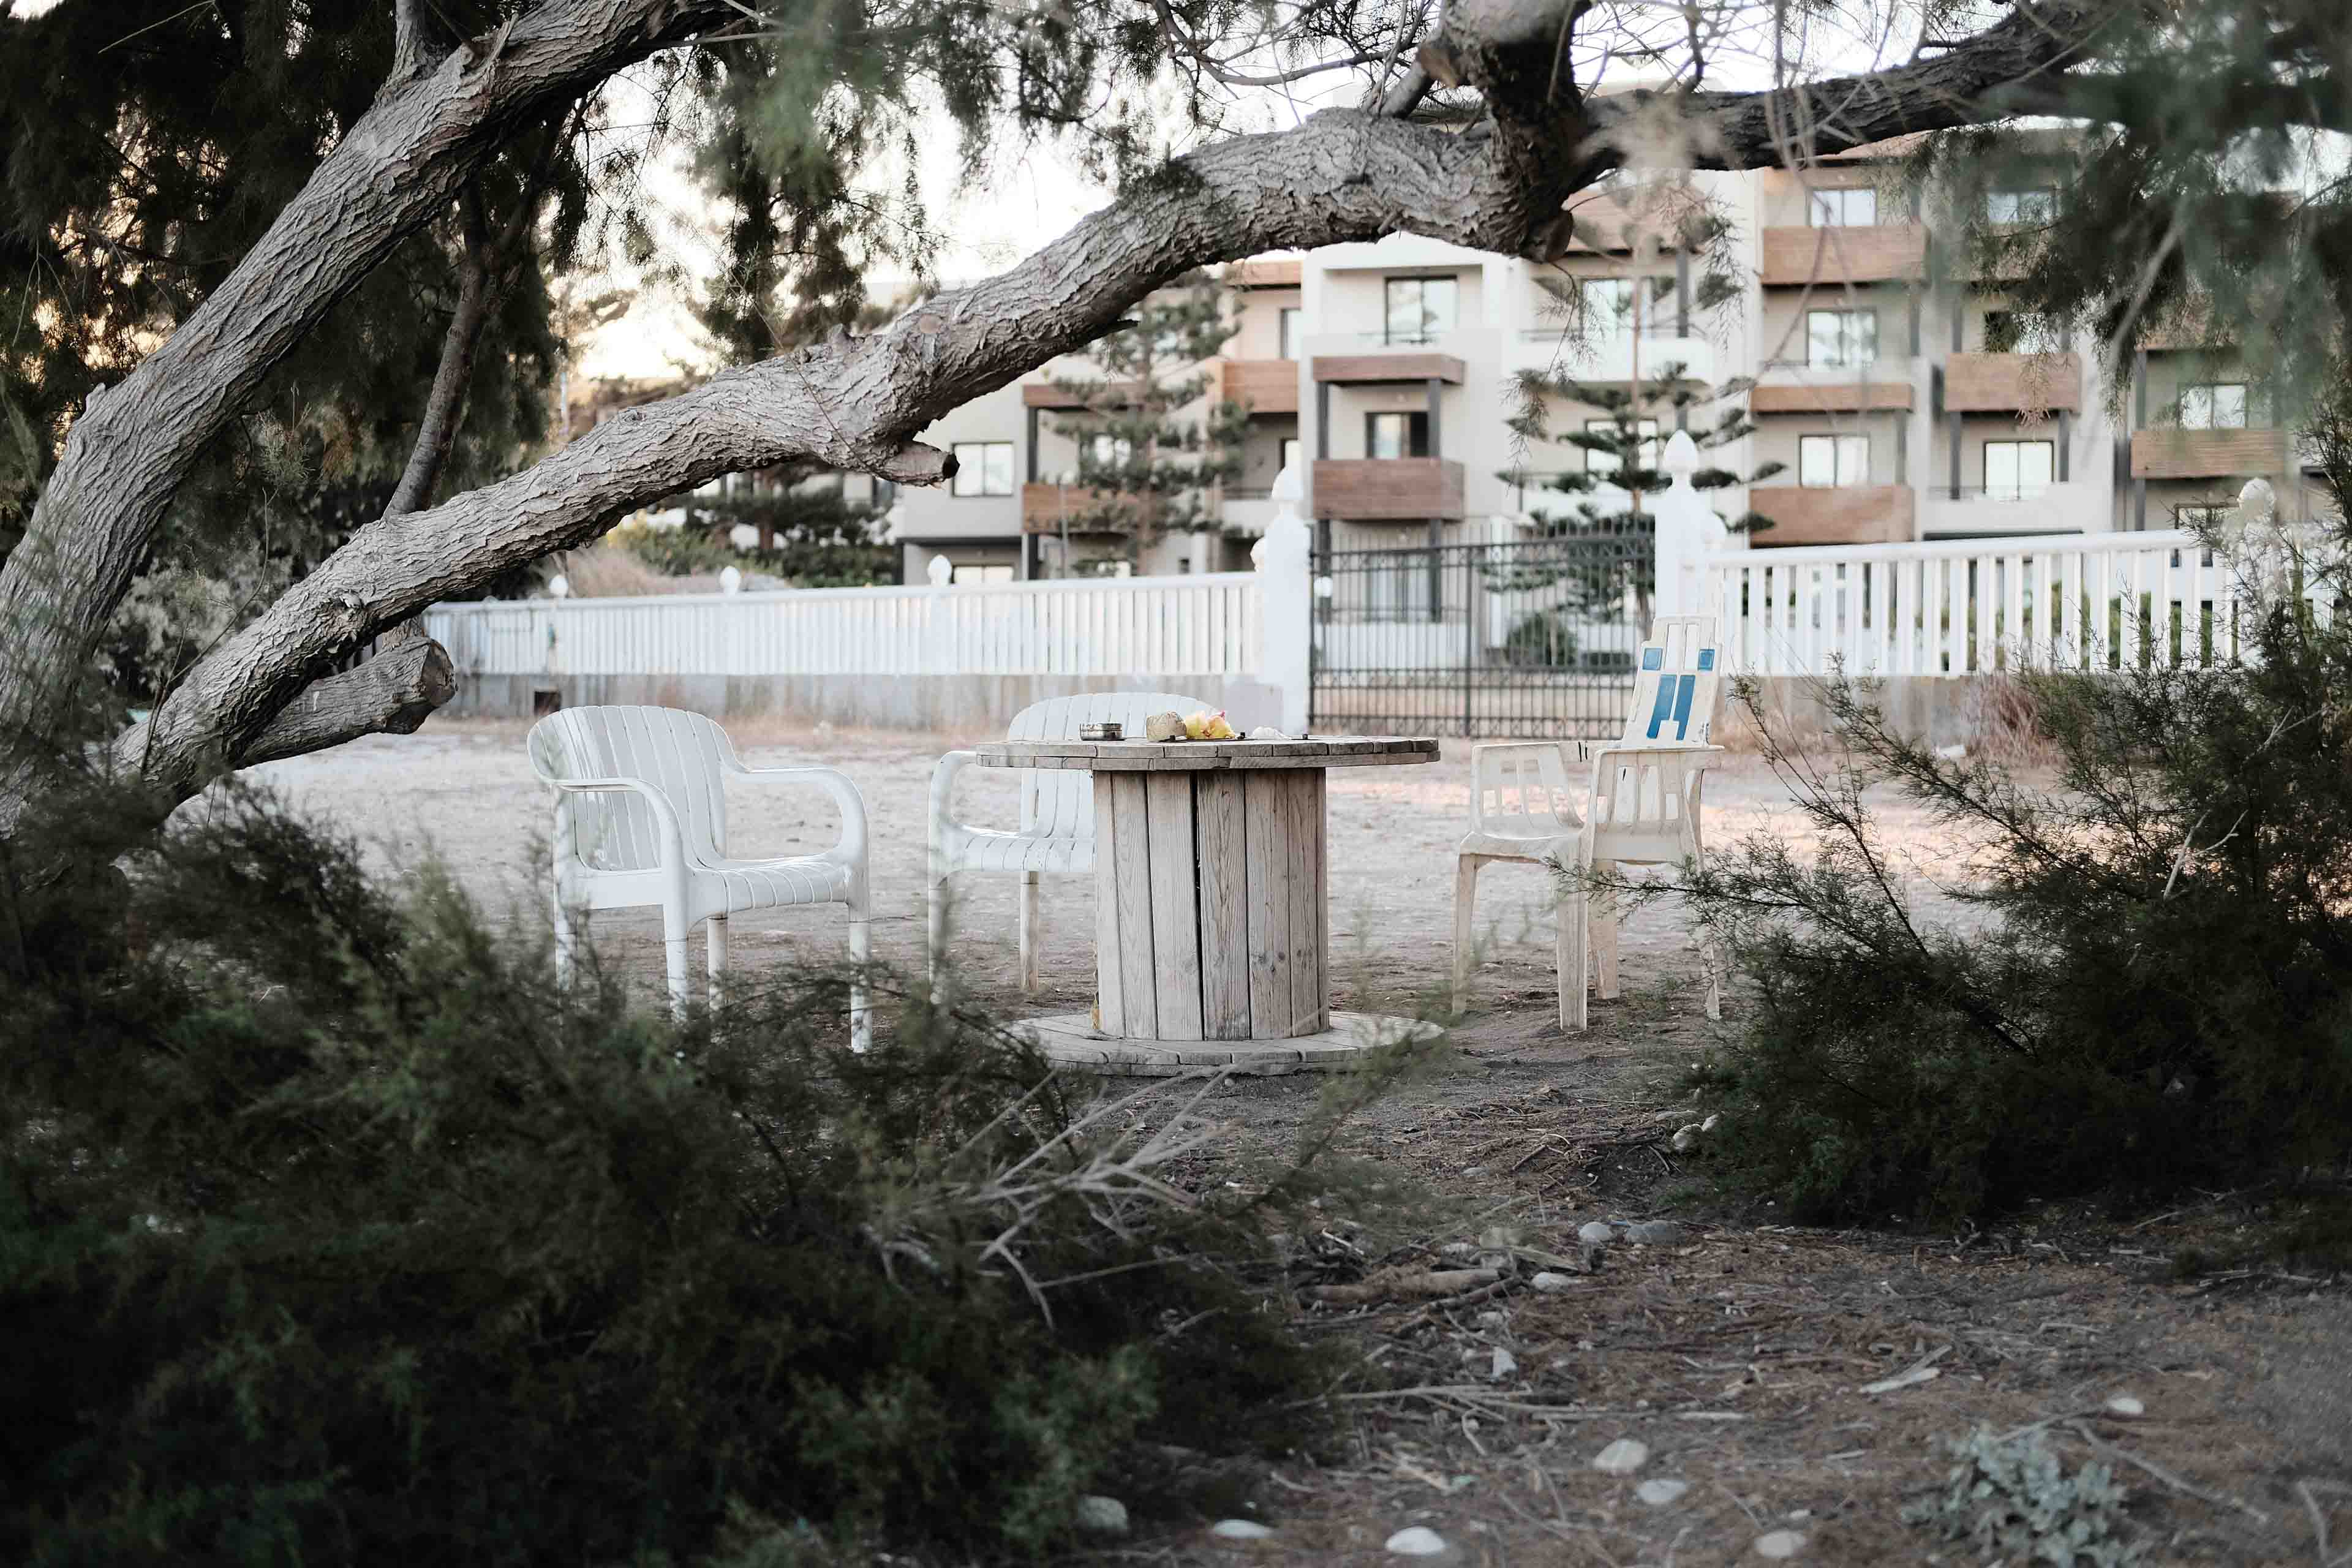
Travel and (urban) landscape photography
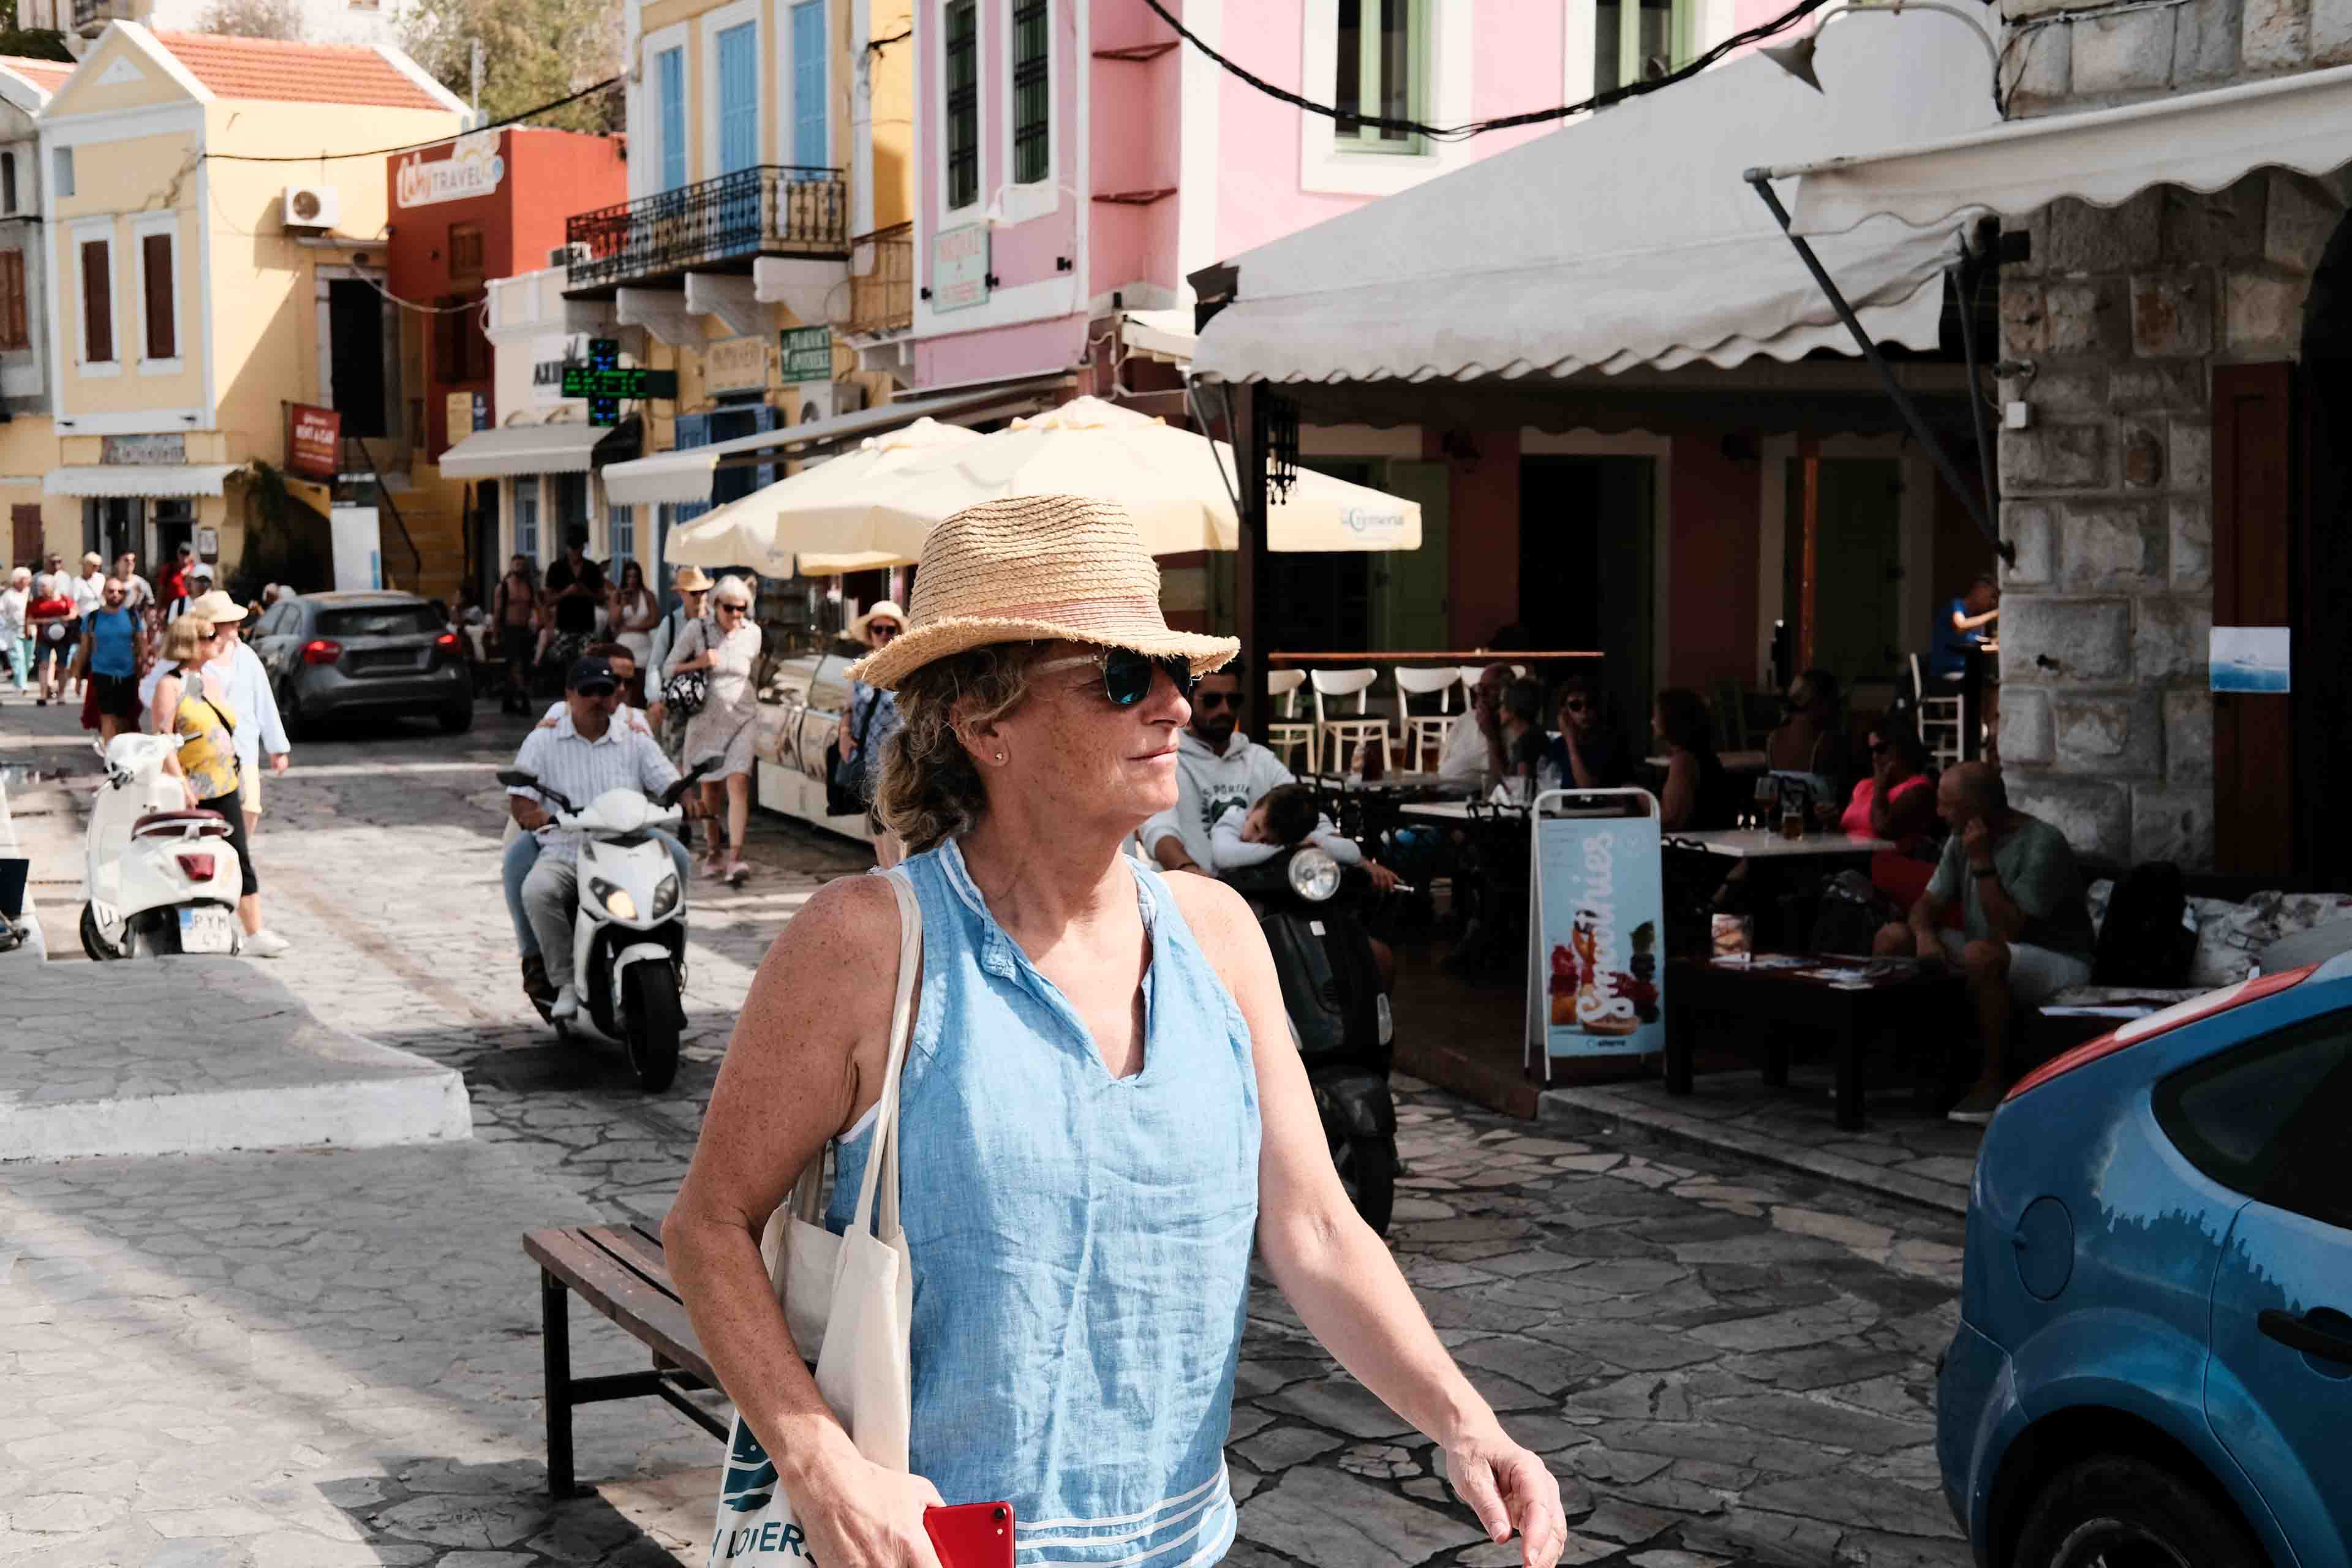
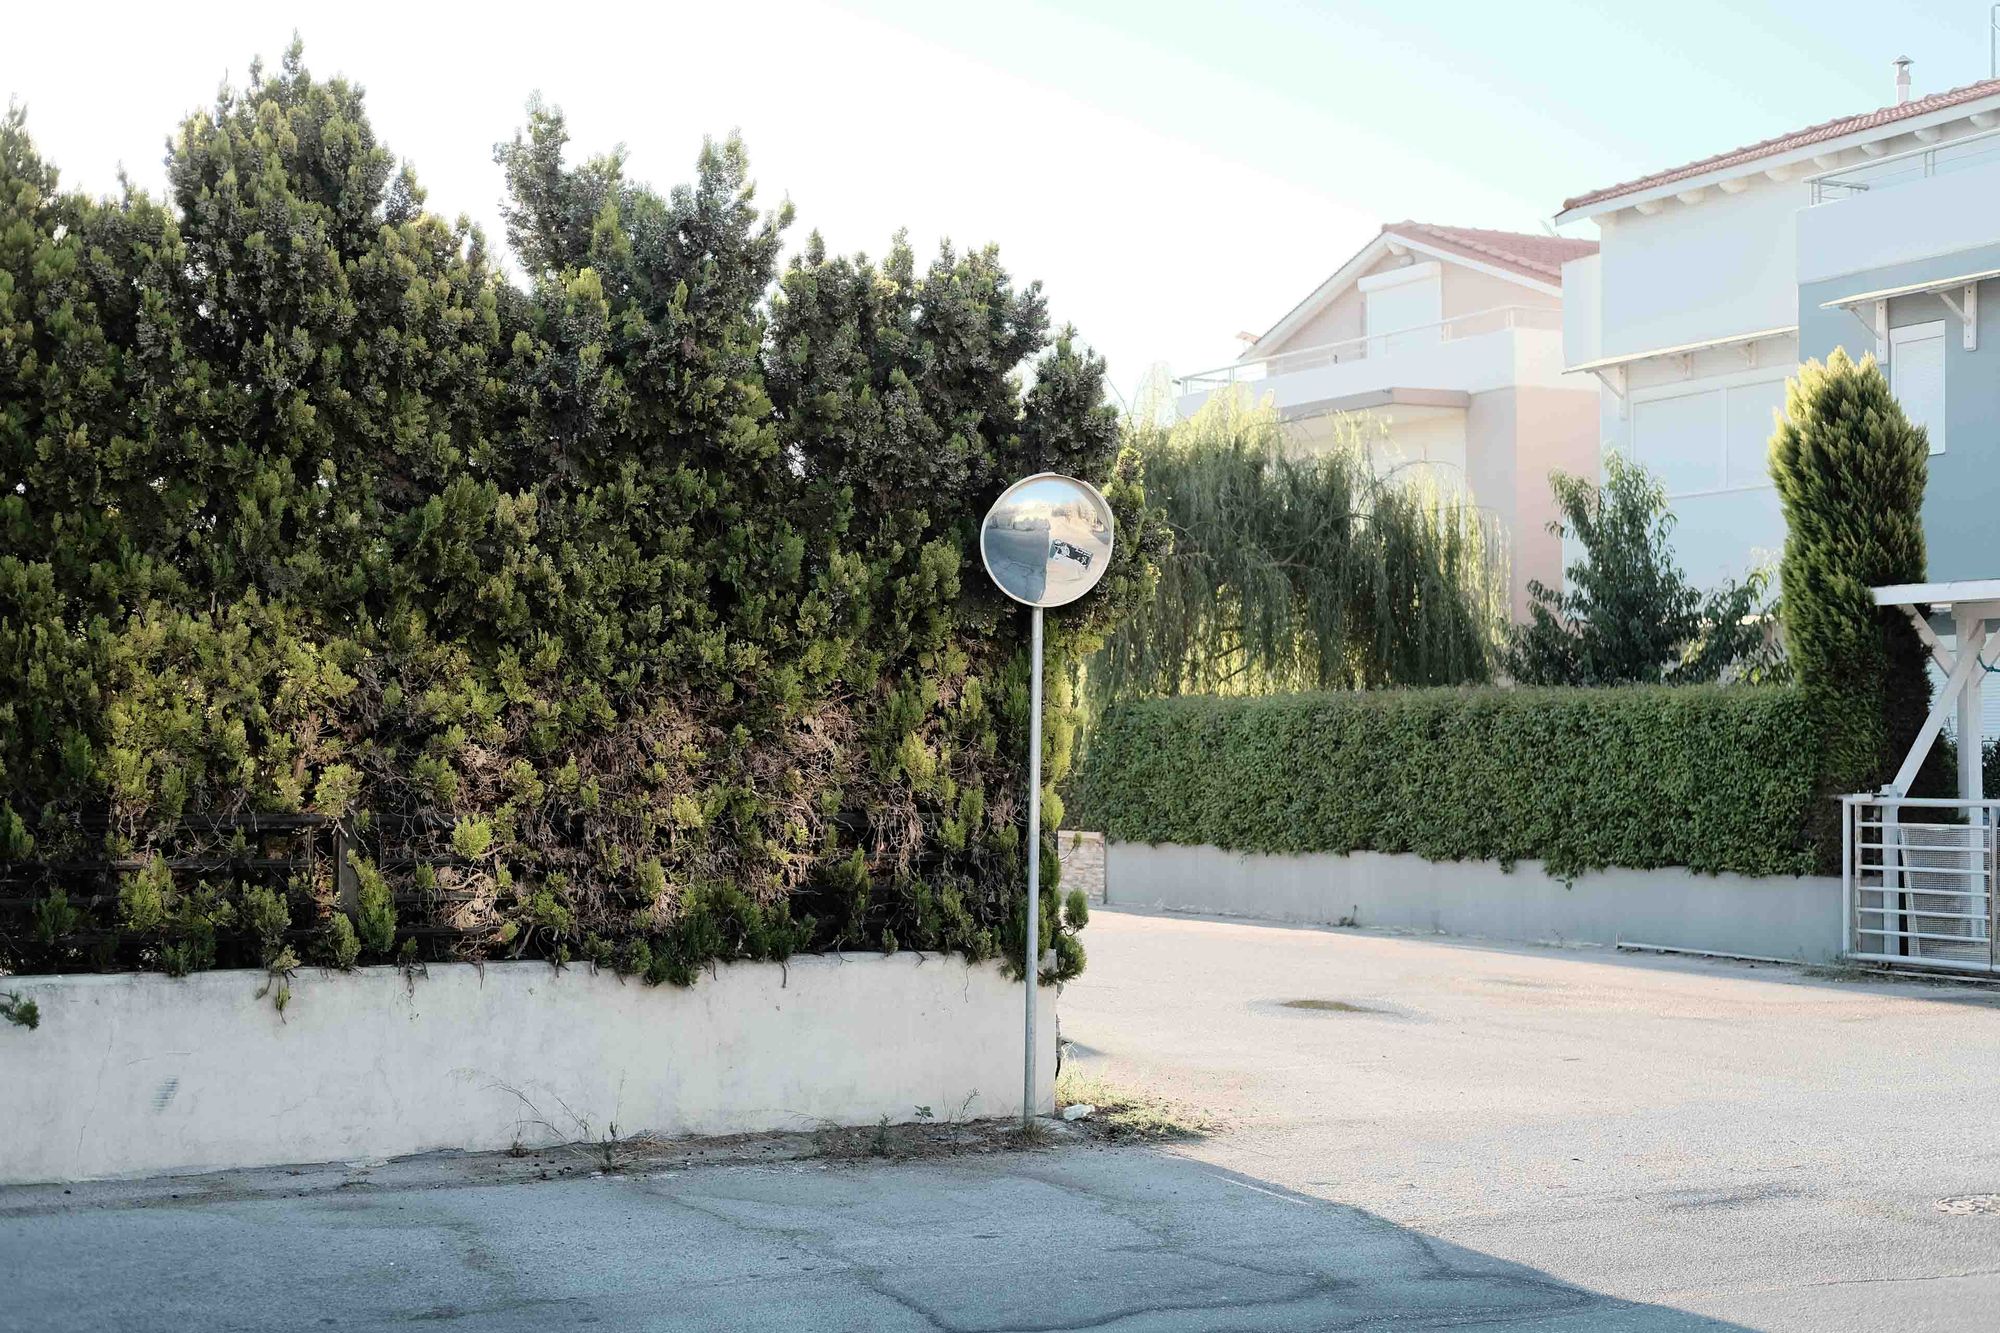
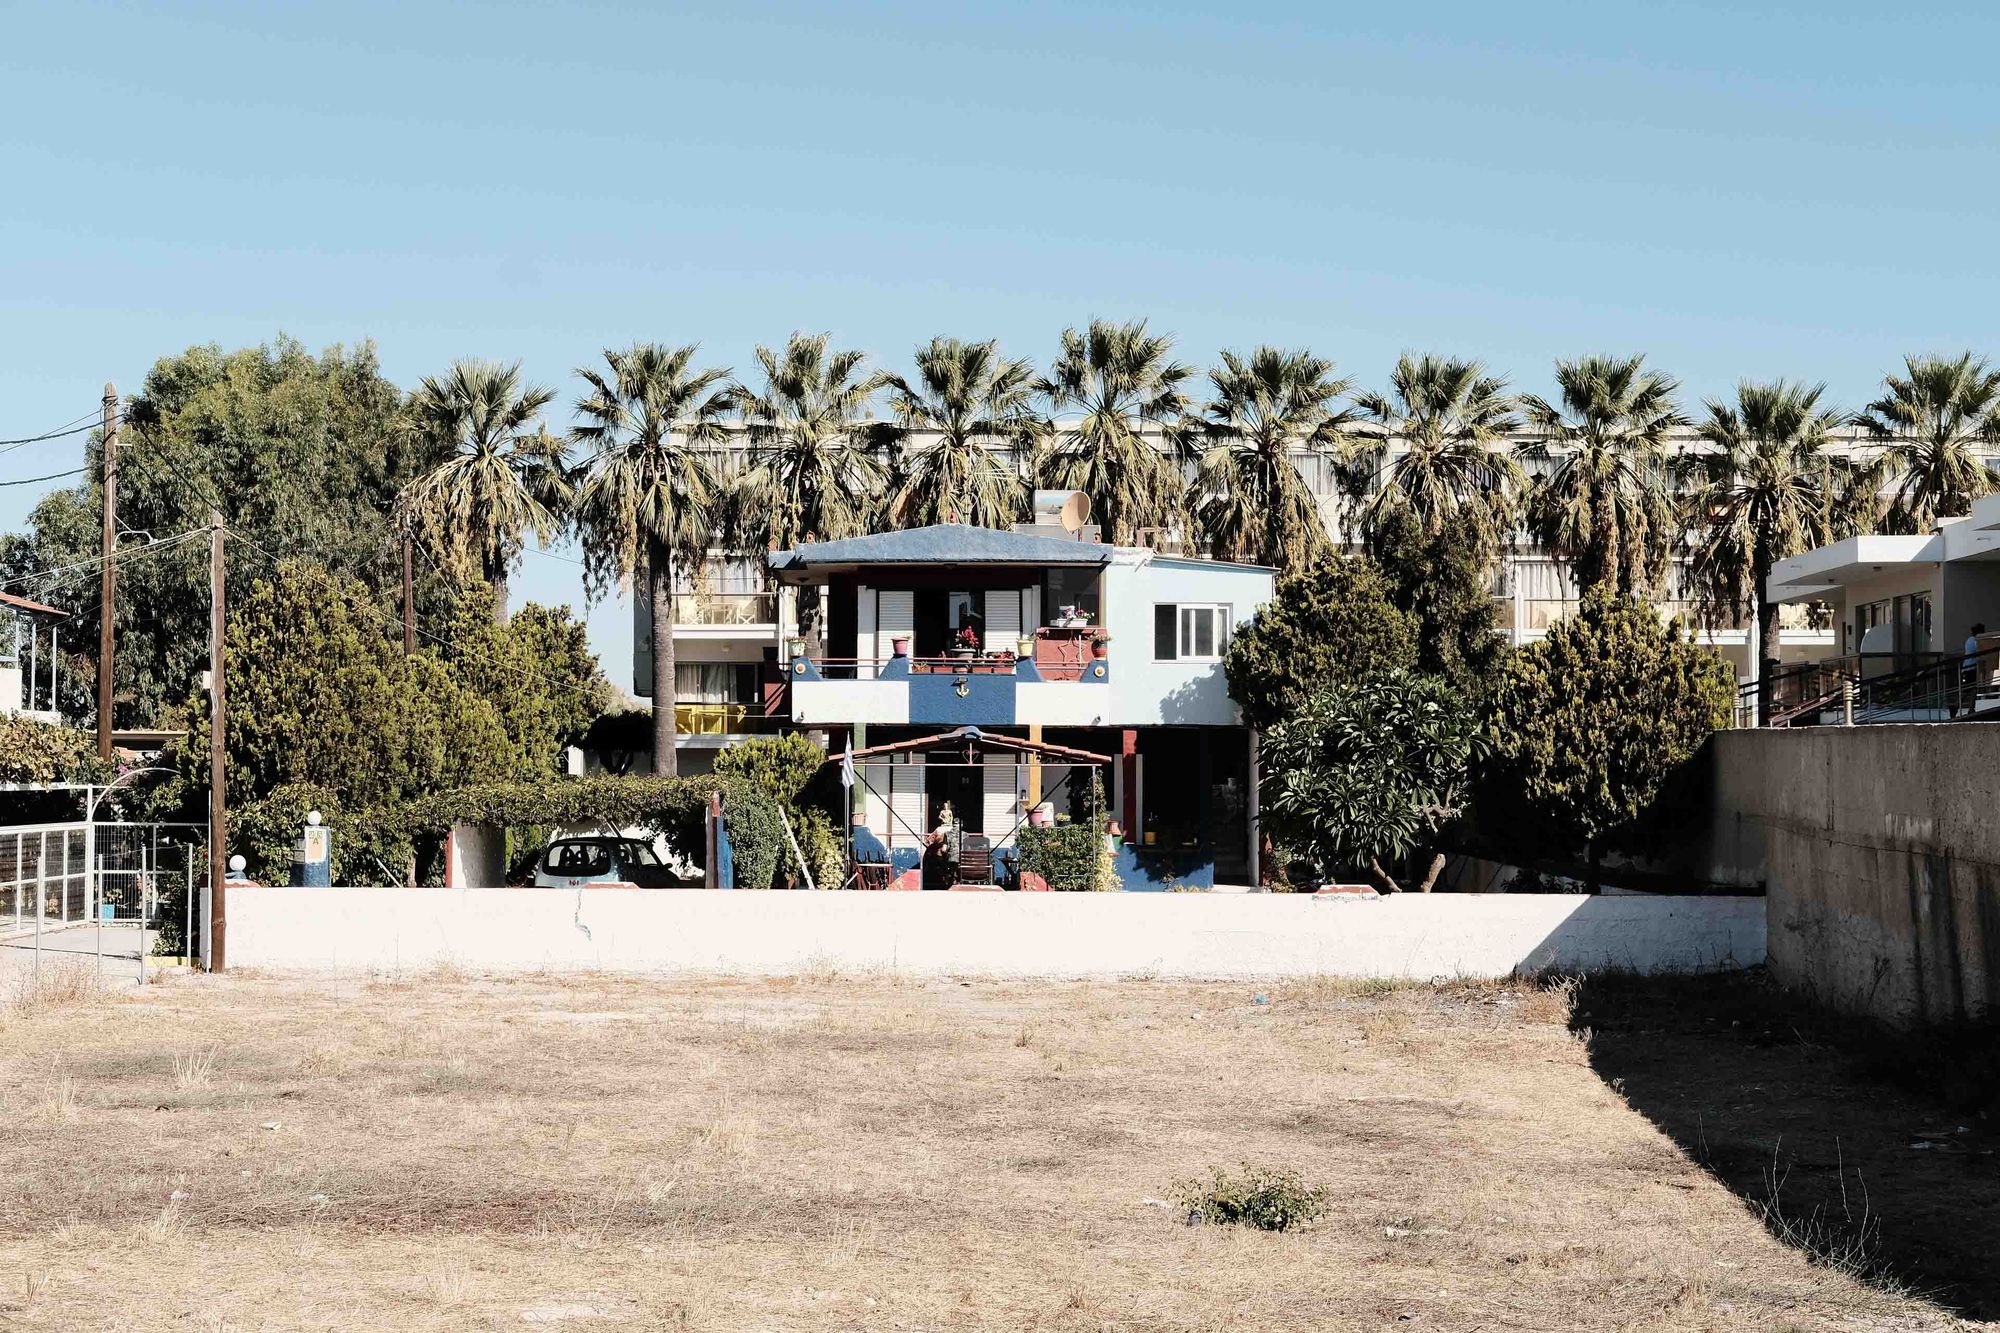
Finally, my work from Greece is a great example of what you can do with CC while traveling to sunnier areas. I shot a lot of (urban) landscapes and documentary work when I was there. Fully in the intended spirit of Classic Chrome, as Fuji described it, CC provided me with a true-to-life image that's perhaps enhanced by that little bit of stylization.

Conclusion
There you have it, the full breakdown of my CC recipe and how I incorporate it into my workflow. I do plan to continue experimenting with different looks for my photos, and I'm sure I'll try more stylized recipes that will require certain conditions to shine. I also won't be surprised if I go back to shooting RAW for a while again. I think there's still a great benefit to working with a file that allows for more flexibility during editing. Because, yes, even though all the images you see in this story are all unedited with the exception of some cropping and light exposure-fixes, I have to admit I do still edit my JPEGs. Even with the film simulations dialed in the way I do. I find that last bit of editing gives me that little extra punch I can't quite get out of the camera without losing the balanced approach I highlighted in the intro of this story. The editing process is reduced to the bare minimum though, and I can quickly go through a photo set of a couple of hundred photos in half an hour. I have yet to do this while editing RAW files. If you want to know to what extent I edit my JPEGS, you can find out more on my full overview of the film simulation recipes I use.
Despite my personal preference for a final push in post-processing, you needn't bother if you don't wish to. I hope by now that has been clear enough and the results I shared speak for themselves. You can easily load up this film sim into your camera and simply never think about it again. Nevertheless, I'm looking forward to hearing and seeing how you approach your work with this film sim. Do you have any suggestions for tweaks or things you do that build on the foundation CC lays? Please do let me know! Just as much as I like sharing what I know, I enjoy learning from other people as well. I'm looking forward to your results.
Just you, me, and some occasional notes from the field. No spam.
Member discussion